| General | Book Locations | Map | Strategy | Okri's Challenges |
As this is a Shadows over Bögenhafen mission, the challenges used to reward a Bögenhafen Strongbox. With the addition of Lohner's Emporium of Wonders however, they have all been replaced with Commendation Chests instead.
LIKE COUSIN OKRI USED TO TAKE[ | ]
Find a way into and visit Okri's Secret Stash, somewhere in The Pit
Find and press 10 hidden Suspicious Bricks throughout The Pit. This will open an underground store room filled with Bombs, Medical Supplies, Potions, and an Ammunition Crate. All 10 of these bricks are located in the main Pit area, before the event involving burning the tainted food.
Head through the level normally until you go through the fish market. Once you leave the fish market and enter the main Pit area, immediately turn to your right. Jump over a barrel and onto a thin stone ledge, follow this around the building to a doorway. The first brick is hidden just between a bookcase and the stairs on the right.
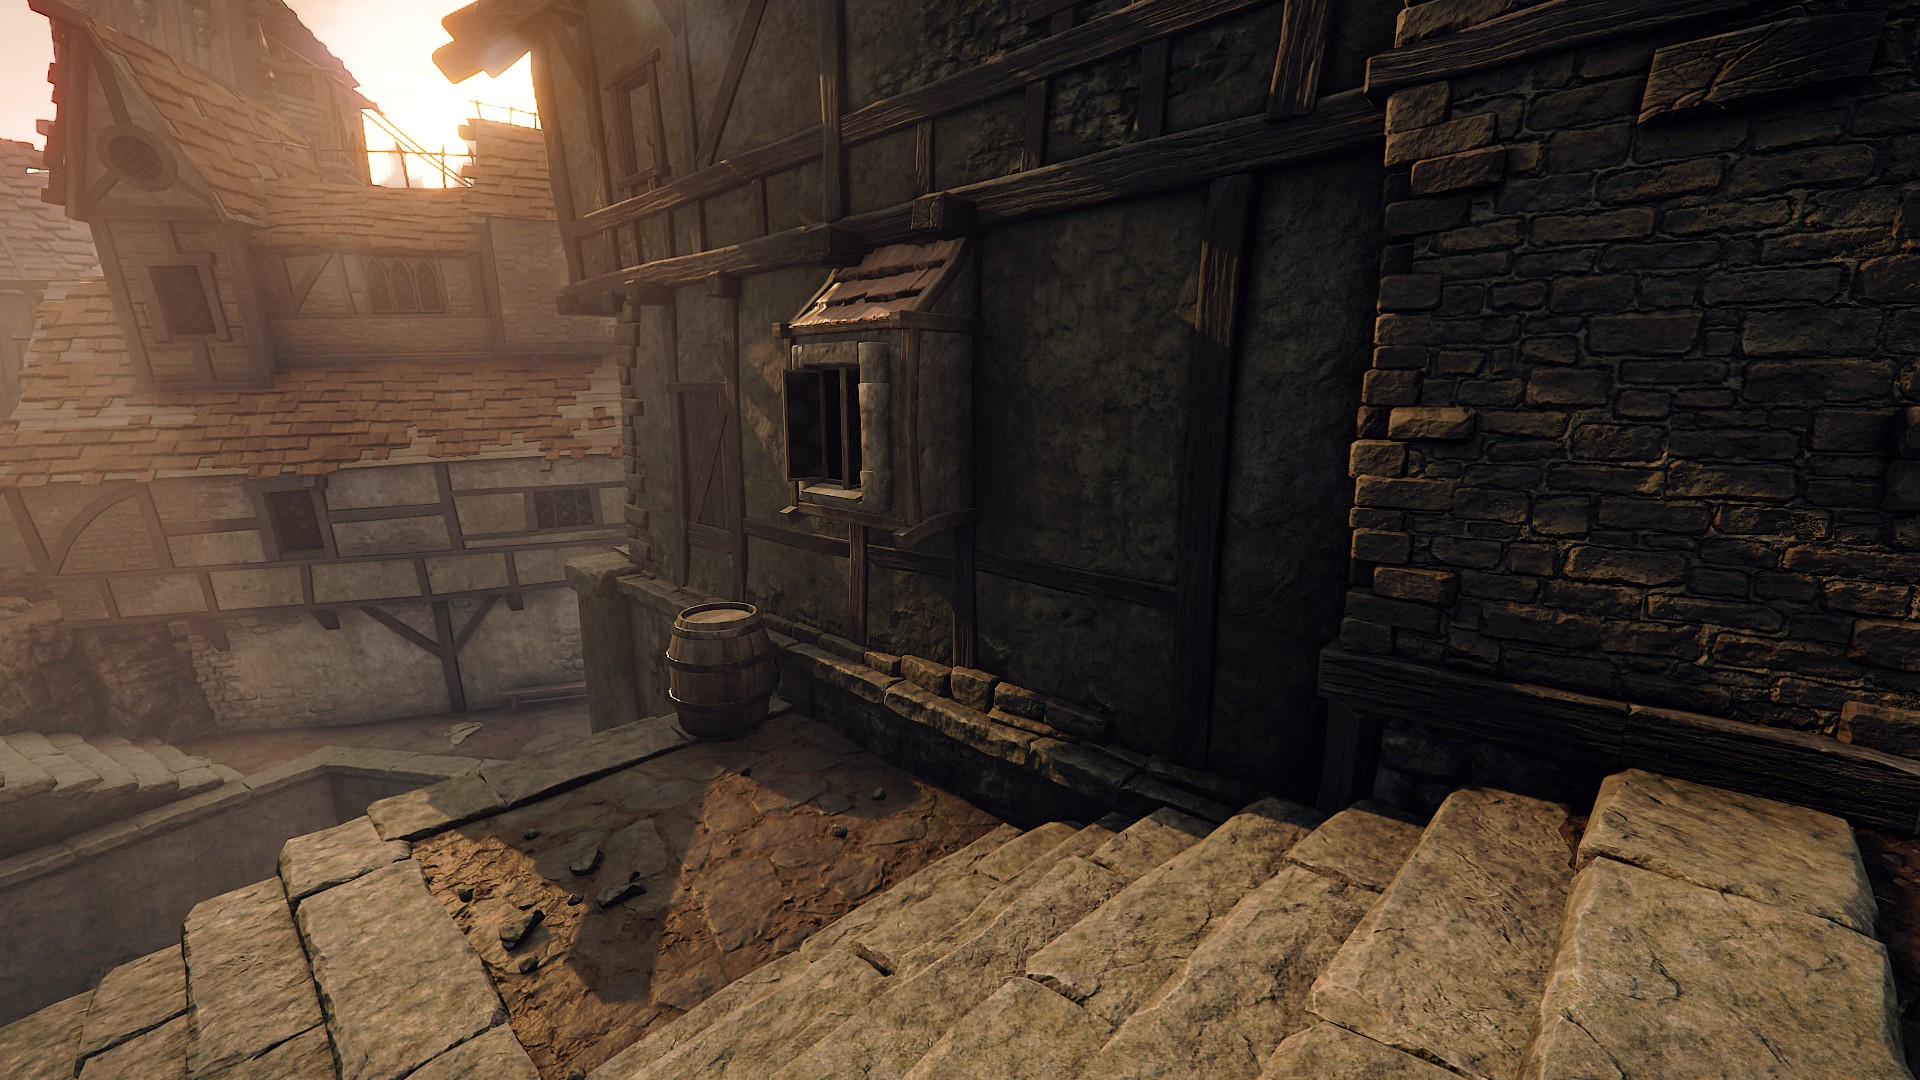

Head back out the door, hop over the wall in front of you, and immediately look up and slightly left. The second brick is hidden underneath the overhanging house in the corner, before the archway.

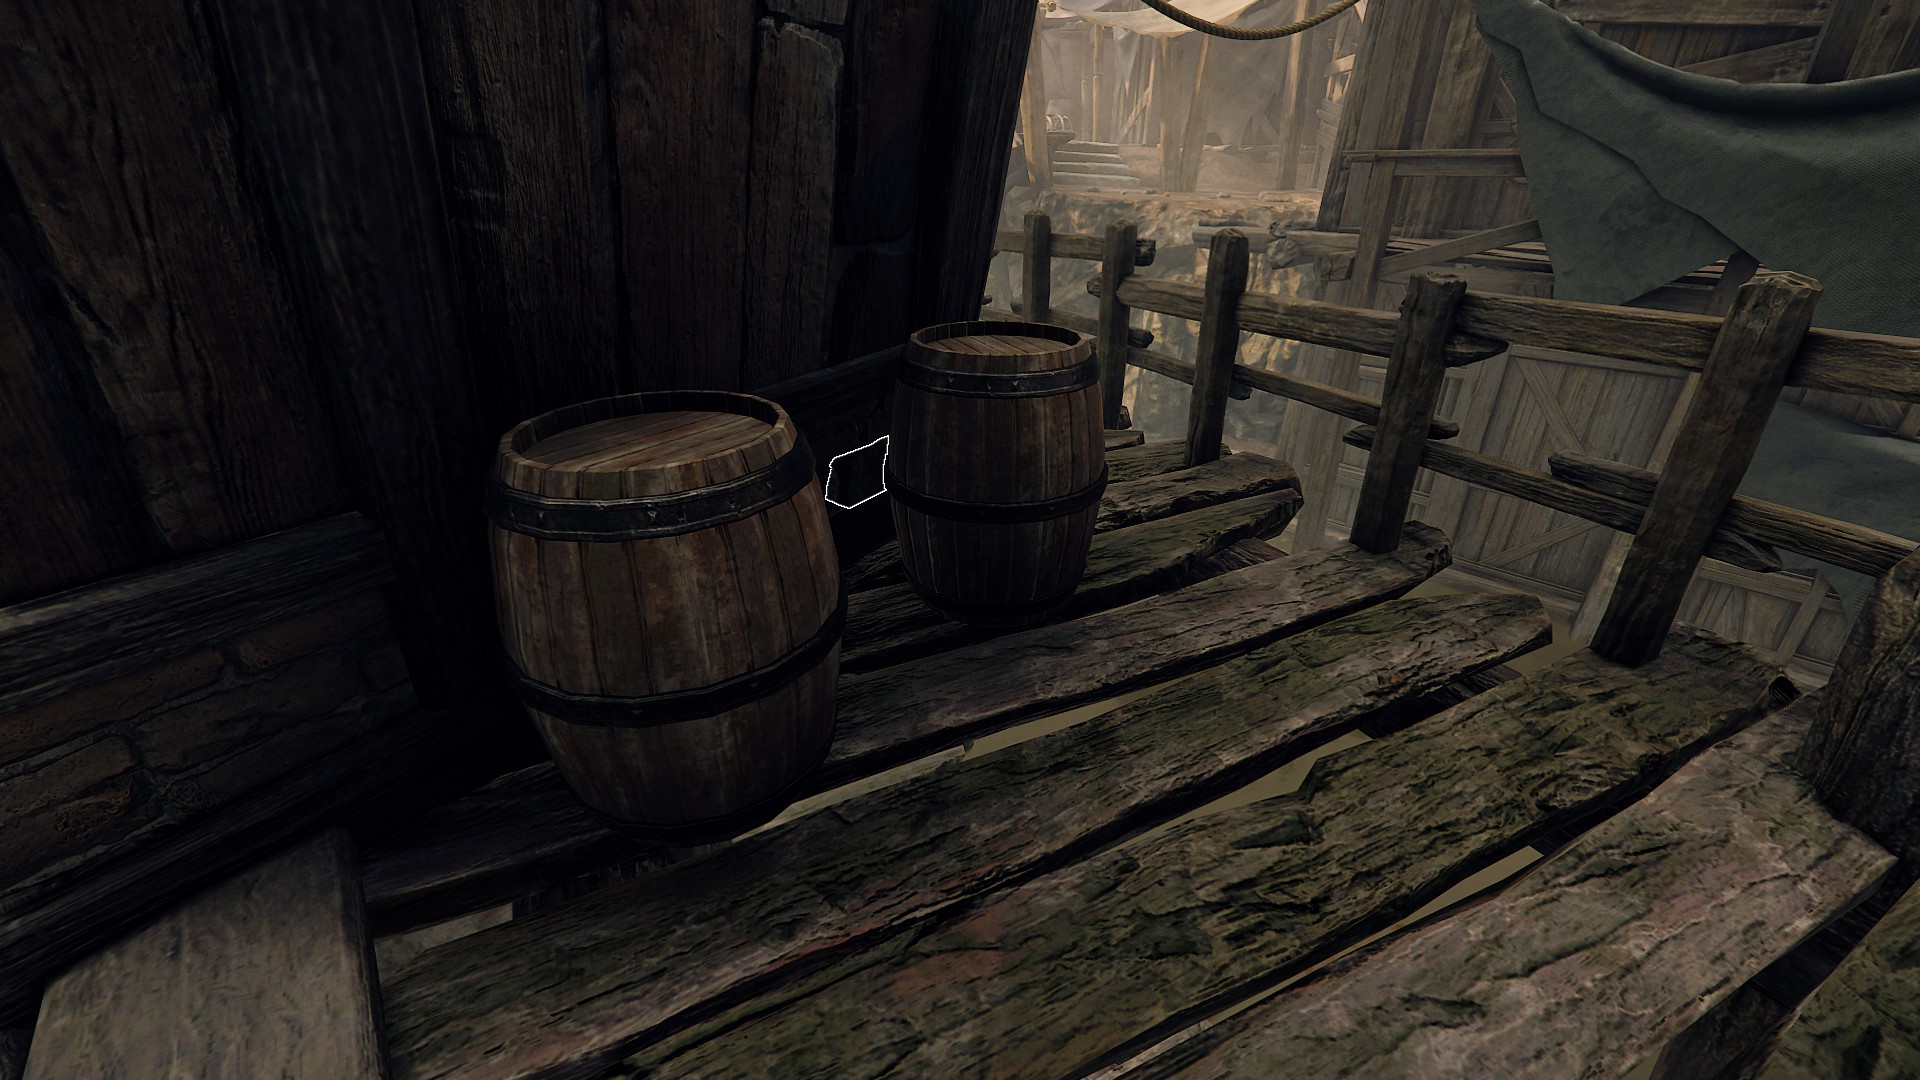
Head back through the fish market and into the Pit. Cross the bridge and pass a hut on your left. Turn left and look for a balcony below, drop down to the stone ledge, then hop across to it. The third brick is behind a barrel at the end of the balcony, on the right.

Head back the way you came and drop off the balcony, then left up the stairs into the Eastern Pit. Keep to the right here and follow the city wall until you see a house with archways on your right. Head through these and out another arch taking you to the rear of the house. The fourth brick is immediately to your right, on the house wall.


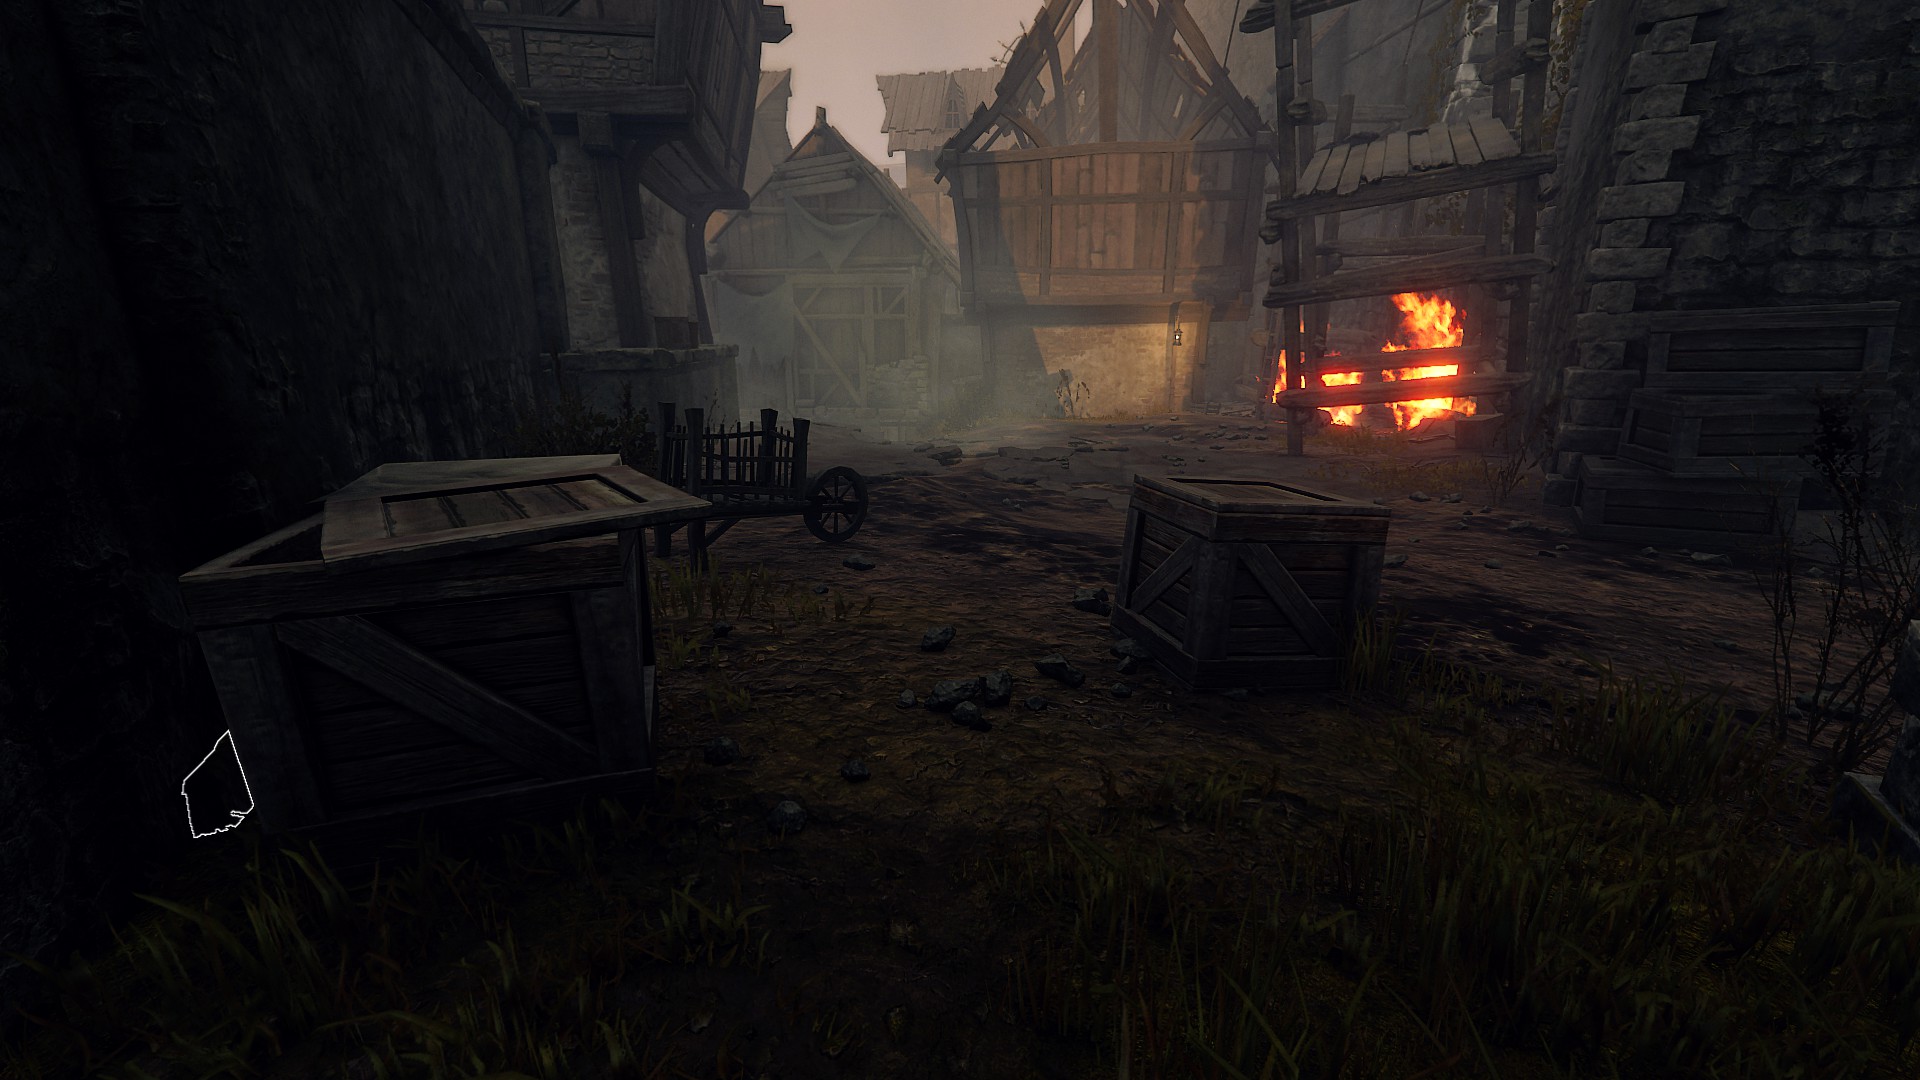
Keep right again, toward the next house, then take a quick left. Slip down a side alley on the left here, and the fifth brick is behind a crate on the right in this alley.


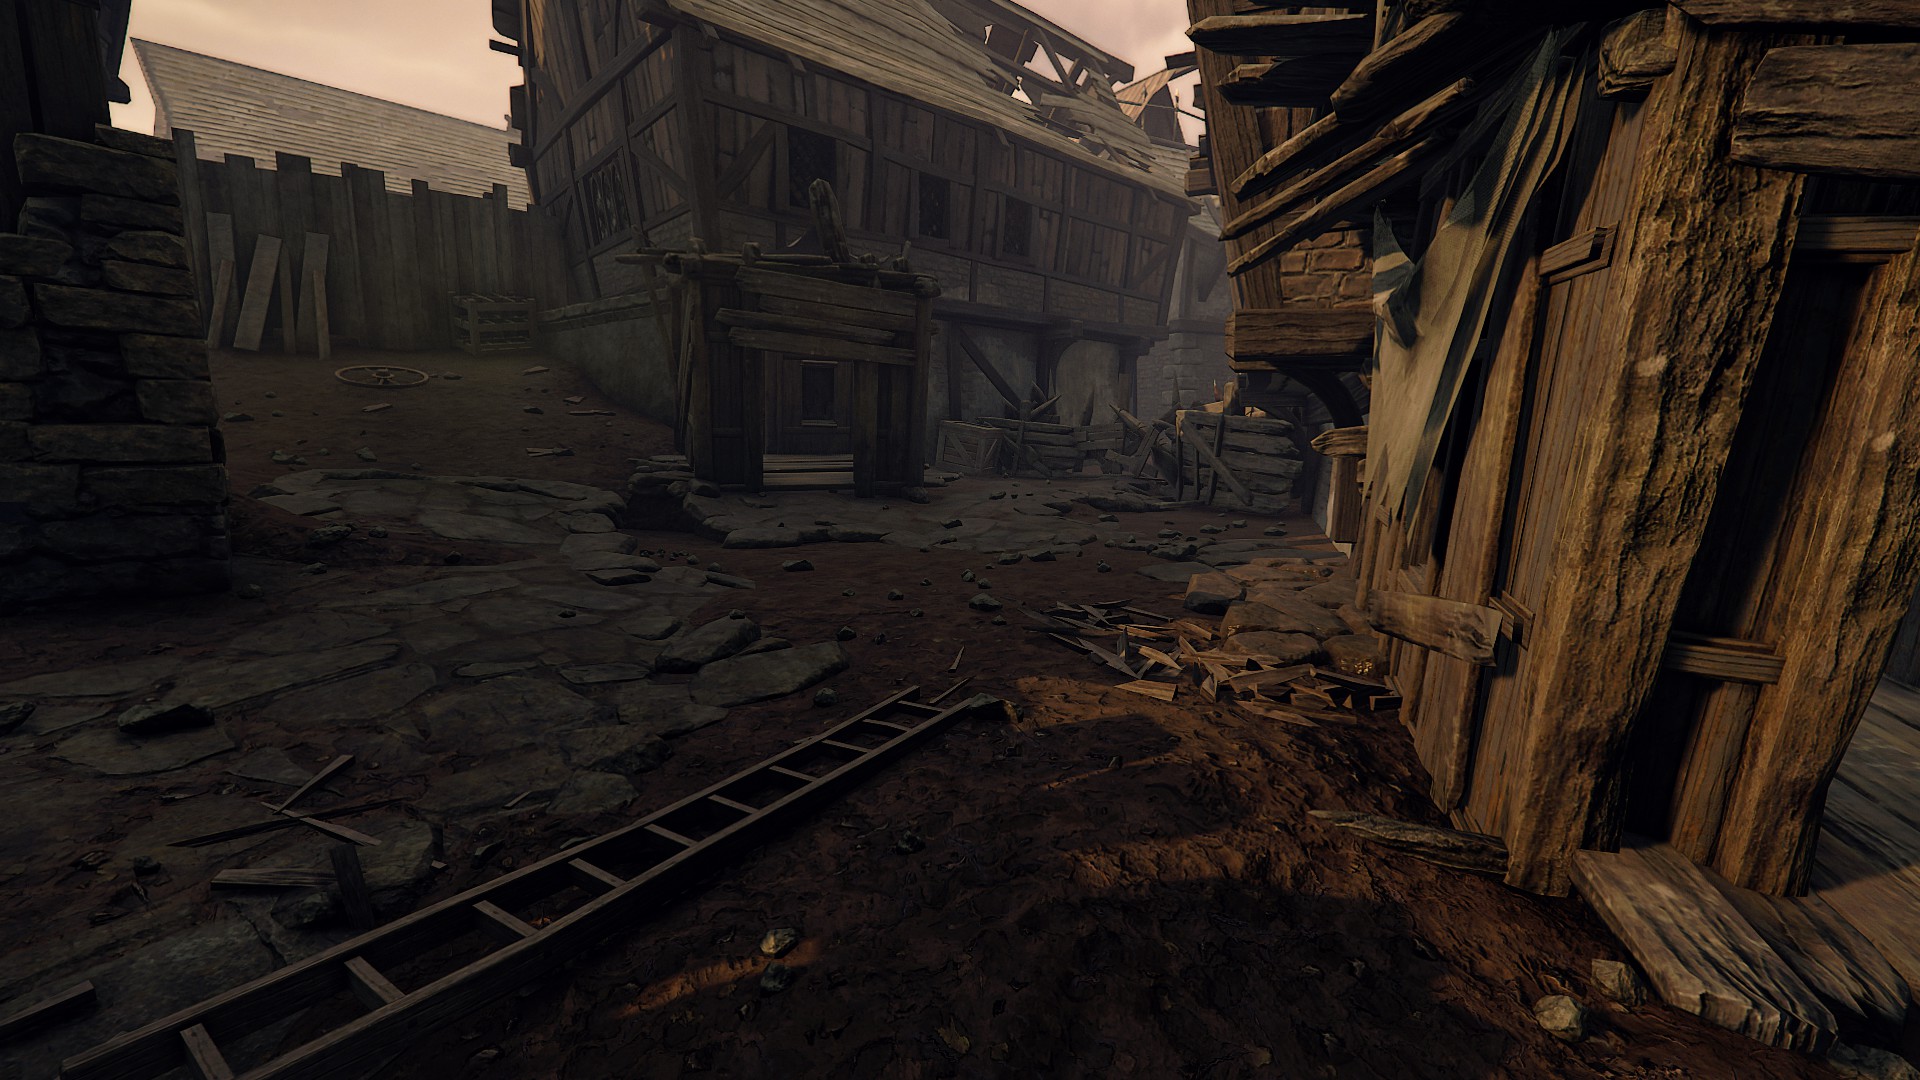
Drop down the two wooden ledges at the end of this alley to the lower level, then turn right. Make an immediate left and drop down, into Zwickmühle Allee. Head right towards a gatehouse at the end of the alley. The sixth brick is behind some crates at the far end on the right.
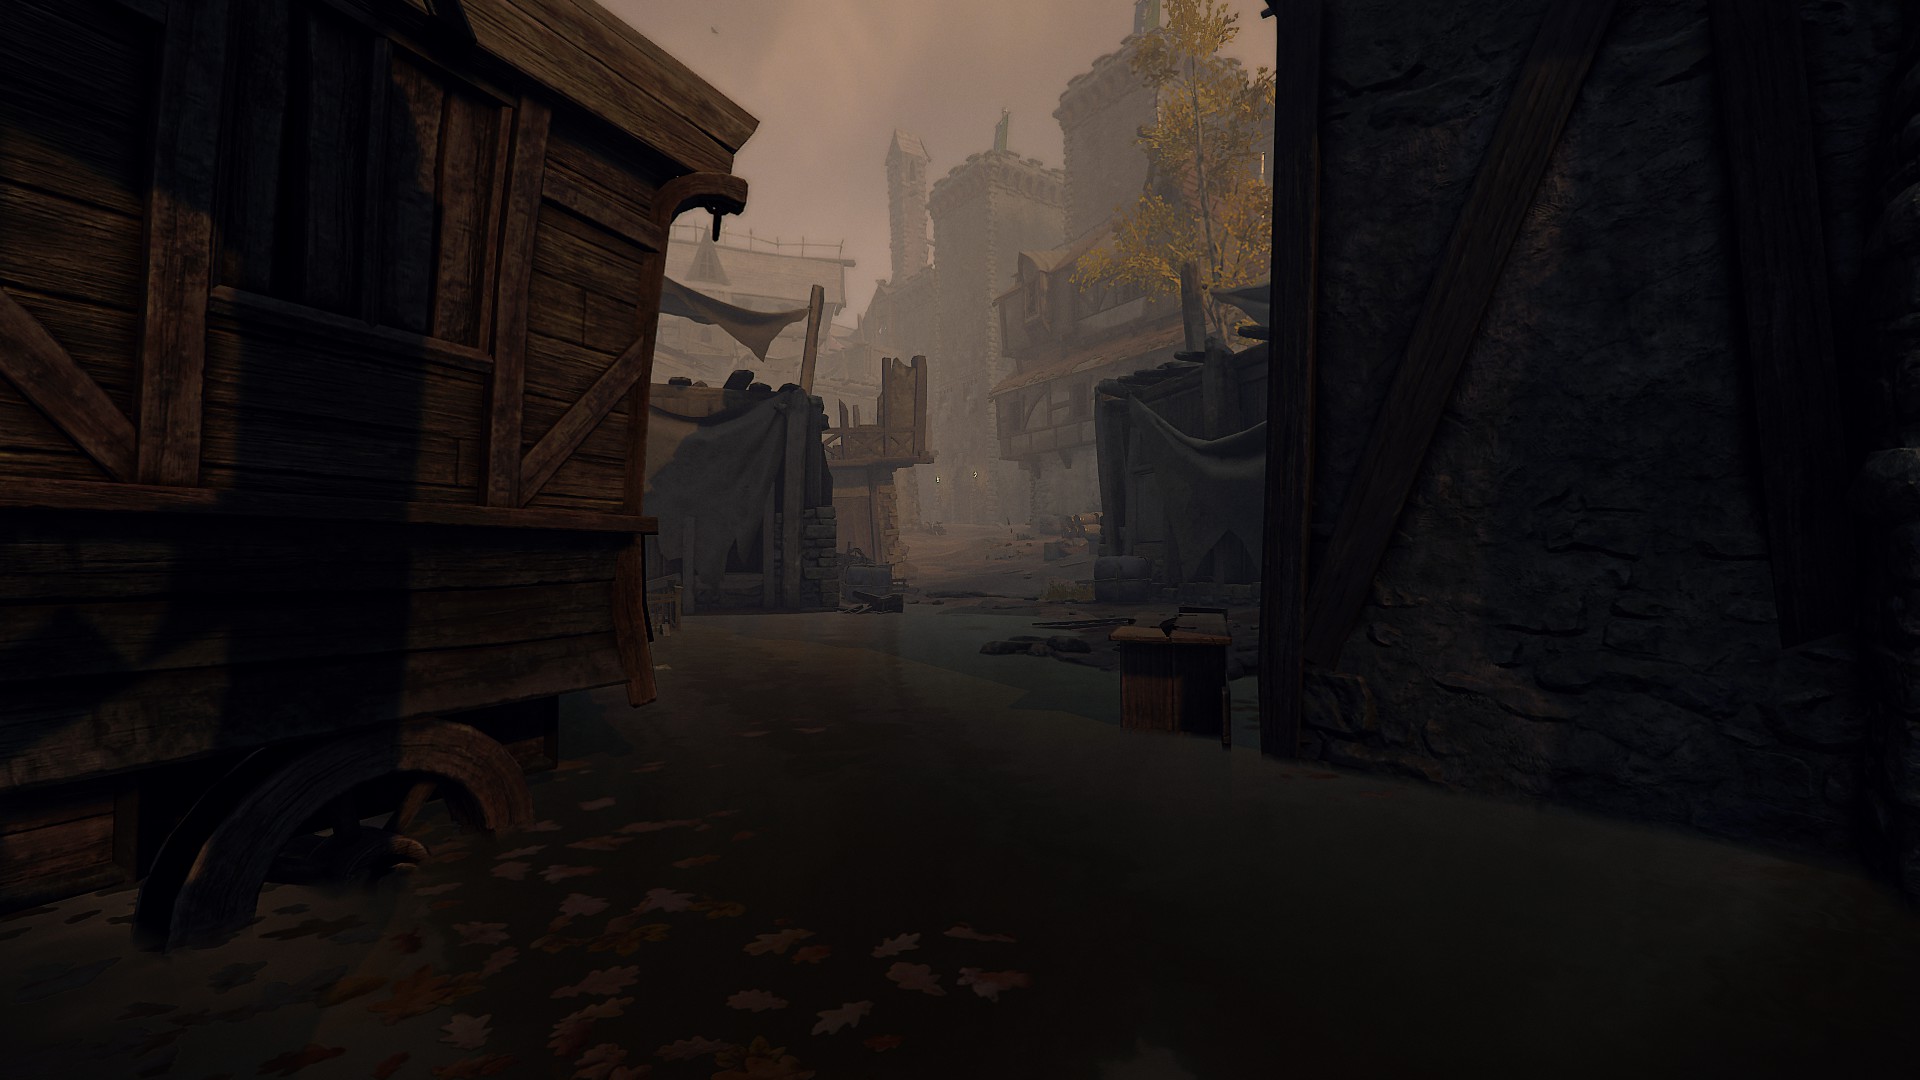
Turn back and head down the alley, taking a right at the point where you dropped down. Carry straight on down this path straight past a wagon, then turn left toward a flooded courtyard, then head down through the arch into the Footpad Canal. Head up the stairs, then take the first left, past the crate and down to the dead end. Turn 180 degrees and the seventh brick is high up above the archway you just came through.


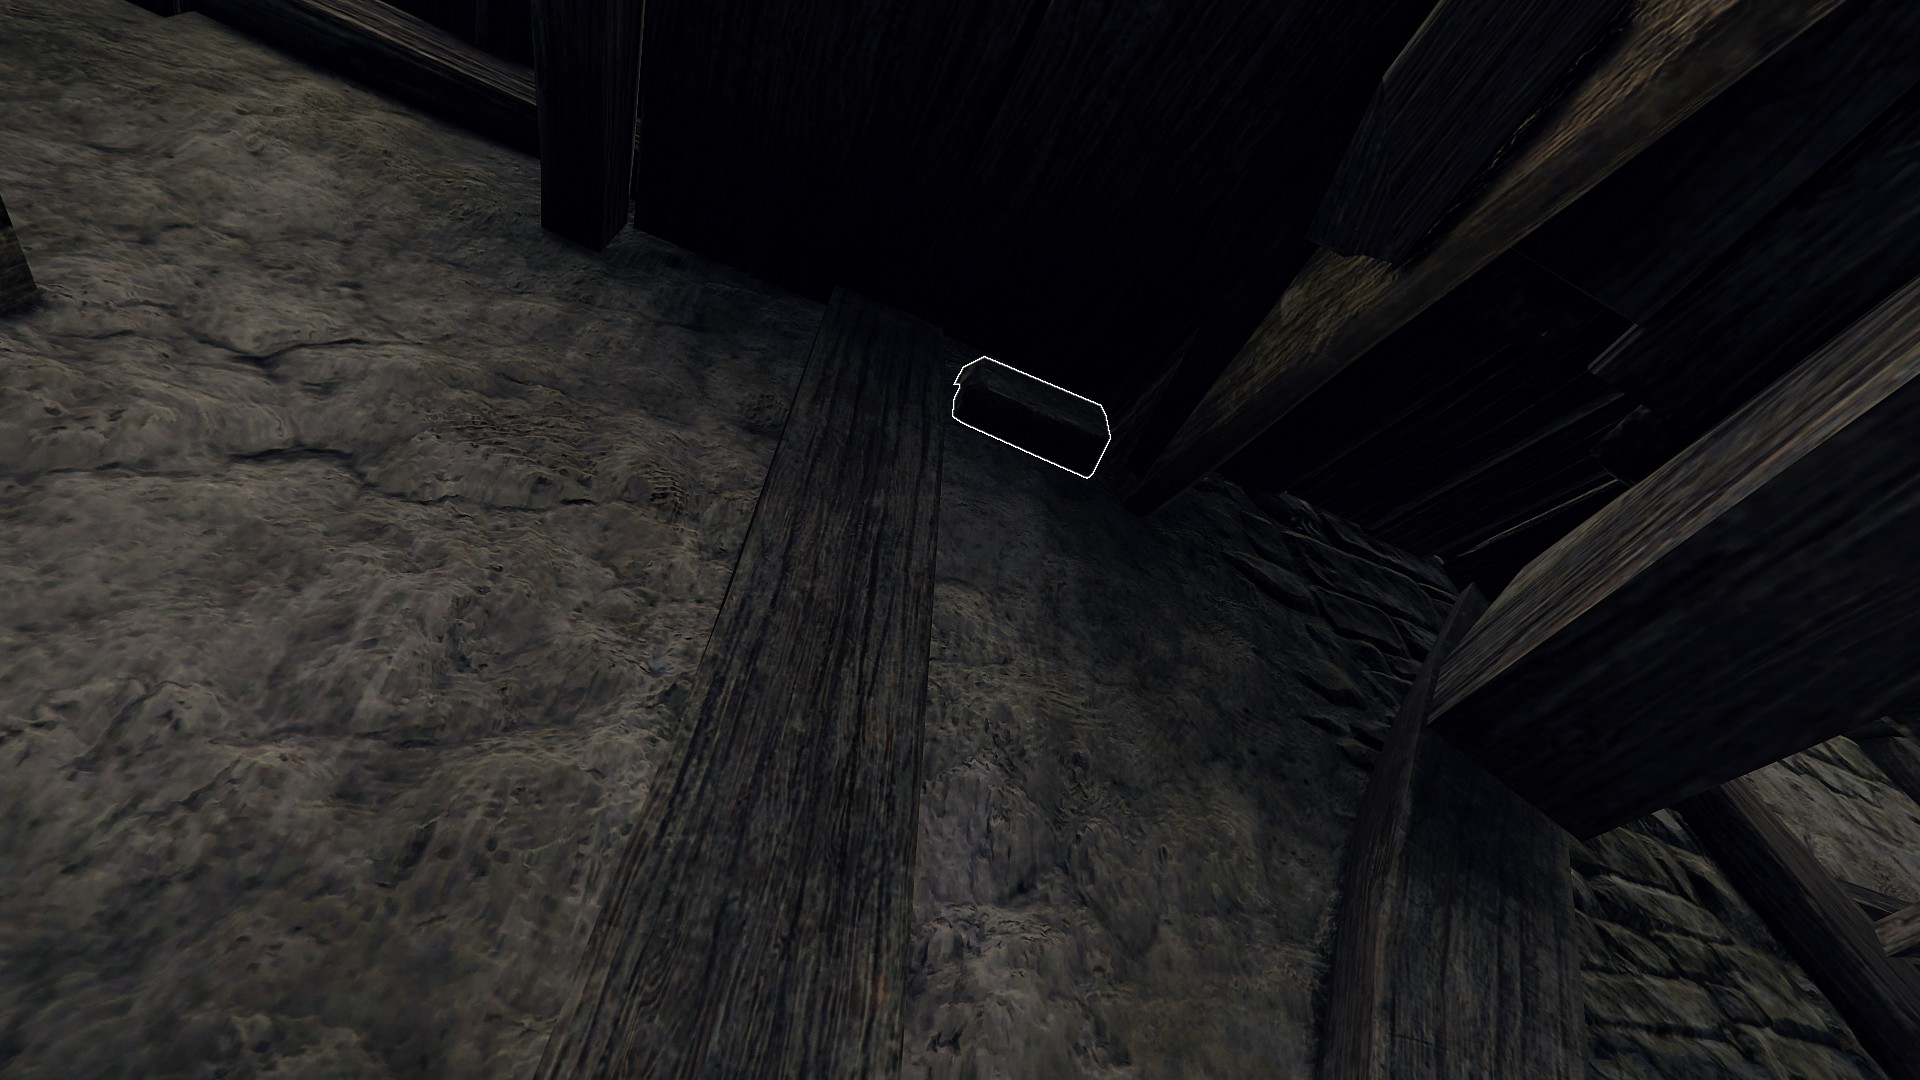
Head back out to the Alley and to the wagon you passed along the way. This time turn right past it, and onward through the flooded streets of the Lower Pit. Take a left onto a small walkway by the side of a house. Drop down at the far end of the walkway and crouch underneath it, the eighth brick is underwater against the house.

Back over the walkway then turn left, turning right at the next major street and heading under the archway, then up the stairs here. Turn right to reach a covered marketplace. At the far end is a ladder, climb it. Turn around immediately and look for a ledge curving around the building to your right. Walk along this ledge and onto a balcony, the ninth brick is to the right at the end, high up on the wall.


Jump back down into the covered market and leave to the right at the end. Keep right and head past the barricades, hugging the right wall. The tenth and final brick is at the second set of barricades, behind a crate.


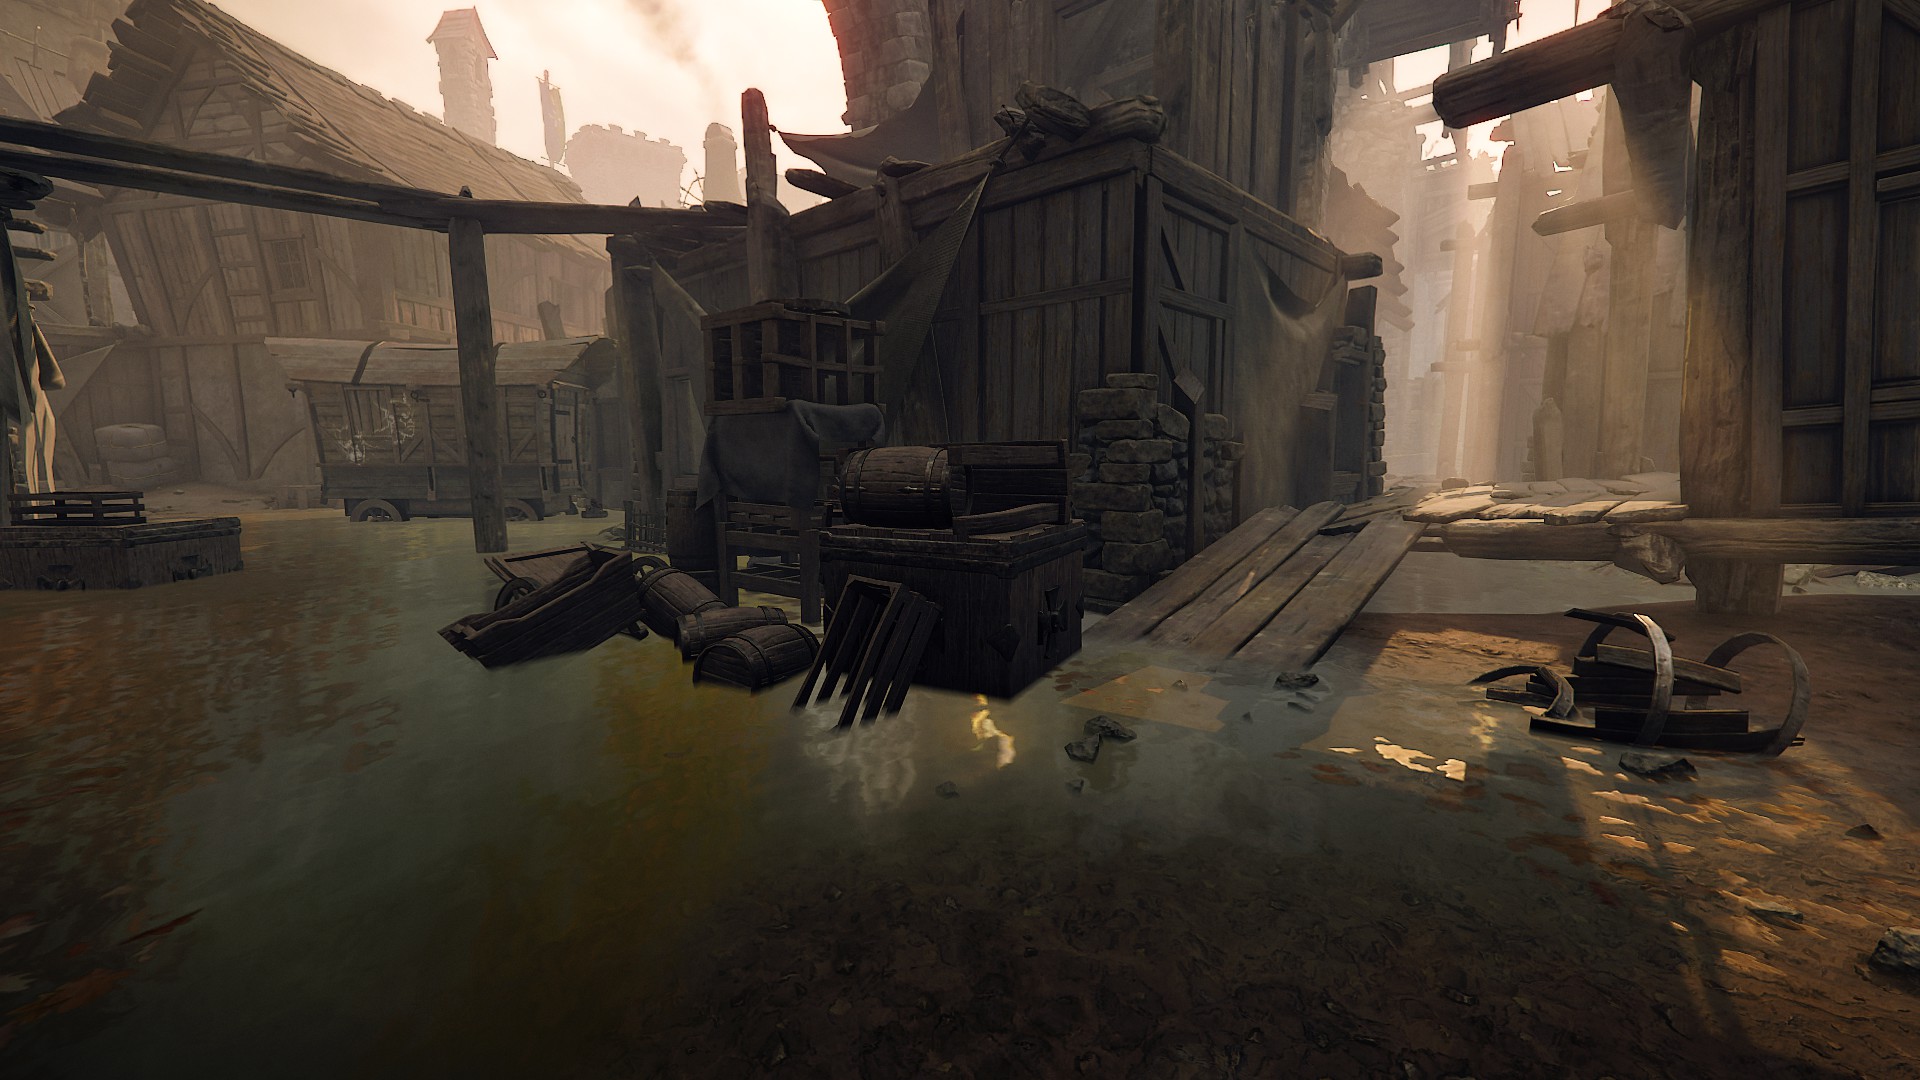
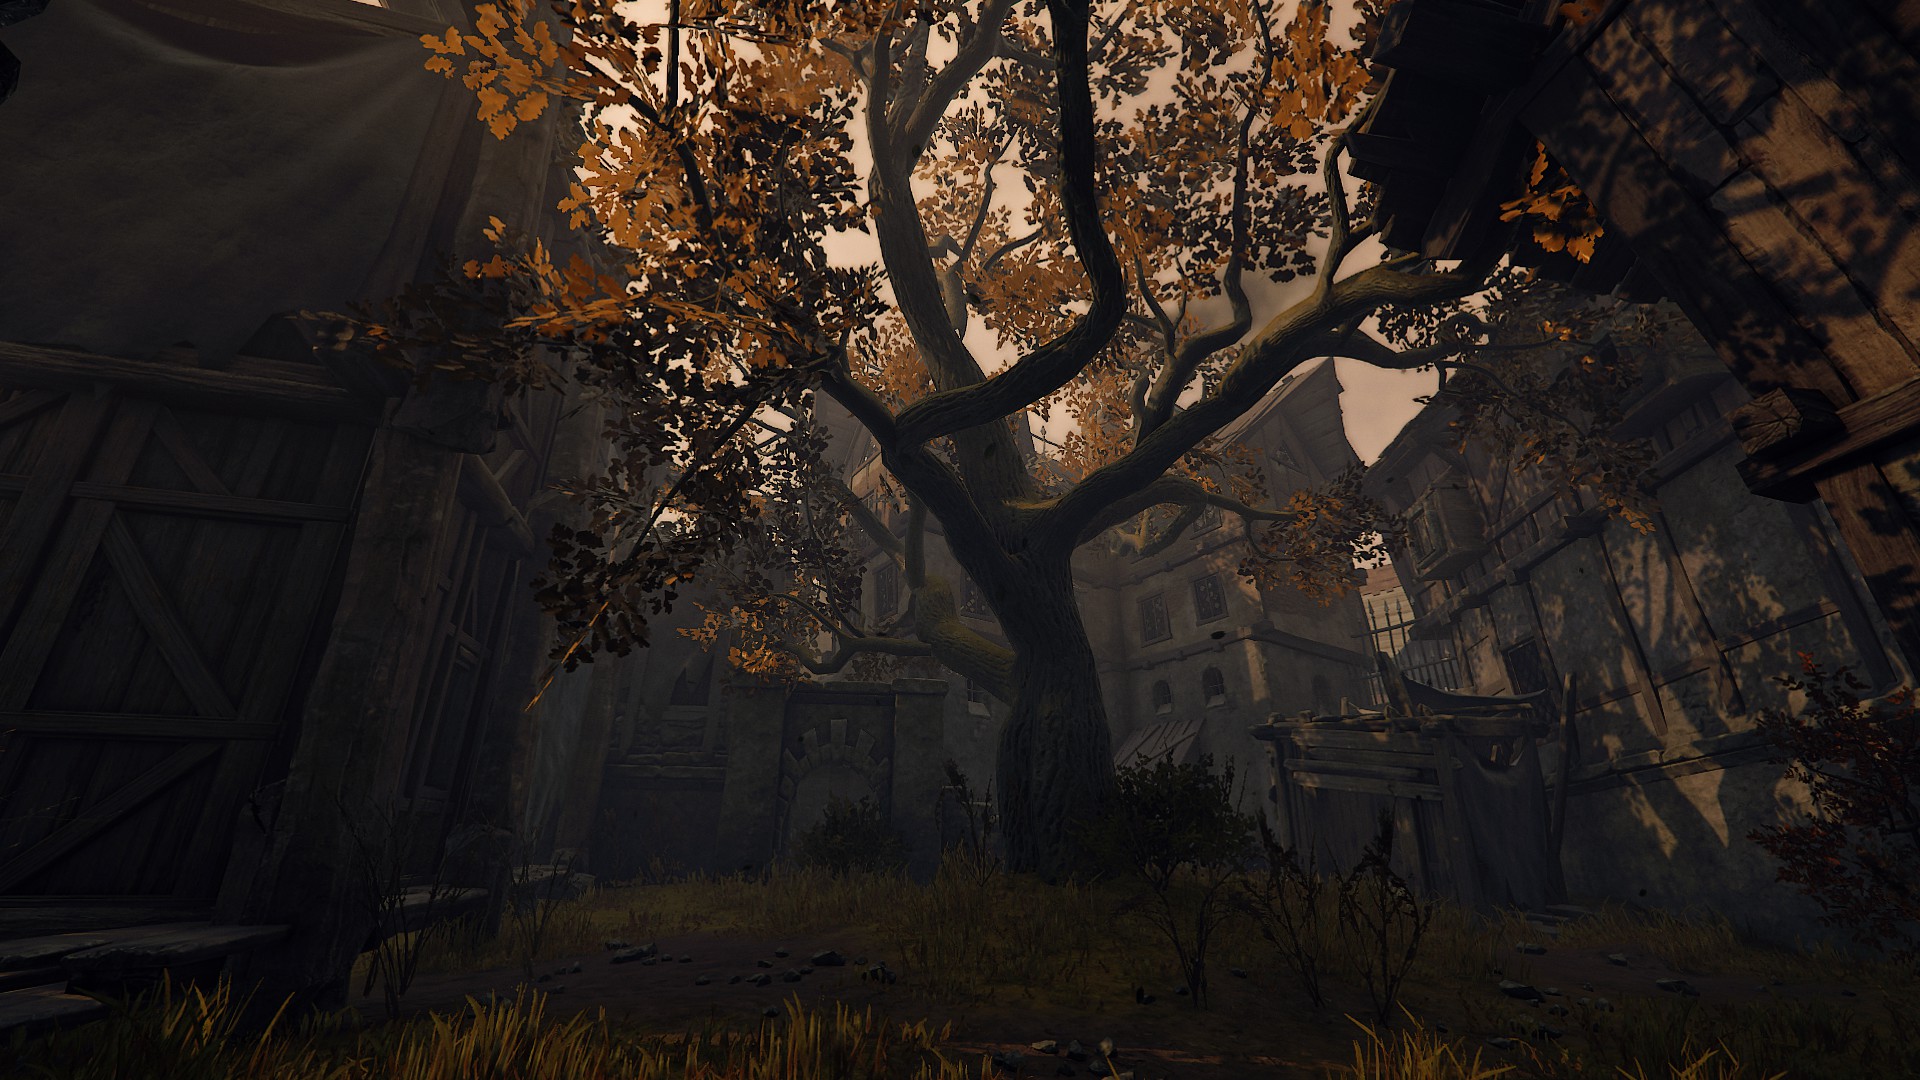
Now head back to the market again, and down the stairs this time. Leave through the archway, turn right, and follow the curve of the building around toward a garden with a large tree. Cousin Okri's stash is through the archway just past the tree, which pressing all the bricks opened.

EAGLE-EYE VIEW[ | ]
Get a bird's eye view of The Pit
Climb to the top of the watchtower atop the bridge. This requires some difficult platforming and is best attempted with another player if at all possible. Bots are often terrible platformers and at best may be be unable to help you if you lose your footing, at worst may accidentally knock you off.
The first step is getting to the base of the watchtower. After exiting the fish market and entering the main Pit area, turn right and head over the bridge into the Eastern Pit. Keep to the right and follow the outer wall around until you see a bridge to your left with a watchtower at its far end. Head out onto this bridge. Before the huts, turn right and look for a narrow ledge next to the building you can walk across. Drop down and follow it, then curve left and jump onto the house ahead. Head left along the peak of the house roof and up onto the huts. Hop across the huts to your right and onto the falling wagon. From the wagon, make a long jump over the collapsed bridge section. Follow the path and drop down to the base of the tower in front of you.
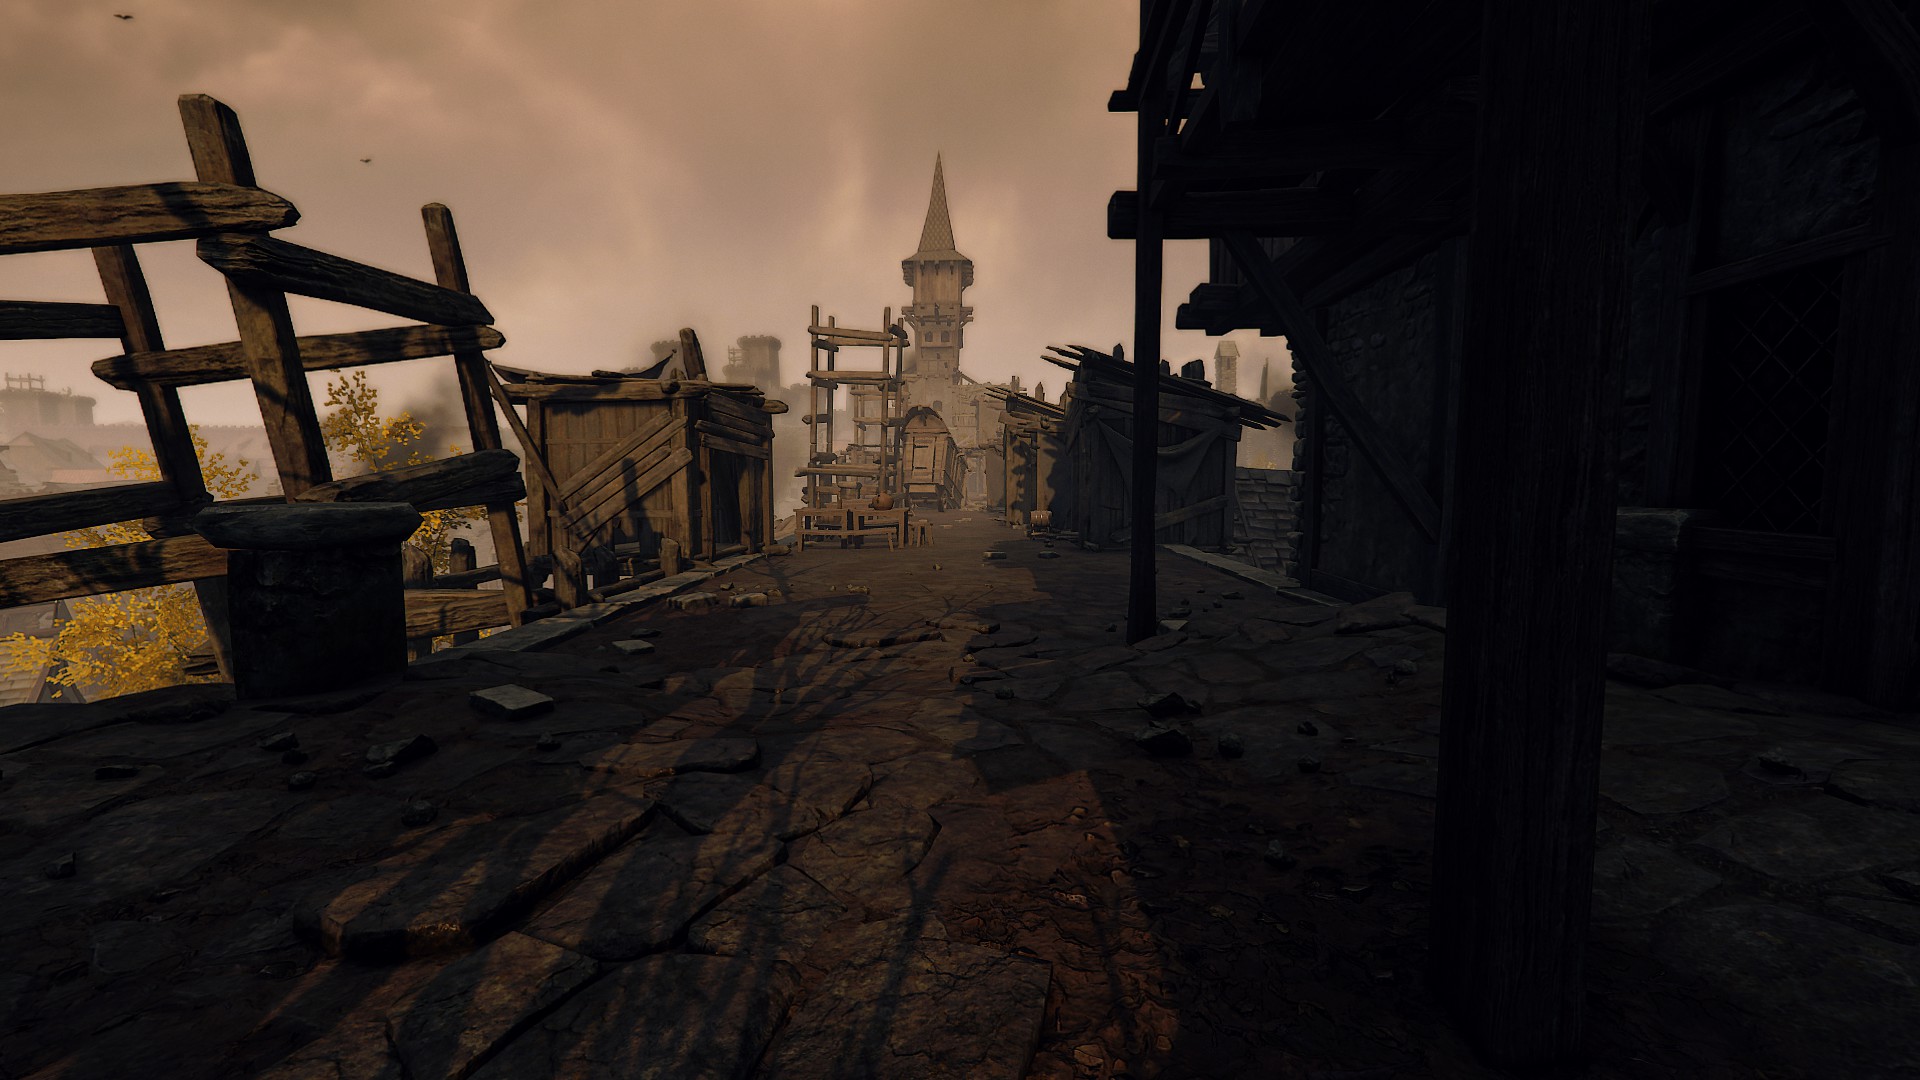


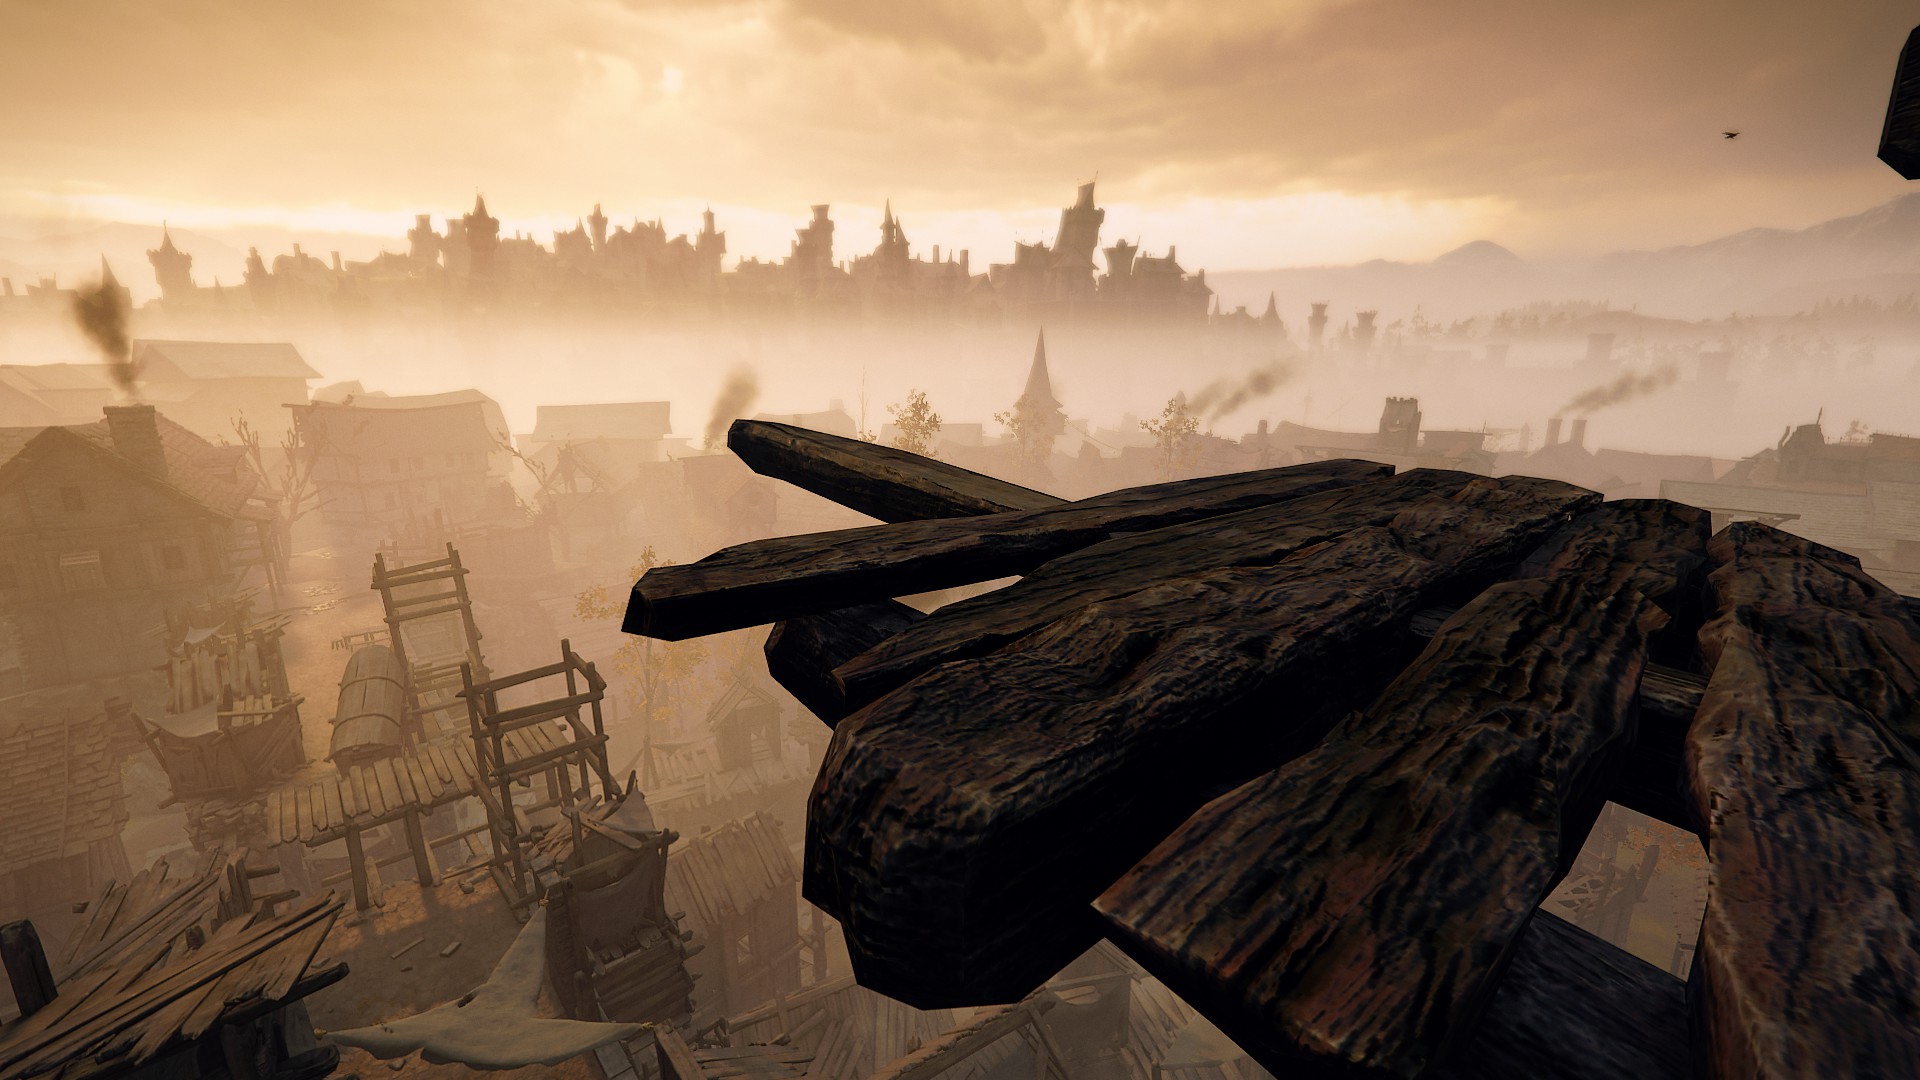
Now to climb the tower itself. Head past the huts on the right of the building and curve round behind it to find a set of stairs, take them up. Follow them around the building until the path ends. Hop across the wooden poles jutting out from the building to the right here, onto some scaffolding. Turn back towards the tower, hopping across some huts and onto a crate. Then turn back to the tower again and jump onto a pole jutting out of a wooden roof. Climb the roof and turn left after the hut. Hop another couple of jutting poles and onto the scaffolding. Climb the scaffolding carefully, aiming for the jutting pole on the left of it. Climb over this and head over an awning, then hop another few poles until you're perched high above the bridge. Now it's time for a leap of faith. Turn right (from facing out over the bridge) and look for a roof below you. Make a long jump down to it. Now one last hop onto a wooden plank walkway curling around the tower, then just walk over this walkway to an observation platform with a bird perched at the end, and you'll get the achievement.
Once you arrive at the platform, head out to the edge and look for a hay stack below you. In an Assassin's Creed reference, jumping down and landing on the haystack will eliminate any fall damage and is easily the fastest and easiest way back down.

SPRAY AND PRAY[ | ]
Legend: Finish The Pit while taking no damage from Ratling Gunners
This challenge seems to be aimed primarily at the gauntlet at the end of the Mission, however taking Ratling fire at any point earlier in the mission will also void the challenge. A shield and a high Stamina Blocking character and loadout are heavily recommended. It is possible to cheese this challenge by joining a game whilst the other players are already entering the Bridge of Shadows, but this is probably unreliable.
GLAZIER'S HOLIDAY[ | ]
Legend: Survive the hideout event on The Pit without allowing a single barricade to be destroyed
There are four Barricades on the ground floor, and three on the first floor. All of these must be barricaded prior to the event starting and none of them may be fully broken through. Enemies will tend to focus on two or three of these windows, but there will always be enemies which spawn at all of them, so they must all be watched by at least one player. The bottom left window will usually see the largest number of enemy spawns. Ranged Damage and Crowd Control is key here, so having two Characters who do not have to worry about ammo (Sienna Fuegonasus and the Ironbreaker) will really help, as there is only one guaranteed ammo box, and this is on the first floor.
OLD WORLD DASH: BÖGENHAFEN[ | ]
Legend: Reach the Bridge of Shadows within thirty seconds of starting the gauntlet on The Pit
A stealth character is recommended here, or perhaps Foot Knight or Battle Wizard abusing their career skills, along with a setup that boosts movement speed. Potions of speed and/or concentration are invaluable. This is an individual achievement, and will not be given to the whole party if one player manages it.