Ogkspaz7754 (talk | contribs) (Changed Bedroll images after the addition of Chaos Wastes and swapped to UI less image of Victor's bedroll with original image naming scheme.) Tag: Visual edit |
Sinthorion (talk | contribs) m (Fixed heading (Collector's Edition shouldn't be under Weather)) |
||
| (4 intermediate revisions by 4 users not shown) | |||
| Line 46: | Line 46: | ||
=== Courtyard === |
=== Courtyard === |
||
[[File:Keep Training Dummies.jpg|alt=|384x384px|right|frameless]] |
[[File:Keep Training Dummies.jpg|alt=|384x384px|right|frameless]] |
||
| − | Several dummies can be found in the courtyard along with targets. Dummies can be picked up and moved to other locations in The Keep, although they will respawn in their original location if the player leaves The Keep for any reason. The dummies are available in an armoured and unarmoured version, and display damage taken above their head. Dummy damage is standard damage |
+ | Several dummies can be found in the courtyard along with targets. Dummies can be picked up and moved to other locations in The Keep, although they will respawn in their original location if the player leaves The Keep for any reason. The dummies are available in an armoured and unarmoured version, and display damage taken above their head. Dummy damage is standard damage. Headshots are yellow, critical hits are orange. Some forms of damage and attacks such as the [[Kerillian's Hagbane Shortbow|Hagbane Shortbow]]'s poison and [[Sienna Fuegonasus|Sienna]]'s staves might not currently affect the dummy properly. Dummies are also not currently affected by [[Passive abilities|Passives]], and it is unclear if dummies count as [[Infantry]] or [[Monster]] or [[Berserker]] and etc. for calculating [[Equipment]] bonuses. They do however count as [[Chaos]] and/or [[Armoured]] depending on the dummy. |
While training dummies are not perfectly accurate in determining your in-game damage, they are still quite useful for giving players a general idea of what special abilities like 'Enhanced Critical Power' look like in terms of damage output. |
While training dummies are not perfectly accurate in determining your in-game damage, they are still quite useful for giving players a general idea of what special abilities like 'Enhanced Critical Power' look like in terms of damage output. |
||
| Line 178: | Line 178: | ||
== Trophy Room == |
== Trophy Room == |
||
| − | The trophy room will be populated with relics after completing certain missions, usually involving killing [[Lords|Bosses]]. The relics obtainable are as follows: |
+ | The trophy room will be populated with relics after completing certain missions, usually involving killing [[Lords|Bosses]]. The skull-like trims of the trophy stands will upgrade in quality when completing the missions on a higher difficulty, with the highest material being gold for Legend and Cataclysm completions. The relics obtainable are as follows: |
{| class="wikitable" style="width: 87.5%"| |
{| class="wikitable" style="width: 87.5%"| |
||
| style="width: 16%"| |
| style="width: 16%"| |
||
| − | |Complete Act 1 by Killing [[Burblespue Halescourge]][[File:Keeptrophy Act1 Gruestave and Festertome.jpg|center|frameless| |
+ | |Complete Act 1 by Killing [[Burblespue Halescourge]][[File:Keeptrophy Act1 Gruestave and Festertome.jpg|center|frameless|320x320px|alt=]] |
| − | |Complete Act 2 by killing [[Skarrik Spinemanglr]][[File:Keeptrophy Act2 Skarrik's Skull Rack.jpg|center|frameless| |
+ | |Complete Act 2 by killing [[Skarrik Spinemanglr]][[File:Keeptrophy Act2 Skarrik's Skull Rack.jpg|center|frameless|320x320px|alt=]] |
| style="width: 16%"| |
| style="width: 16%"| |
||
|} |
|} |
||
{| class="wikitable" style="width: 87.5%"| |
{| class="wikitable" style="width: 87.5%"| |
||
| − | |Complete Act 3 by Killing [[Bödvarr Ribspreader]][[File:Keeptrophy Act3 Grandfather's Blessing.jpg|center|frameless| |
+ | |Complete Act 3 by Killing [[Bödvarr Ribspreader]][[File:Keeptrophy Act3 Grandfather's Blessing.jpg|center|frameless|320x320px|alt=]] |
| − | |Complete the Finale by killing [[Rasknitt]][[File:Keeptrophy Finale Helm of the Thirteenth Seer.jpg|center|frameless| |
+ | |Complete the Finale by killing [[Rasknitt]][[File:Keeptrophy Finale Helm of the Thirteenth Seer.jpg|center|frameless|320x320px|alt=]] |
| − | |Complete Bögenhafen by finding [[The Blightreaper (runesword)|The Blightreaper]][[File:Keeptrophy DLC1 The Blightreaper.jpg|center|frameless| |
+ | |Complete Bögenhafen by finding [[The Blightreaper (runesword)|The Blightreaper]][[File:Keeptrophy DLC1 The Blightreaper.jpg|center|frameless|320x320px|alt=]] |
|} |
|} |
||
{| class="wikitable" style="width: 87.5%"| |
{| class="wikitable" style="width: 87.5%"| |
||
| style="width: 16%"| |
| style="width: 16%"| |
||
| − | |Complete Ubersreik by Surviving [[Fortunes of War]][[File:Keeptrophy DLC2 Izrakrak.jpg|center|frameless| |
+ | |Complete Ubersreik by Surviving [[Fortunes of War]][[File:Keeptrophy DLC2 Izrakrak.jpg|center|frameless|320x320px|alt=]] |
| − | |Complete Drachenfels by Killing [[Nurgloth the Eternal]][[File:Keeptrophy DLC4 Soulseethe and Mortibundus.jpg|center|frameless| |
+ | |Complete Drachenfels by Killing [[Nurgloth the Eternal]][[File:Keeptrophy DLC4 Soulseethe and Mortibundus.jpg|center|frameless|320x320px|alt=]] |
| style="width: 16%"| |
| style="width: 16%"| |
||
|} |
|} |
||
| Line 230: | Line 230: | ||
* Bit of rain today. |
* Bit of rain today. |
||
| − | + | == Collector's Edition == |
|
[[File:Keep Statue of Sigmar.jpg|frameless|480x480px]] |
[[File:Keep Statue of Sigmar.jpg|frameless|480x480px]] |
||
Latest revision as of 12:07, 29 May 2022

| “ | Welcome to our Keep! Not as homely as the Red Moon perhaps, but it's safe, secluded and sturdier than it looks. Most importantly, it's ideal as a secret base from which to wage a war of resistance. Or rather, Olesya has made it ideal. The portal she opened up to bring you here is powerful Ulgu magic. The Bridge of Shadows. It's what we'll use to get you people to where you need to be. A lot quicker than her old cart, I tell ya. So take a look around the place, and when ready, have a gander at the map. There's always work to do. | „ |
| ~ Lohner |
NOTE: The Keep is currently being renovated and as such, some rooms have already been moved around.
The home base of the Heroes.
While within The Keep, players can change Heroes and Careers, allocate Talents, change and Craft Equipment, and start Missions. Players can also talk to NPCs, consume Potions, throw Bombs, attack Training dummies, and interact with Items such as the hourglass. The keep is also constructed in such a manner that there are various jumping puzzles on which to practice.
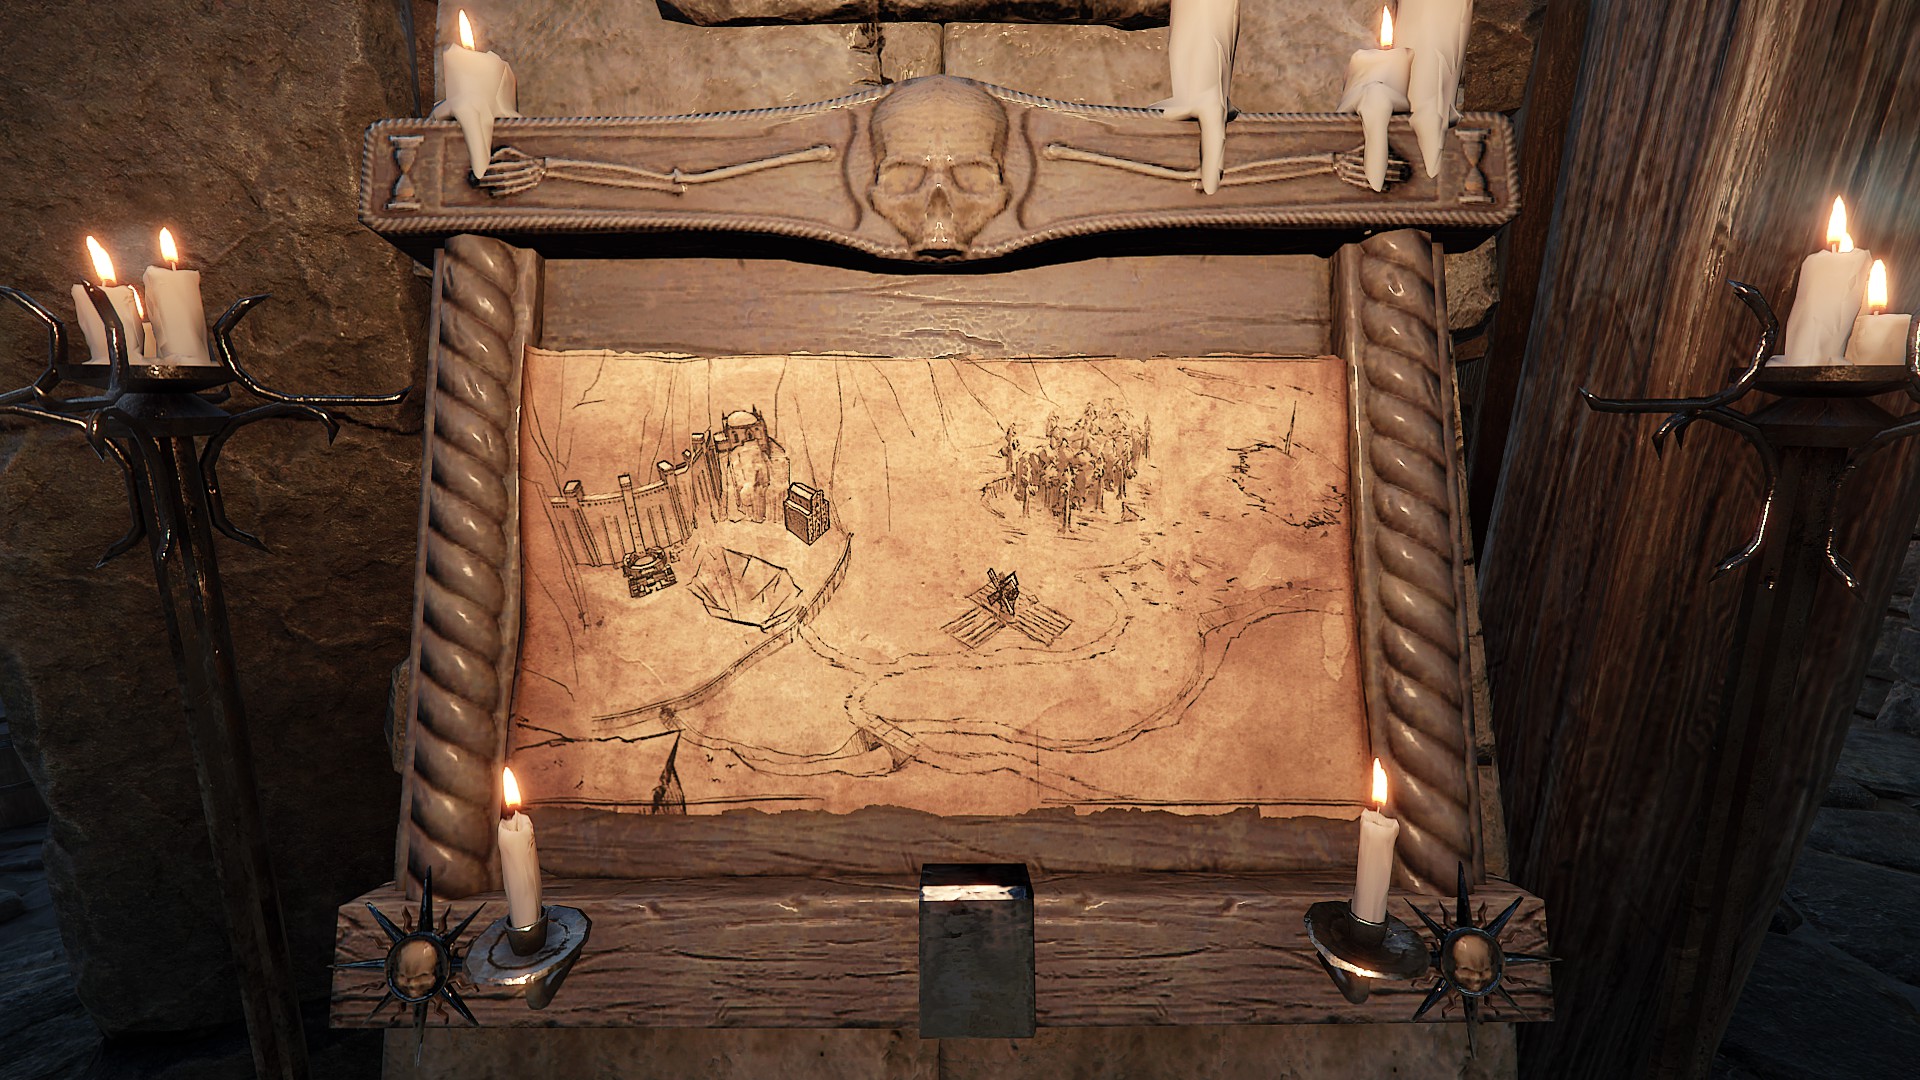
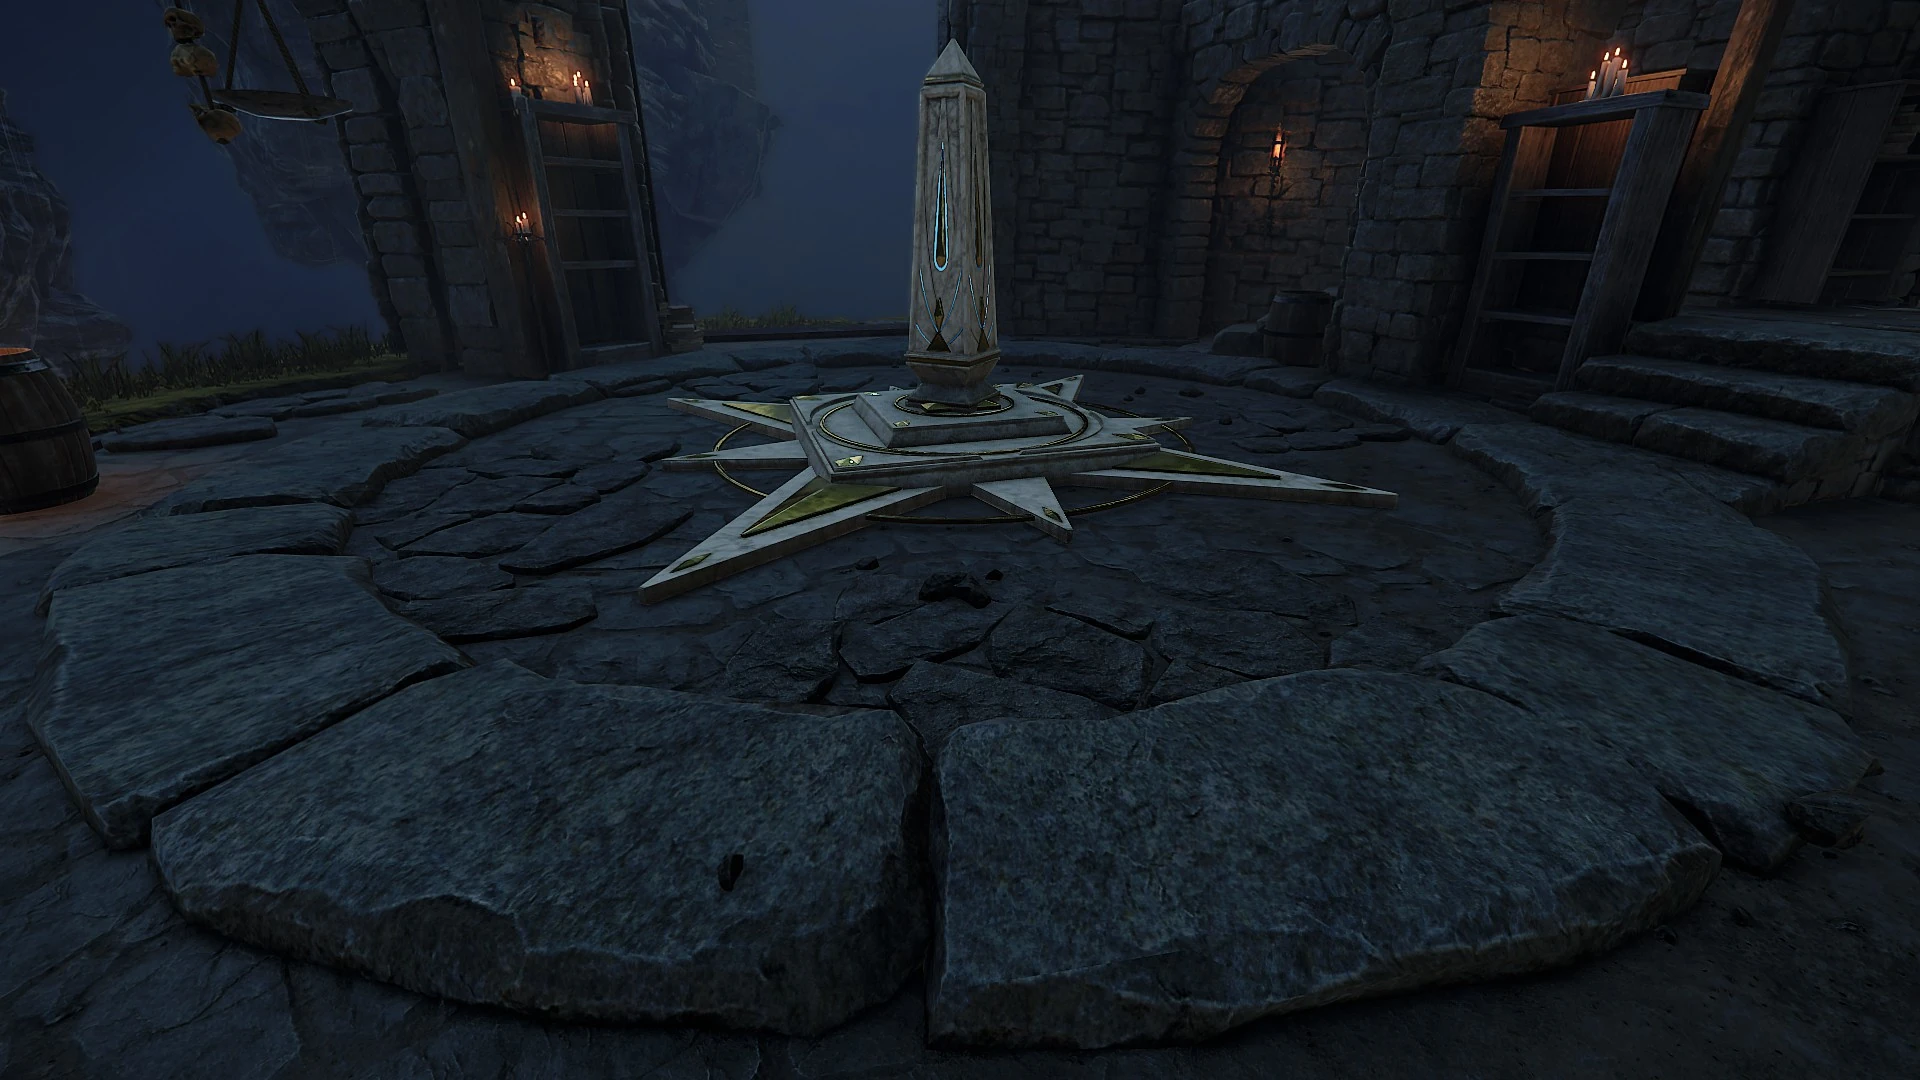
Notable locations[ | ]
Workstations[ | ]
Various player menus are also accessible as physical workstations inside the keep.
| Workstations | ||
|---|---|---|
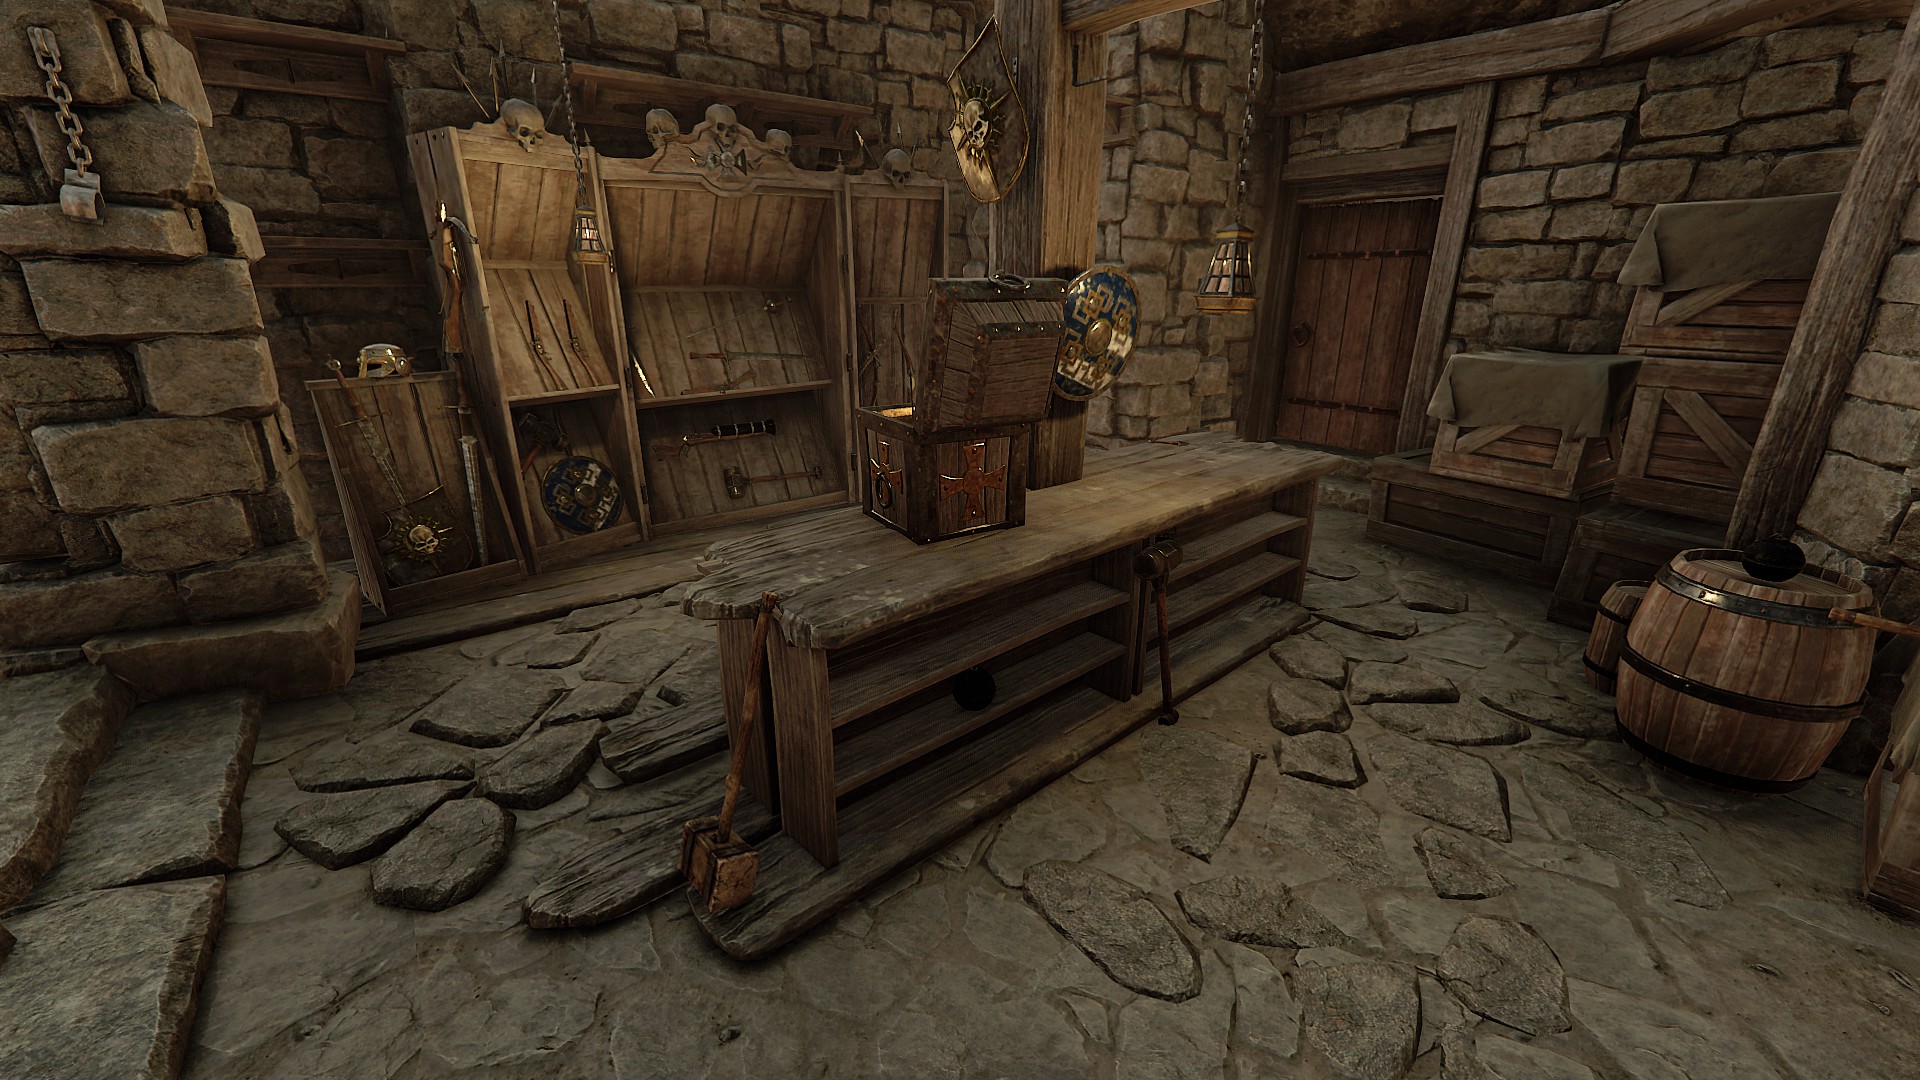
Armoury (old) |

Cosmetics (old) |

Dwarfen Lodestone |

Hero Select |
Mission Select |

Okri's Challenges |

Spoils of War |

Sternenlicht Forge (old) |

Talents Table |
Arcanum[ | ]

In an area available in the base game, the Arcanum becomes more important to people who own Winds of Magic. There the DLC owners can forge their Weave-specific Weapons, look up Olesya's Tally, which displays the season's high scores, as well as enter the weaves.
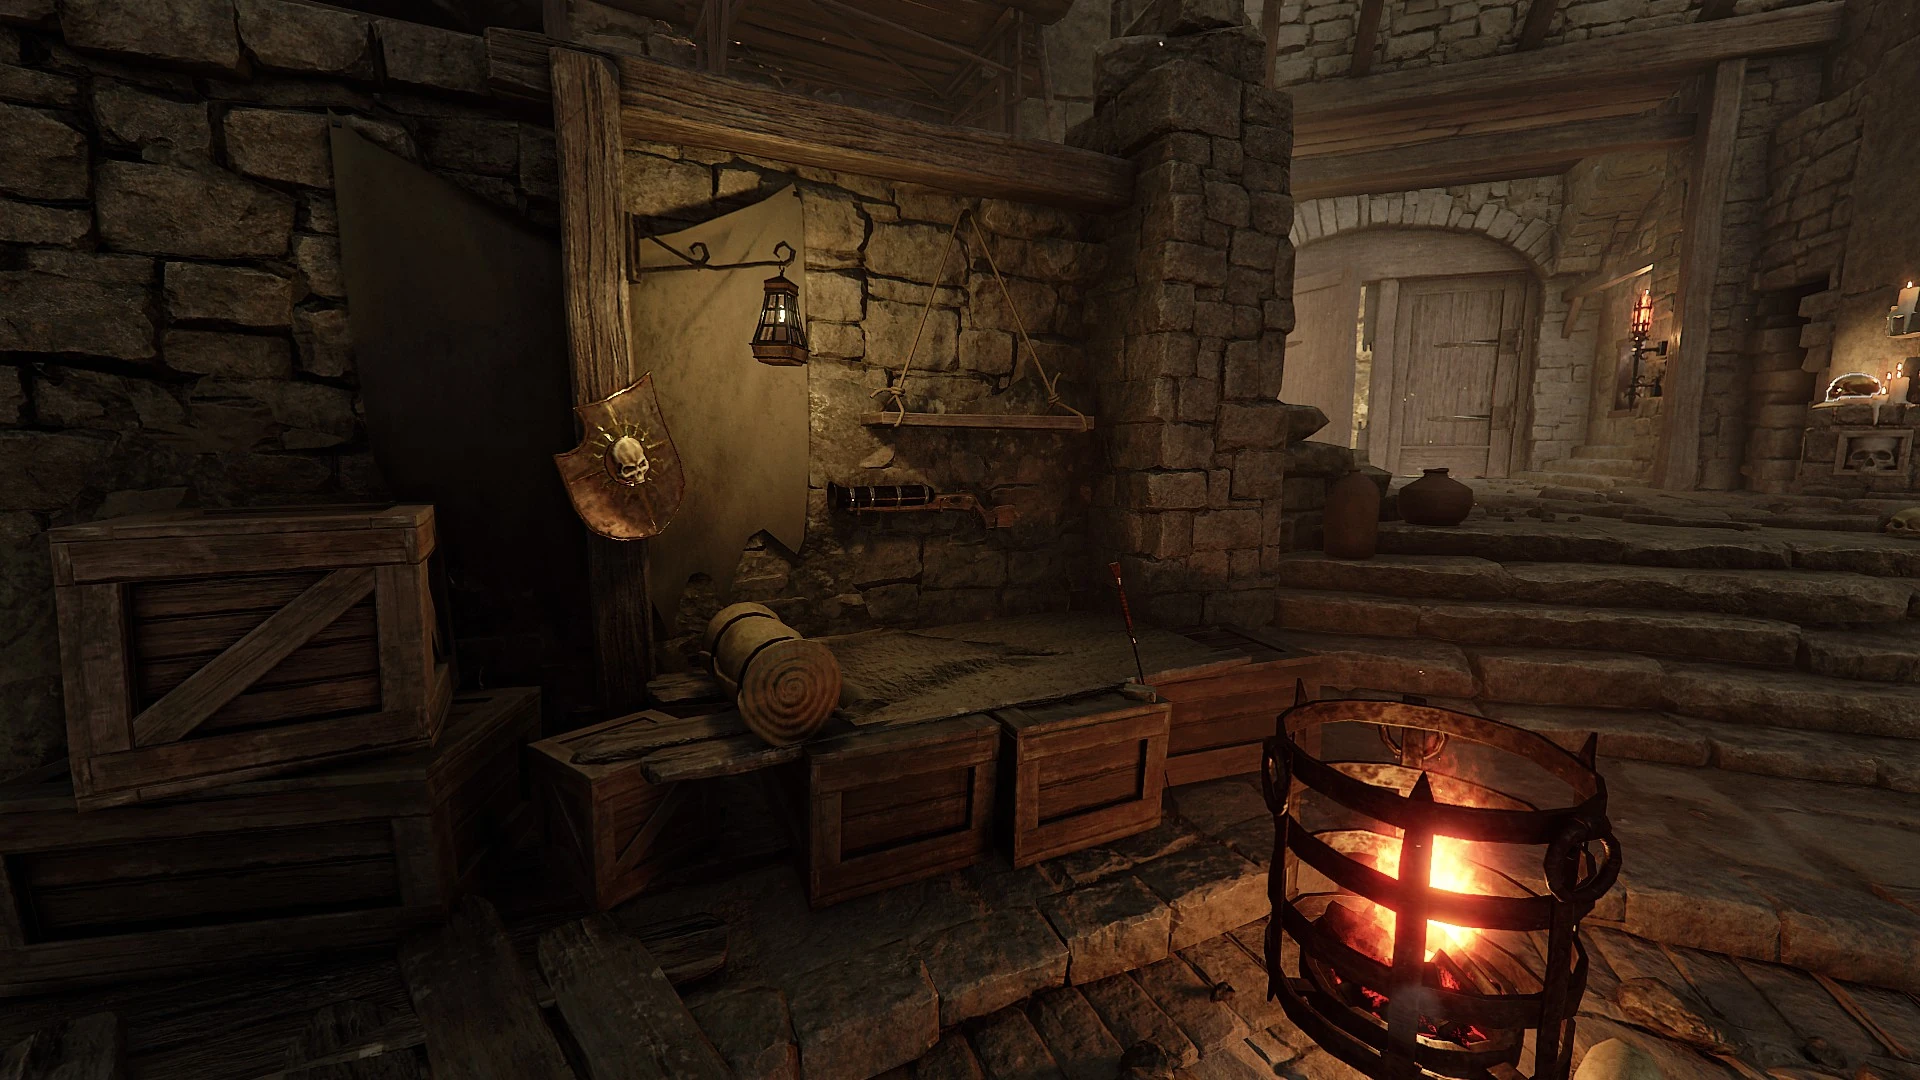
Courtyard[ | ]
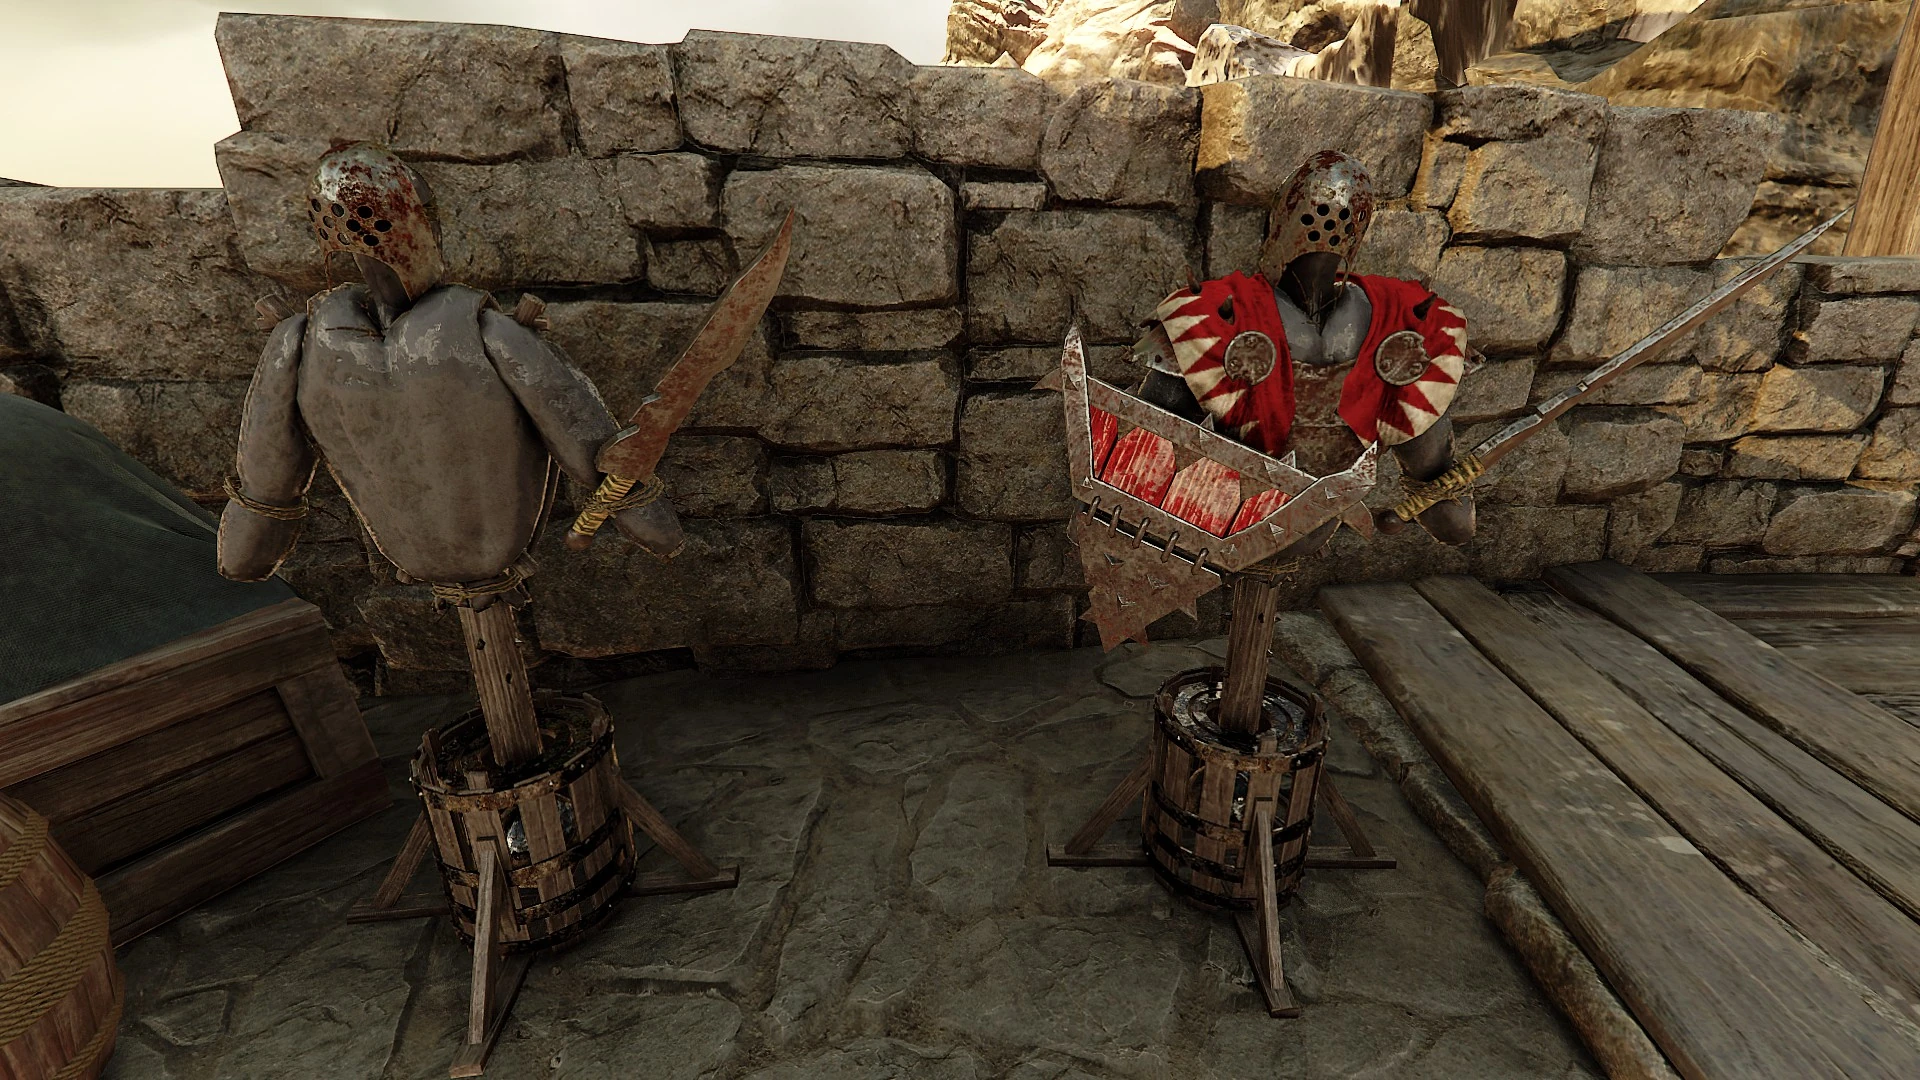
Several dummies can be found in the courtyard along with targets. Dummies can be picked up and moved to other locations in The Keep, although they will respawn in their original location if the player leaves The Keep for any reason. The dummies are available in an armoured and unarmoured version, and display damage taken above their head. Dummy damage is standard damage. Headshots are yellow, critical hits are orange. Some forms of damage and attacks such as the Hagbane Shortbow's poison and Sienna's staves might not currently affect the dummy properly. Dummies are also not currently affected by Passives, and it is unclear if dummies count as Infantry or Monster or Berserker and etc. for calculating Equipment bonuses. They do however count as Chaos and/or Armoured depending on the dummy.
While training dummies are not perfectly accurate in determining your in-game damage, they are still quite useful for giving players a general idea of what special abilities like 'Enhanced Critical Power' look like in terms of damage output.
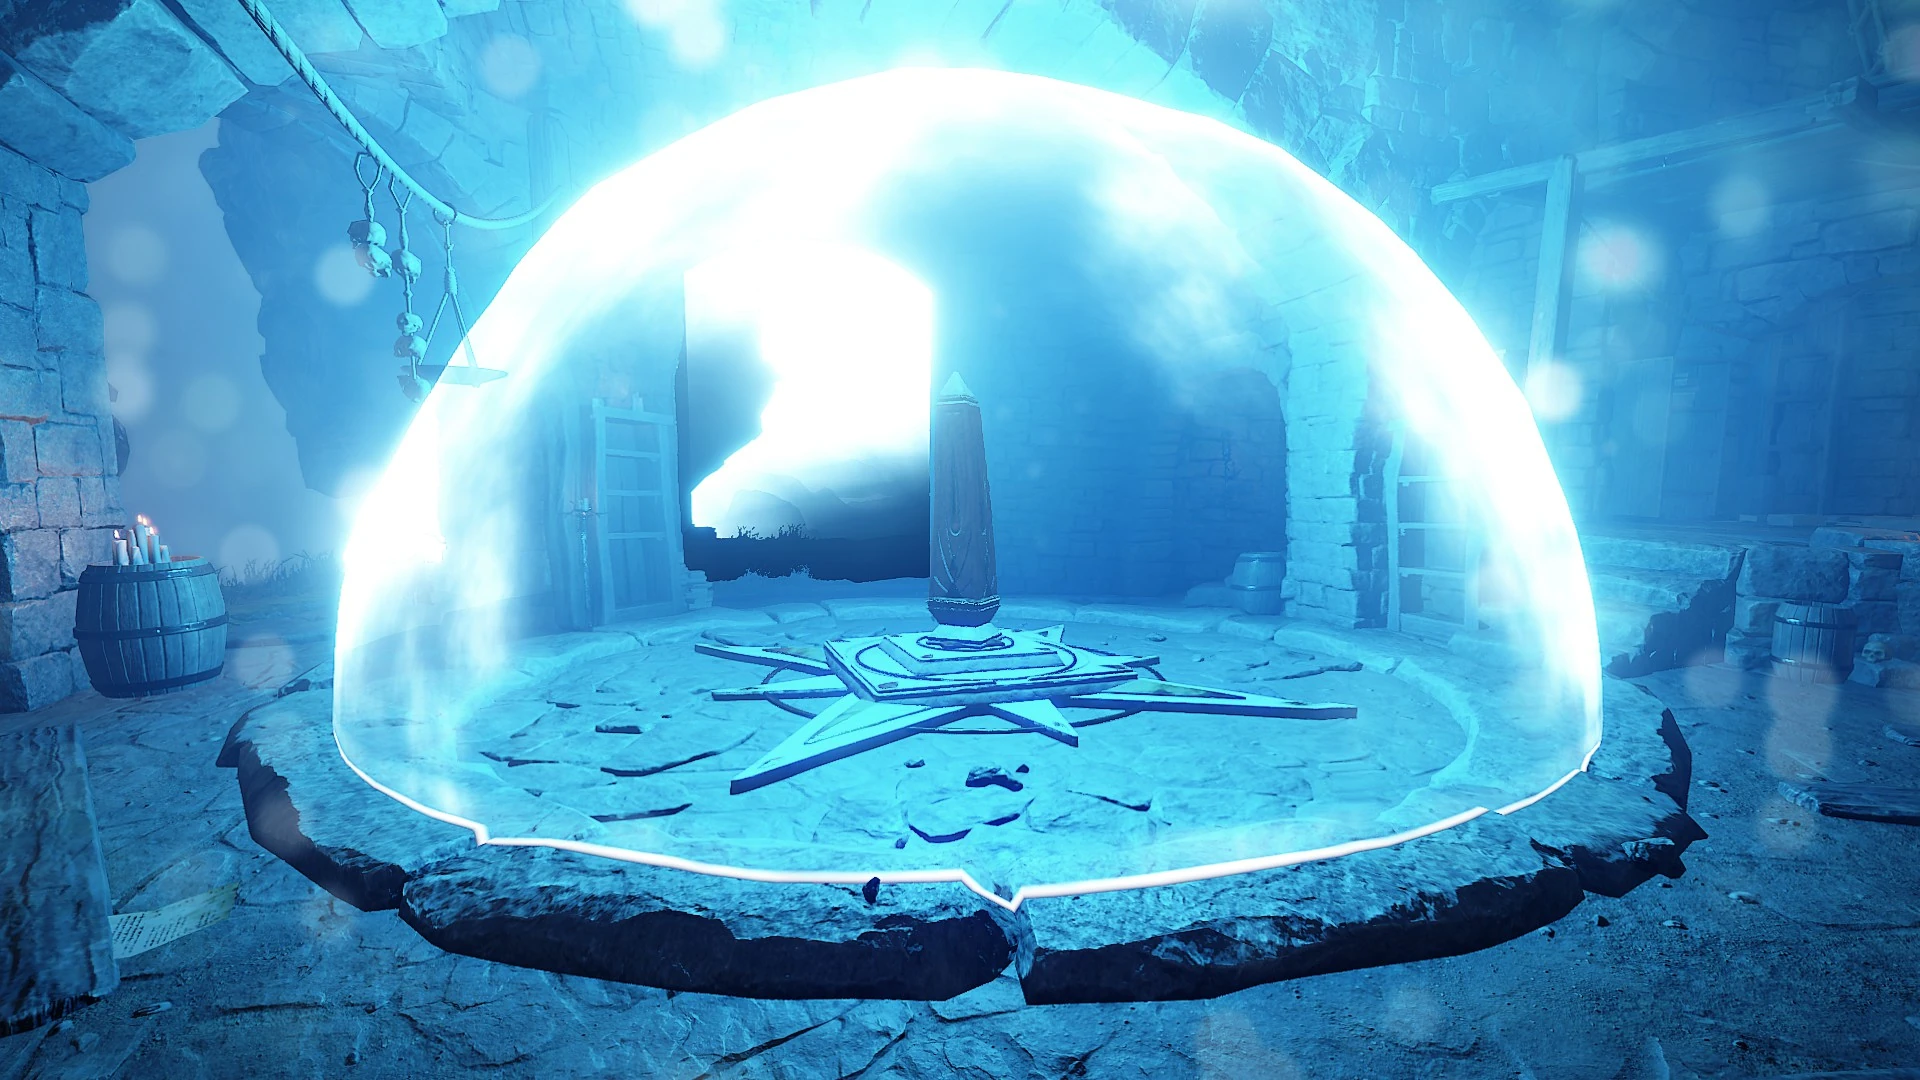
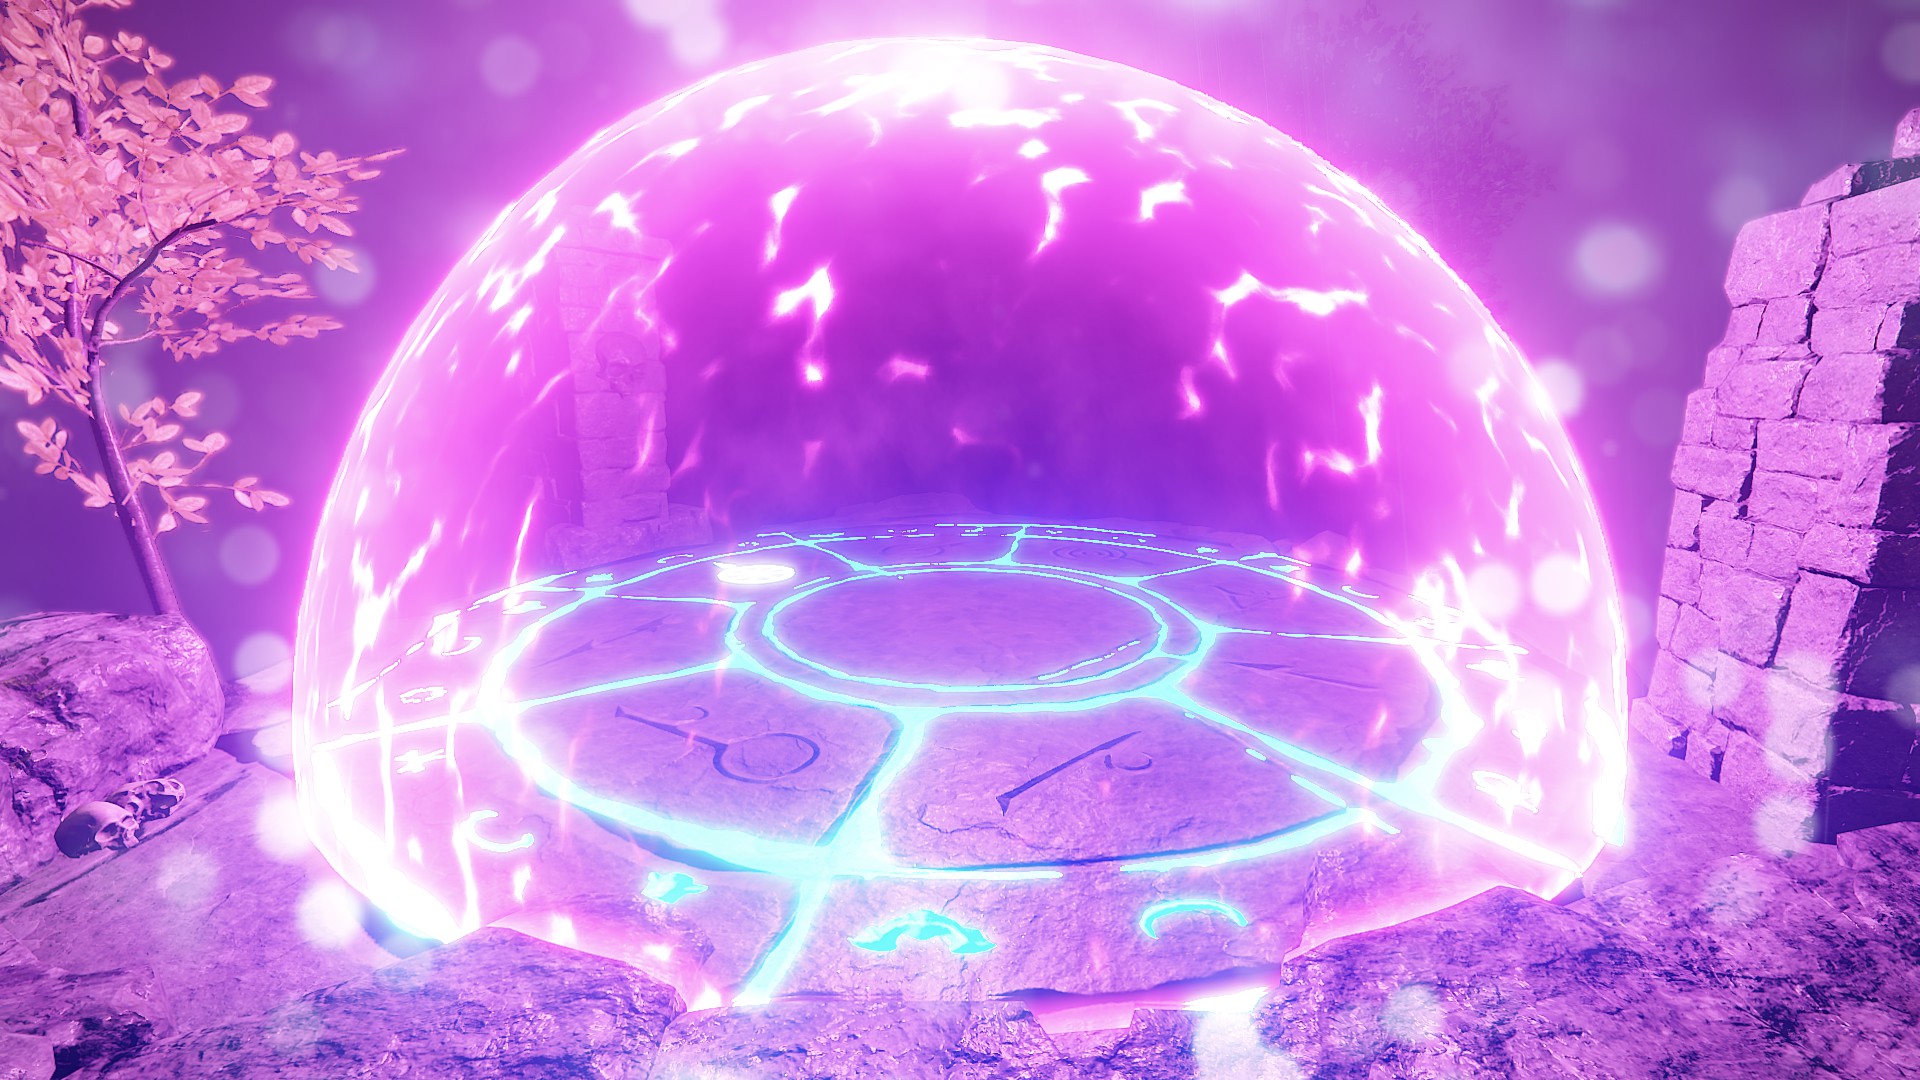
Bridge of Shadows[ | ]
The Bridge of Shadows is a portal created by Olesya in order to help the heroes get around Helmgart more easily. In the first Vermintide she used a cart pulled by shadowy horses, but it appears her power has grown since. When a mission is active, a large hemisphere appears, as Olesya performs the necessary magic to begin the teleportation sequence. All players (not including bots) must be inside in order for the mission countdown to complete. If a player leaves the Bridge of Shadows during the countdown, the mission start is delayed until everyone reconvenes, at which part the countdown starts again. After a mission is completed, all active players must enter the end Bridge of Shadows to return to the keep. Heroes can take damage while within the Bridge of Shadows, but enemies cannot enter it. Friendly fire can still be dealt to your allies, so refrain from throwing Bombs at them as a joke.
|
|

|
|

|
| Inactive Portal | Active Portal | Active Ubersreik Portal | Weave Portal | Expedition Portal |
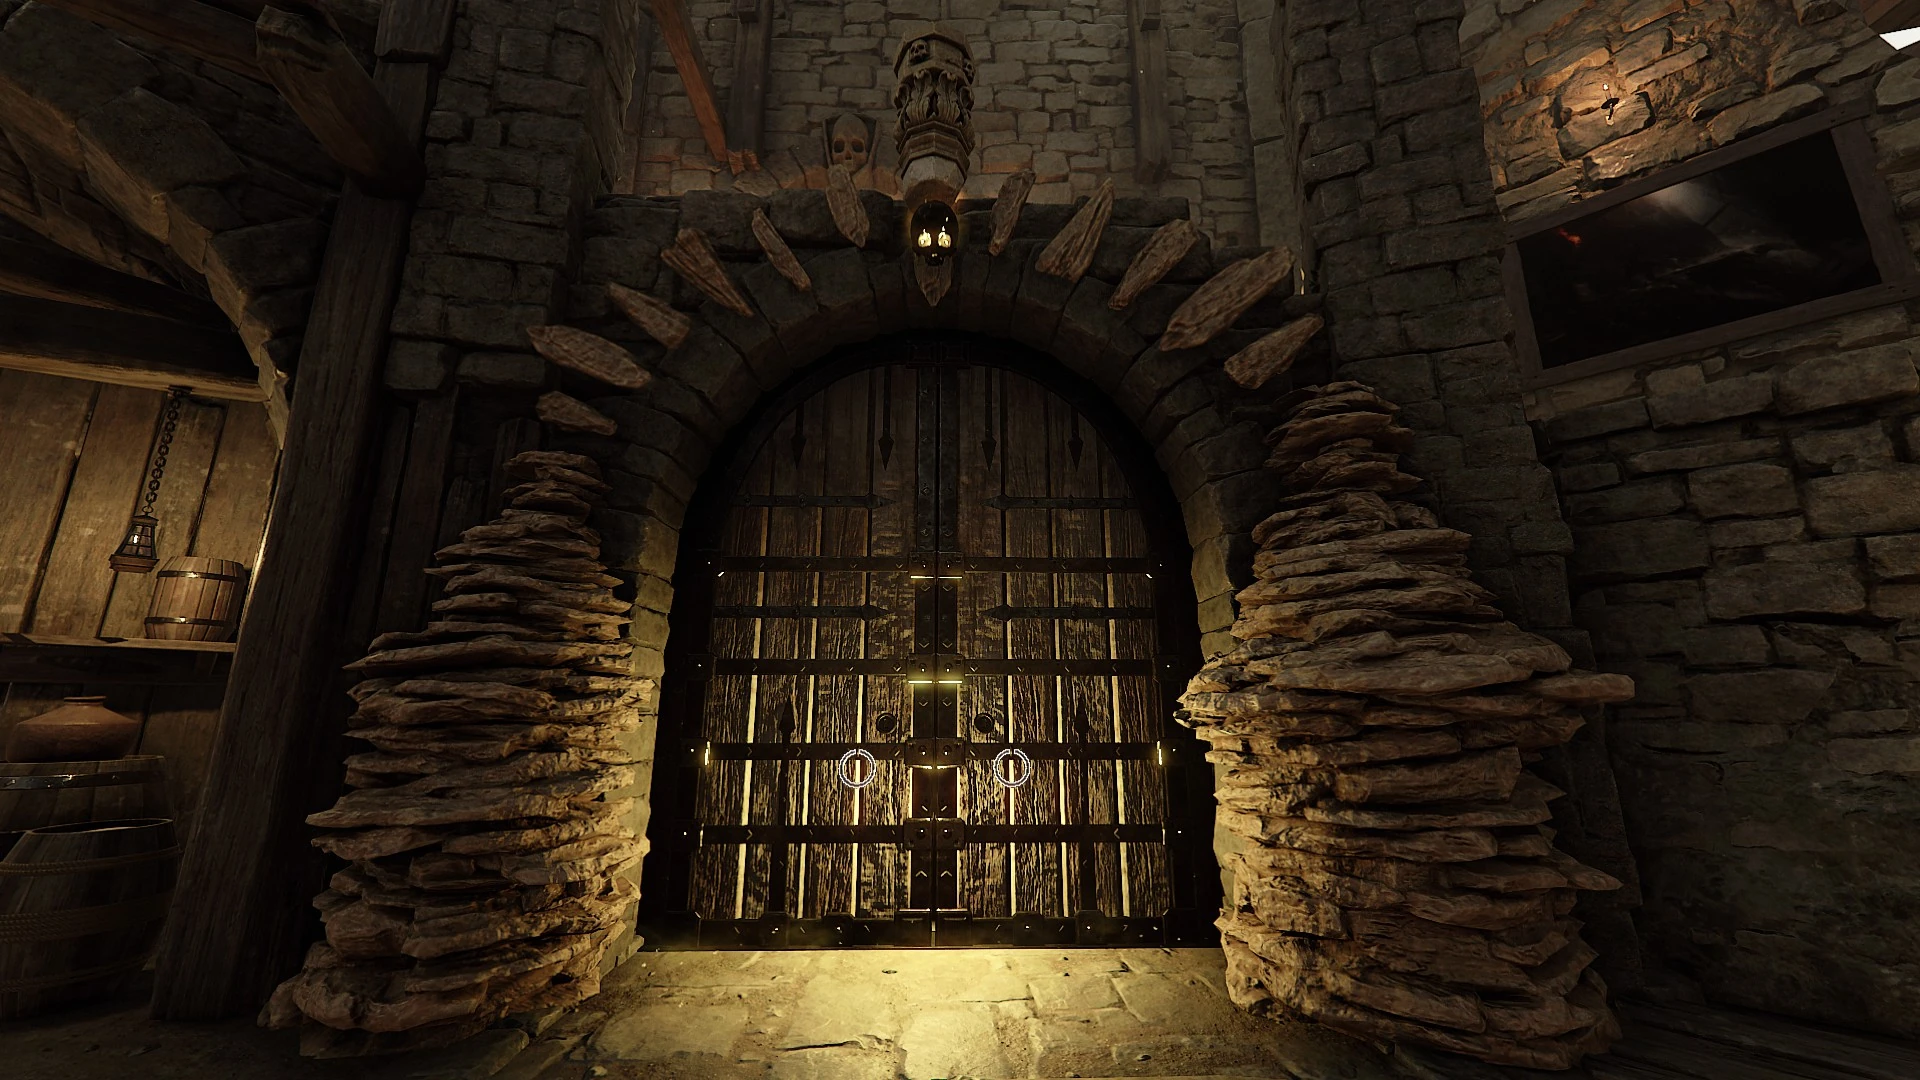
Chaos Wastes[ | ]
Door that leads to the Pilgrimage Chamber.
Progression[ | ]
The keep changes as you advance through the campaign.
Exterior[ | ]
The exterior of the keep is blocked off by rocks until you beat one mission.
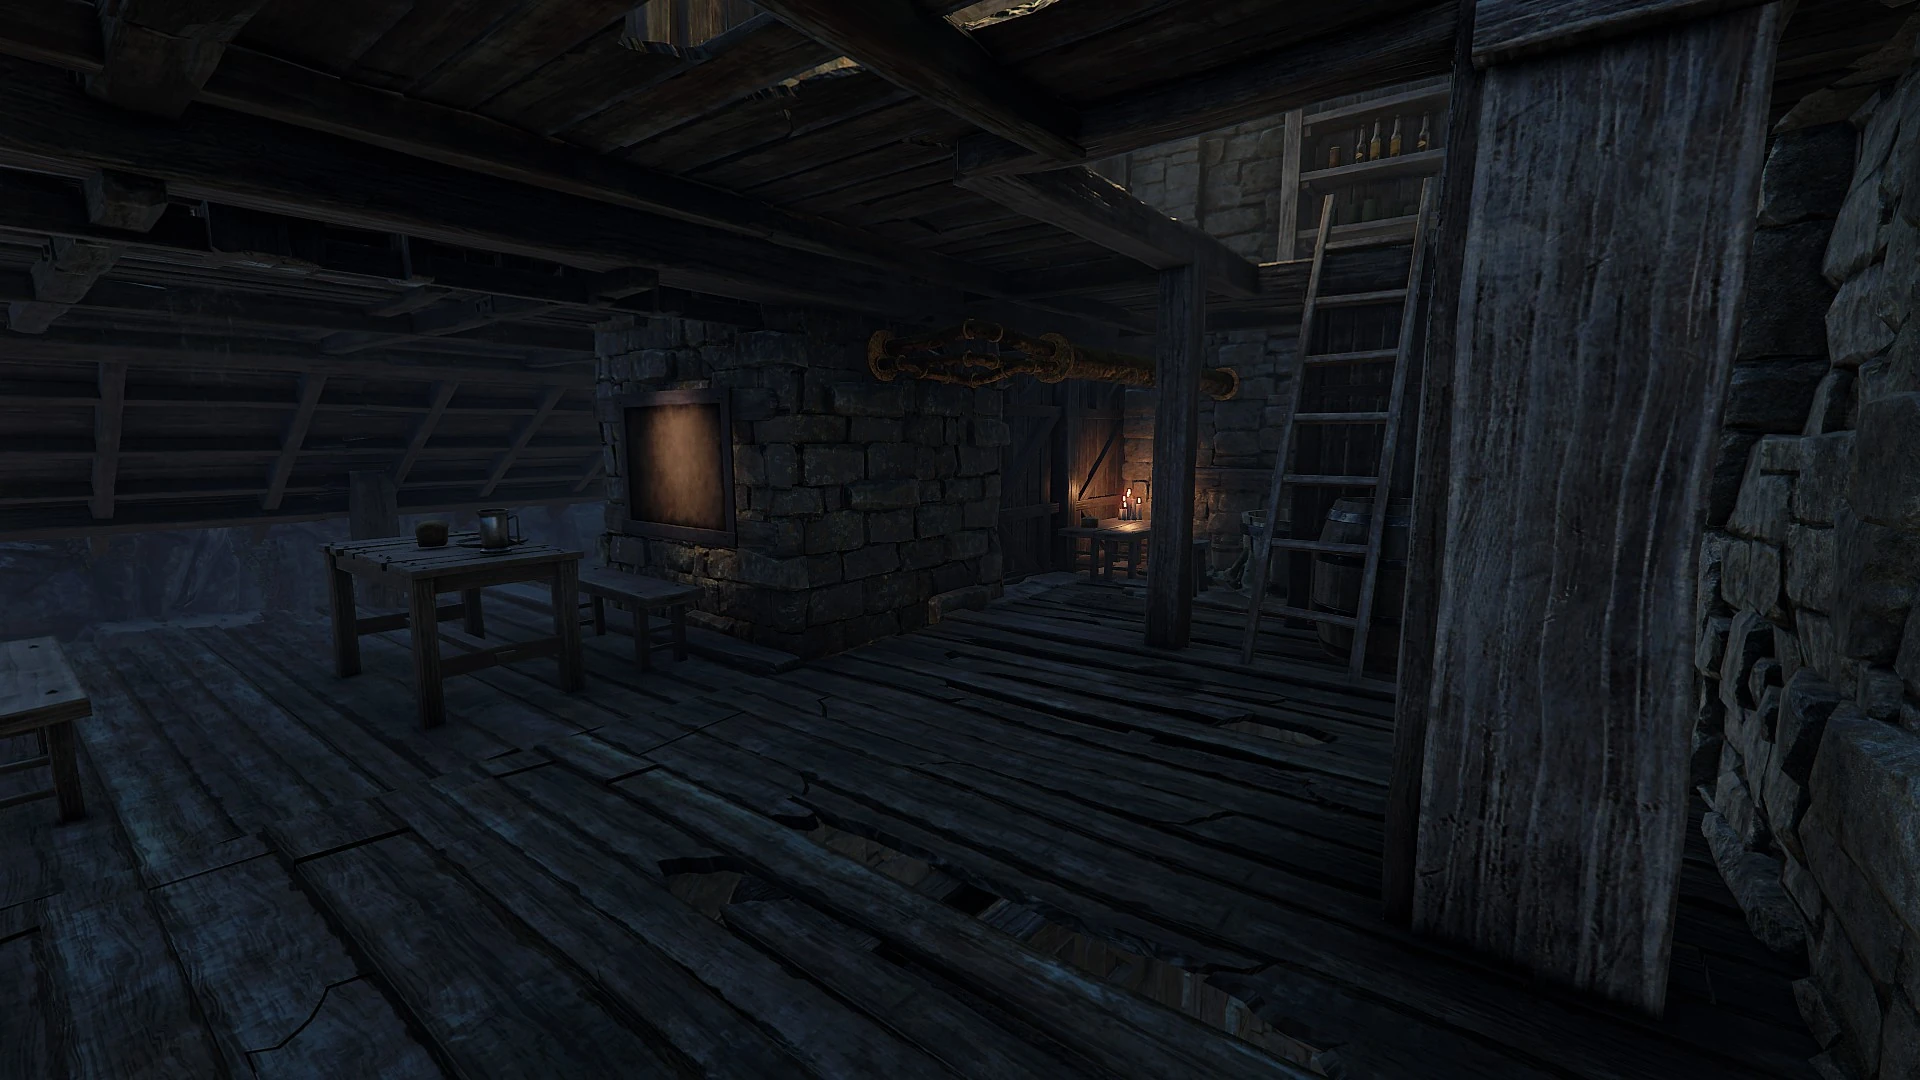
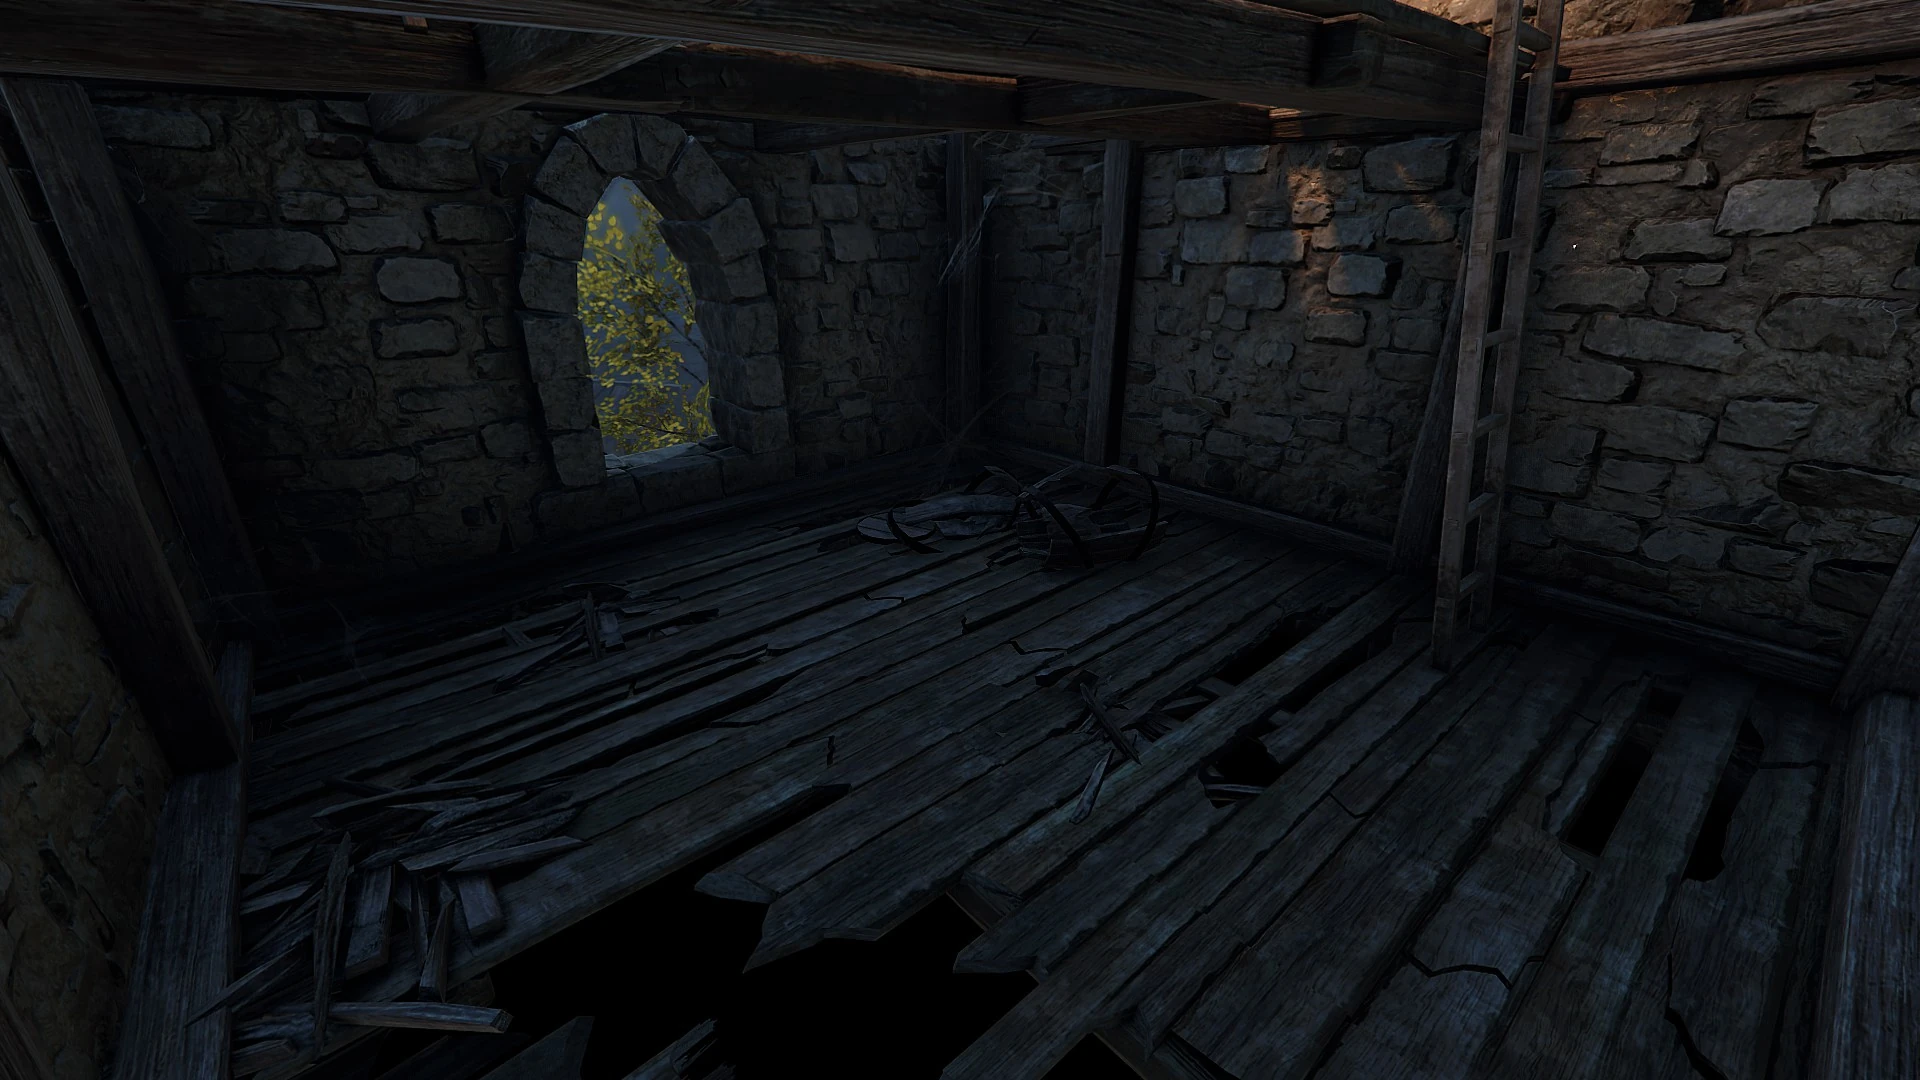
Upper Floors[ | ]
A portion of the keep is blocked off by rocks until you level two characters past level 1.
Crow Coop[ | ]
After finishing Act 3 missions, two ladders will be added to the upper floors that will give access to the crow coops.
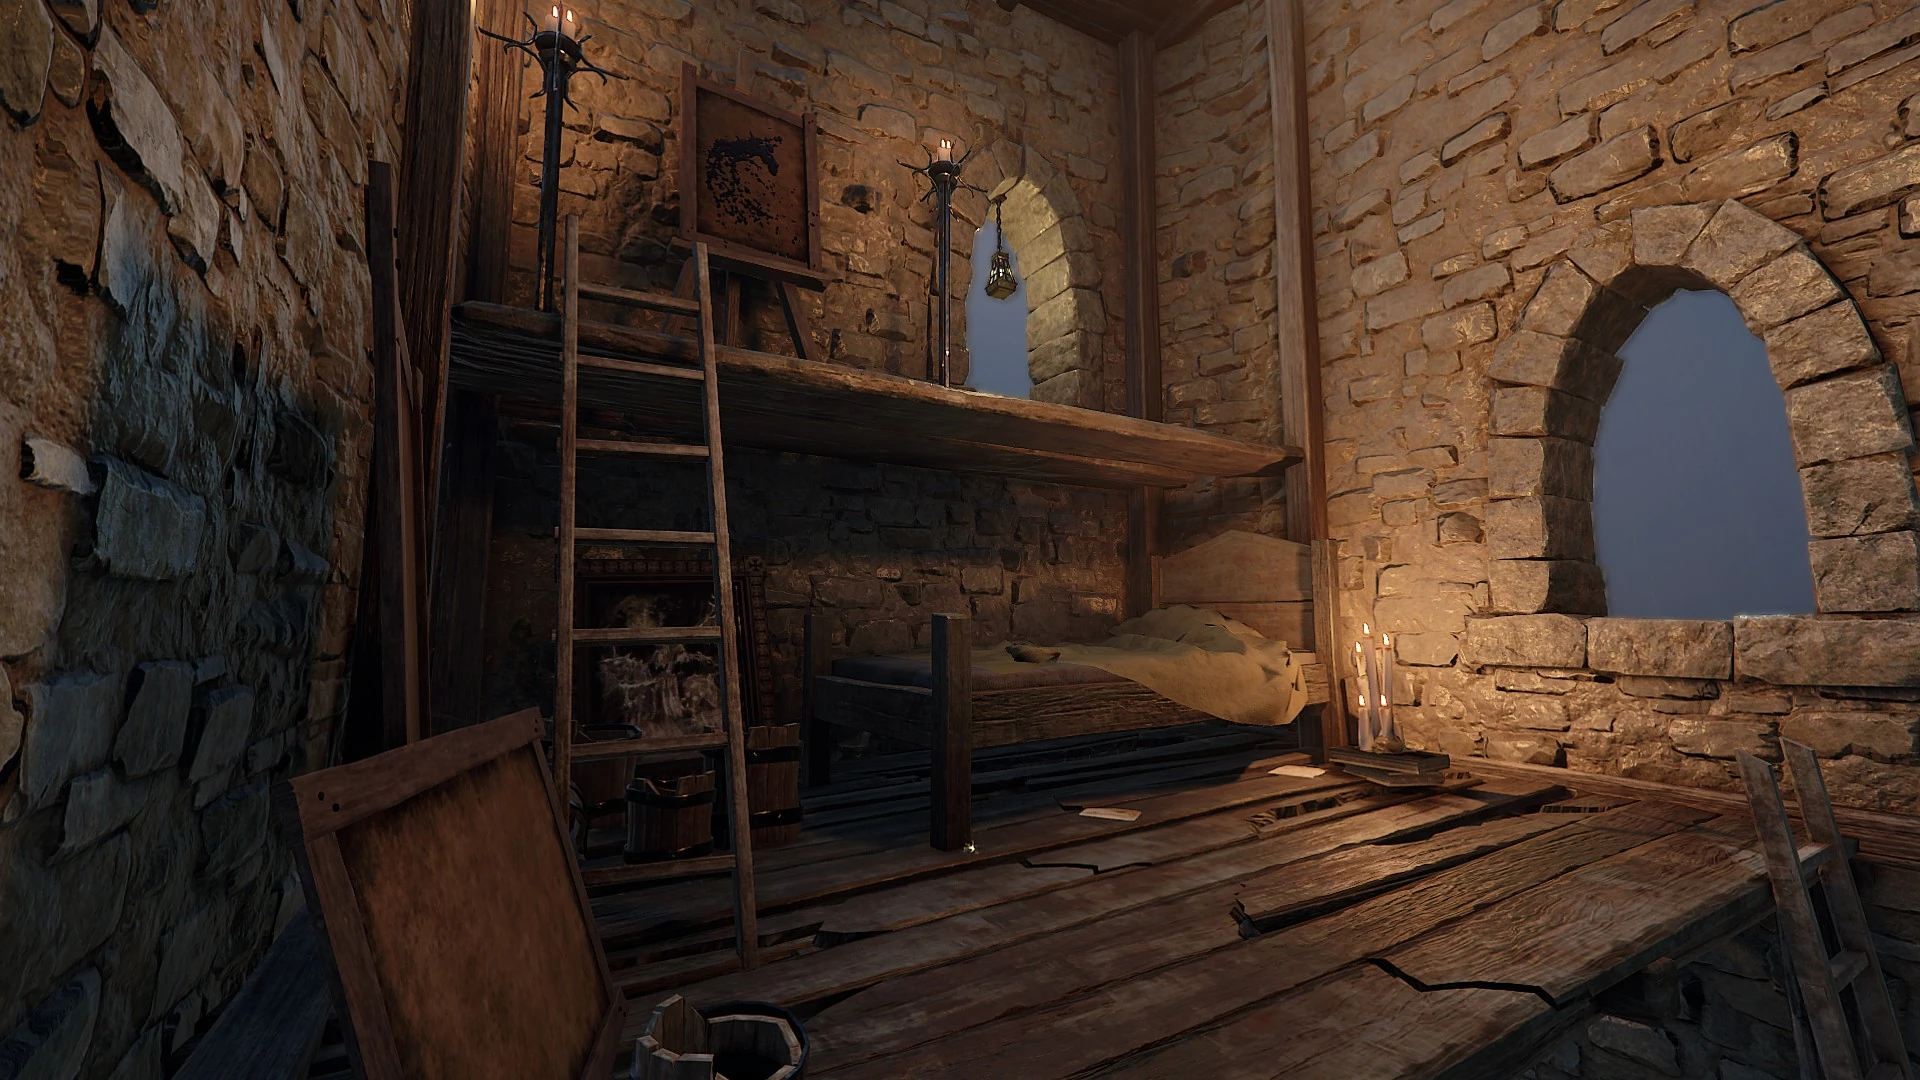
Sleeping Quarters[ | ]
Initially there is a bed for each of the heroes in the main chamber, but as you level each of them to 10 they each acquire their own private quarters elsewhere in the keep.
Markus Kruber[ | ]
Kruber's bedroll is to the front right of Spoils of War pedestal.
His quarters are up the stairs from the trophy room.
Bardin Gorekkson[ | ]
Bardin's bedroll is to the left of Lohner's Emporium of Wonders.

His quarters are just up the stairs from the water wheel. There is a small chance to find a Loot Die in the Chest in this room. Picking it up does not seem to have any benefit.
Kerillian[ | ]
Kerillian's bedroll is adjacent to Bardin's.
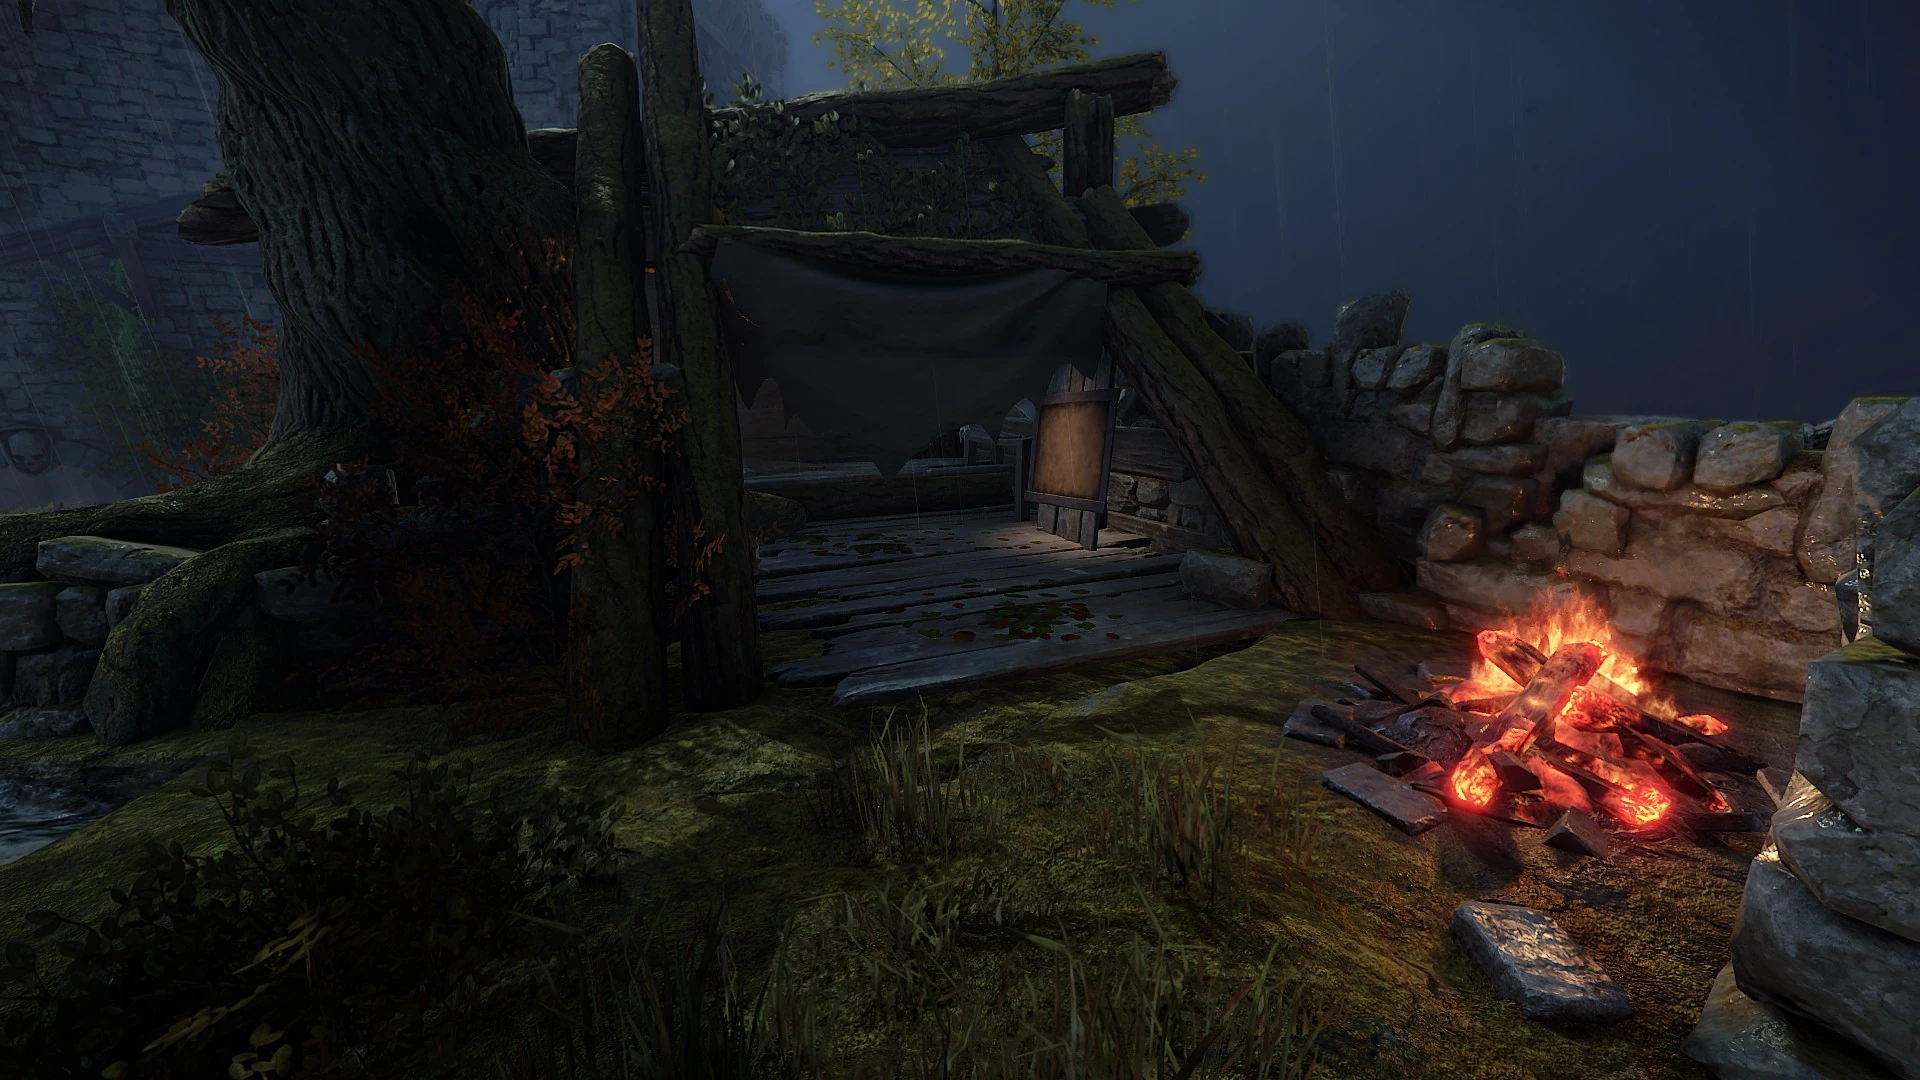
Her quarters are in a tent pitched against the Courtyard tree.
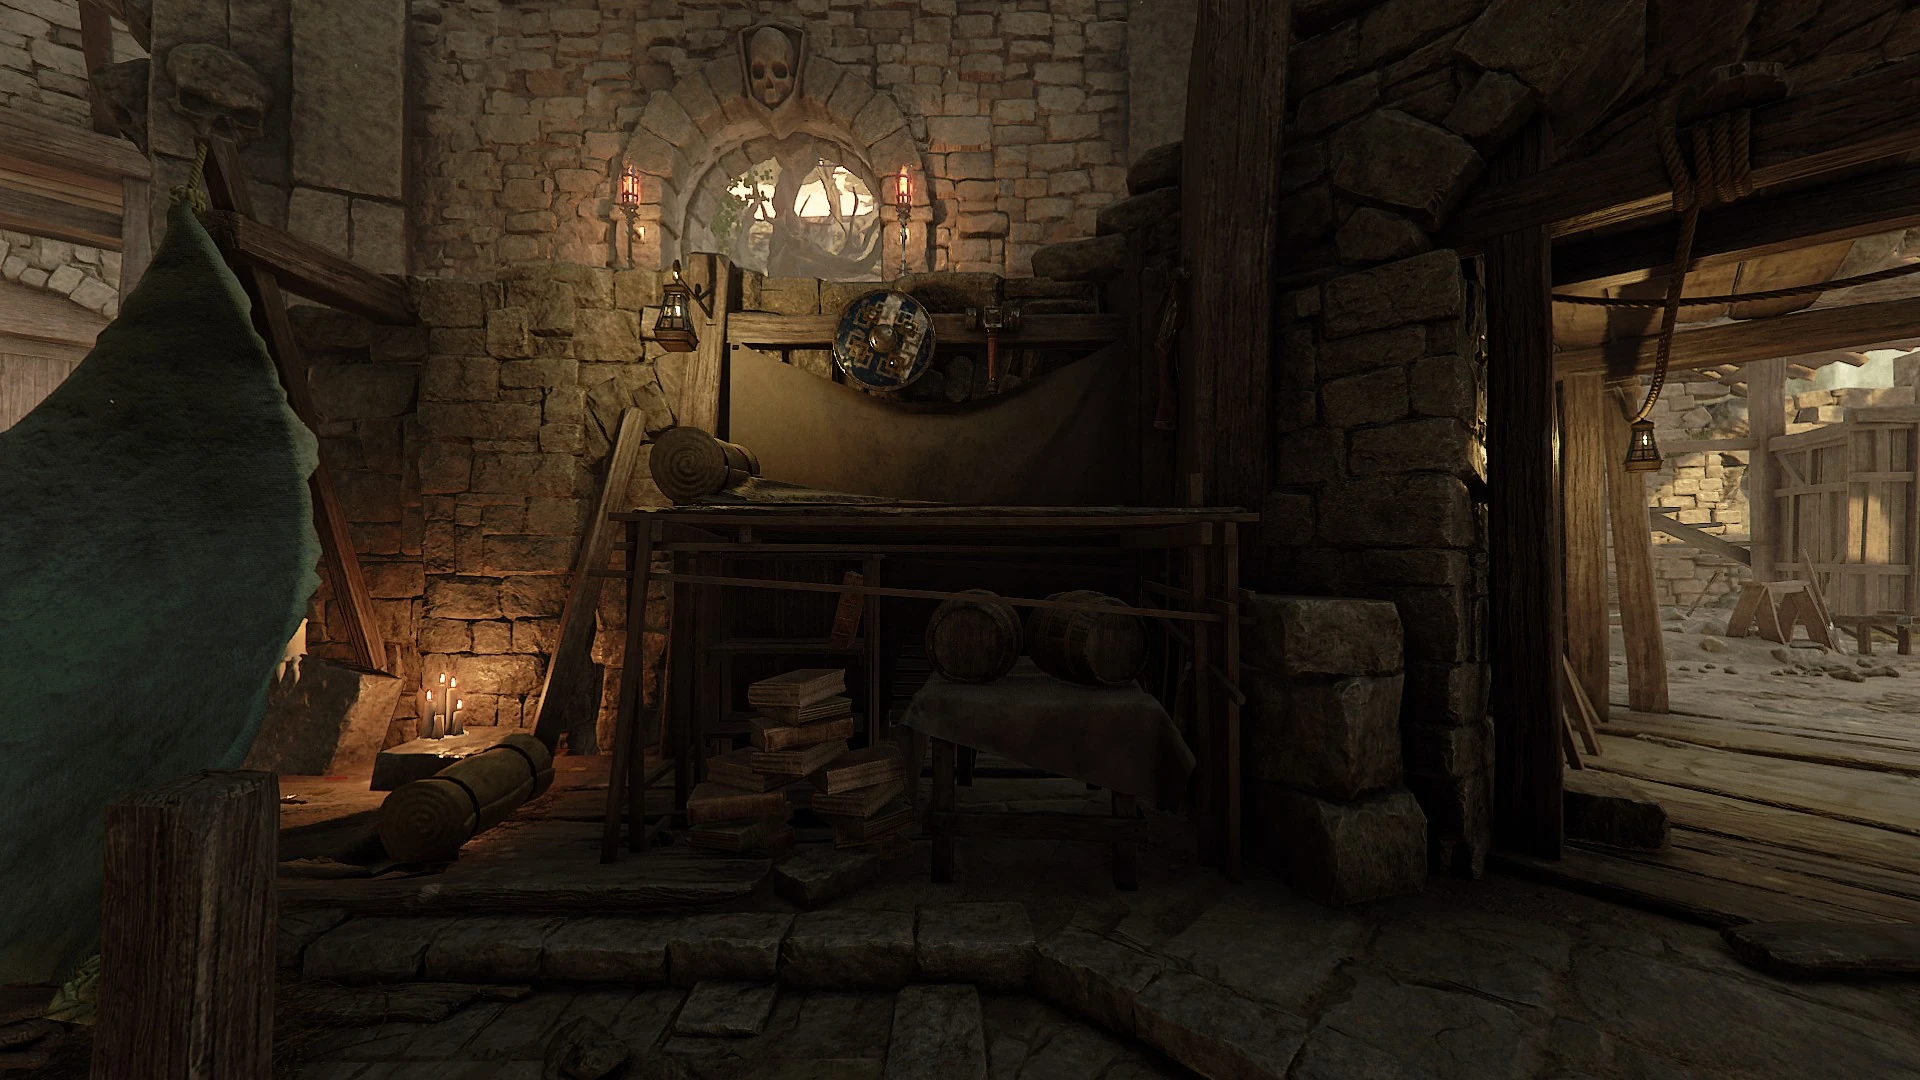
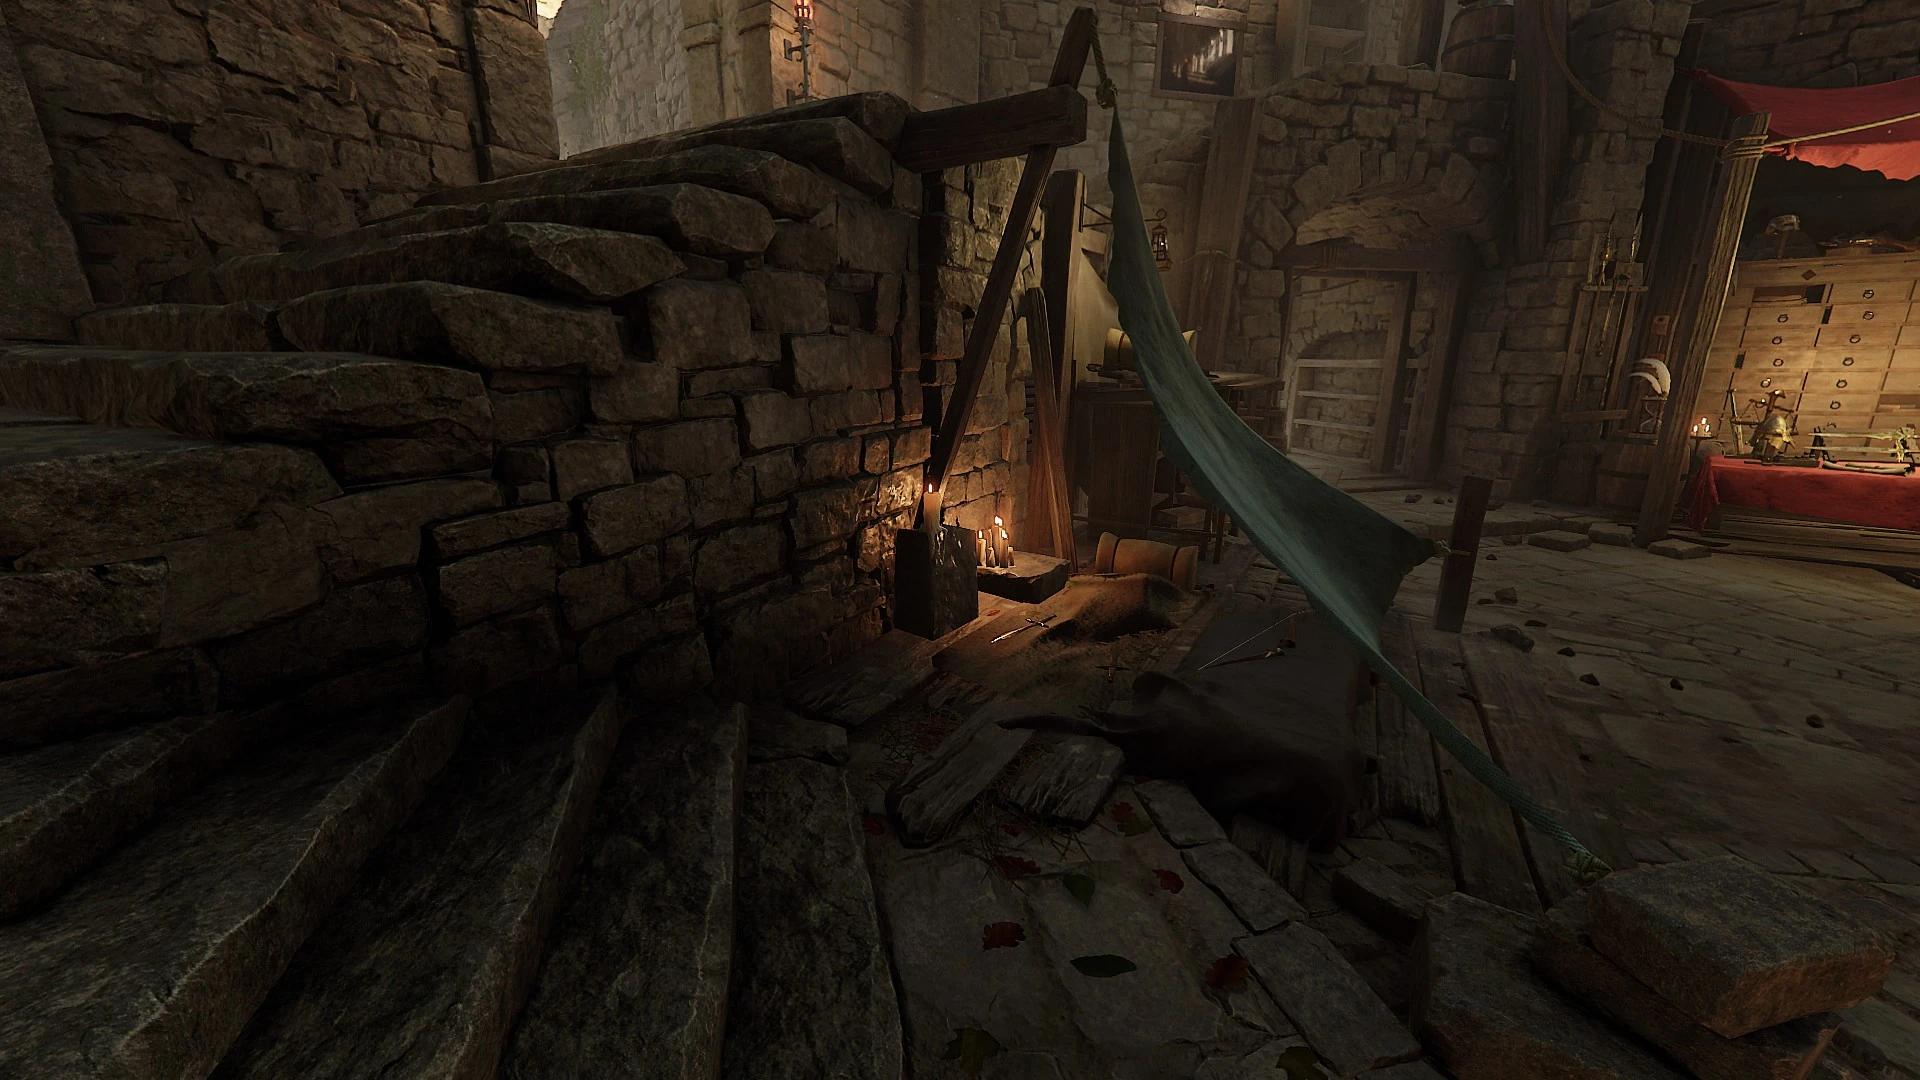
Victor Saltzpyre[ | ]
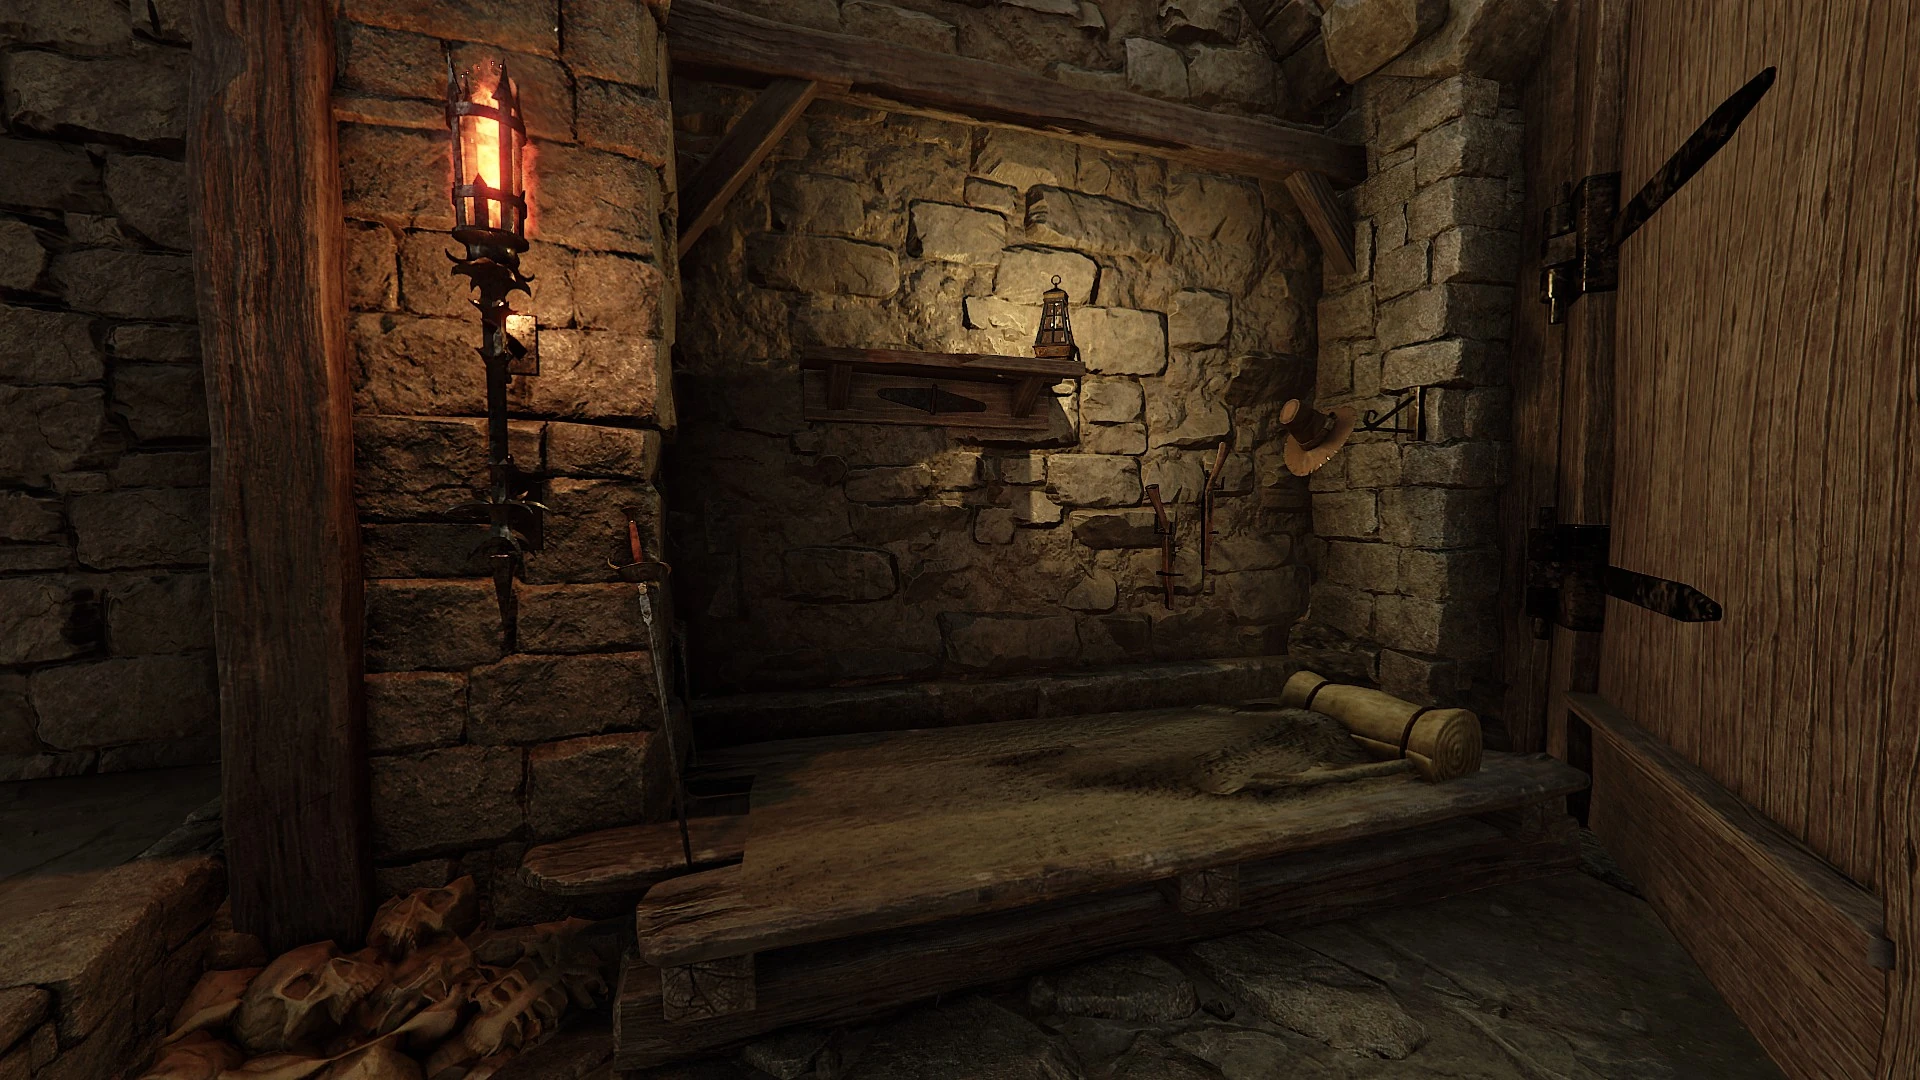
Victor's bedroll is to the left of the entrance.
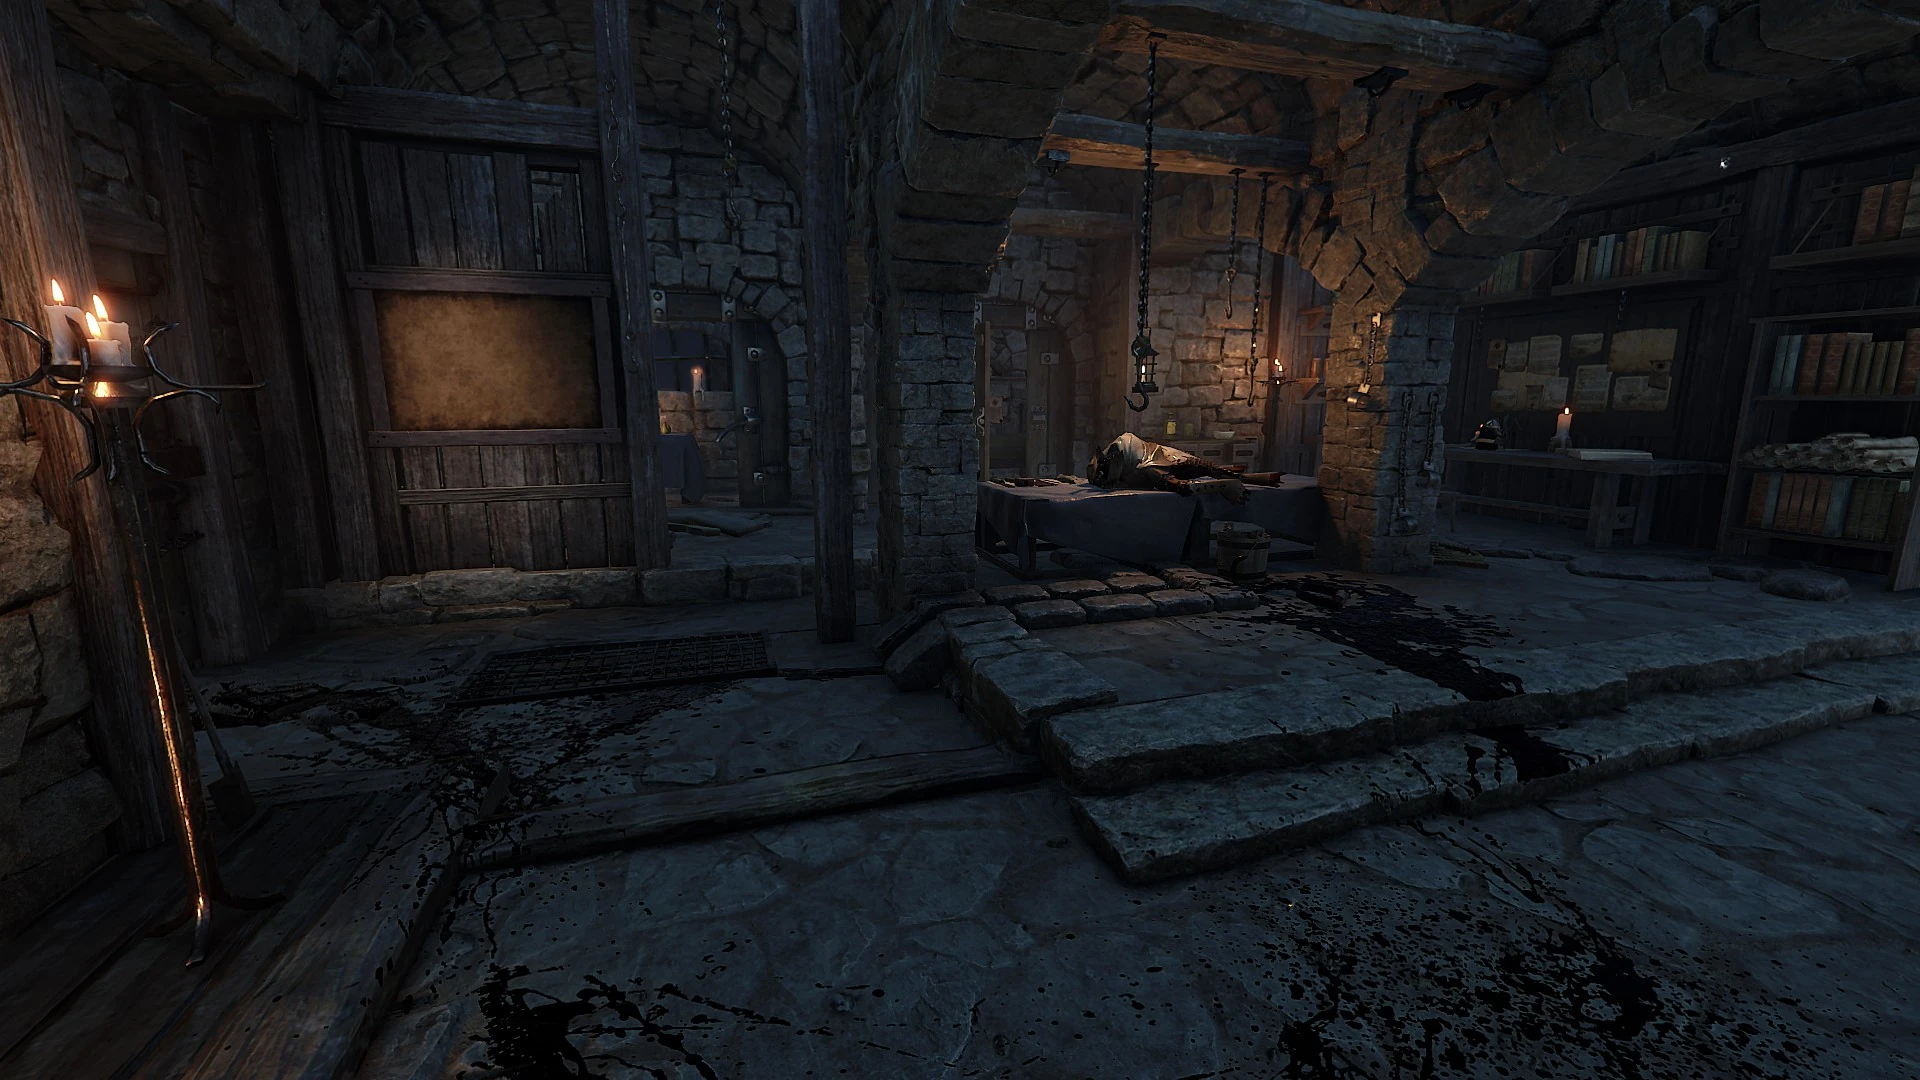
His quarters are in the dungeons below The Keep.
Sienna Fuegonasus[ | ]
Sienna's bedroll is located up the stairs from Kruber's.
Sienna's quarters overlook the main hall.
Additionally, Catrinne of Aldenstein's quarters is also present in the keep although she has yet to make her appearance. It is accessible via a mysterious tunnel behind Lohner's Emporium of Wonders.
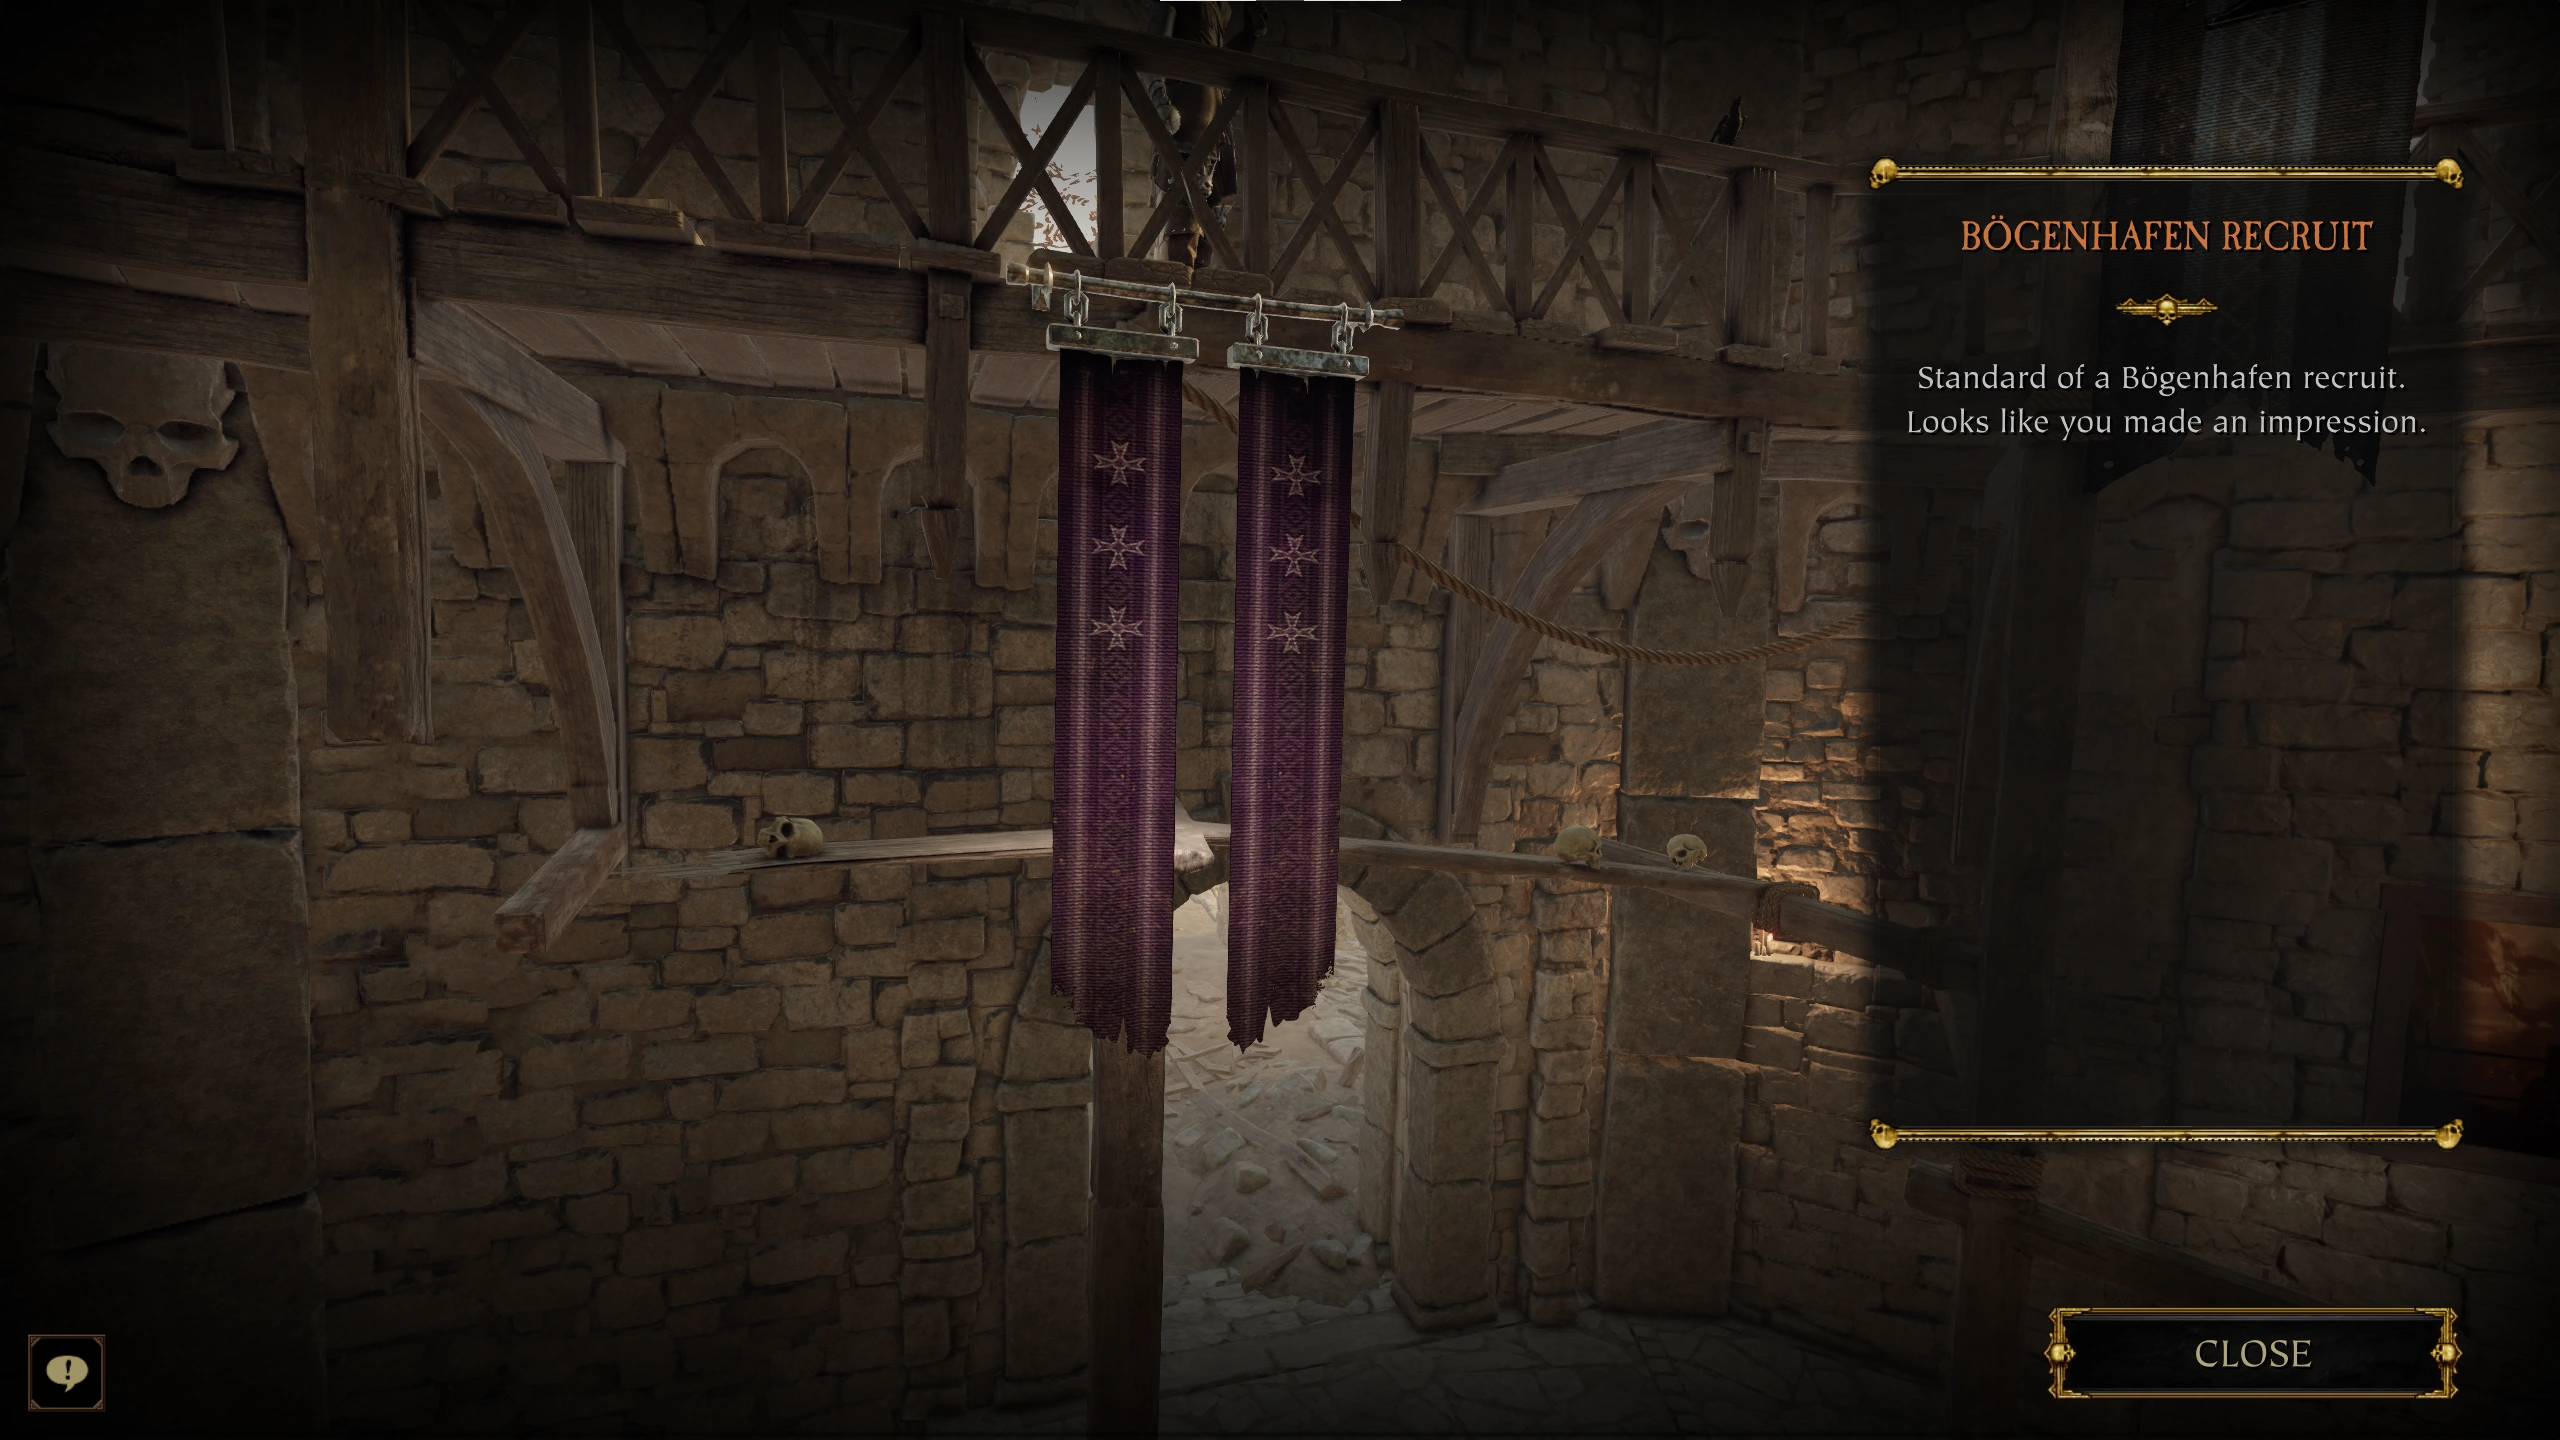
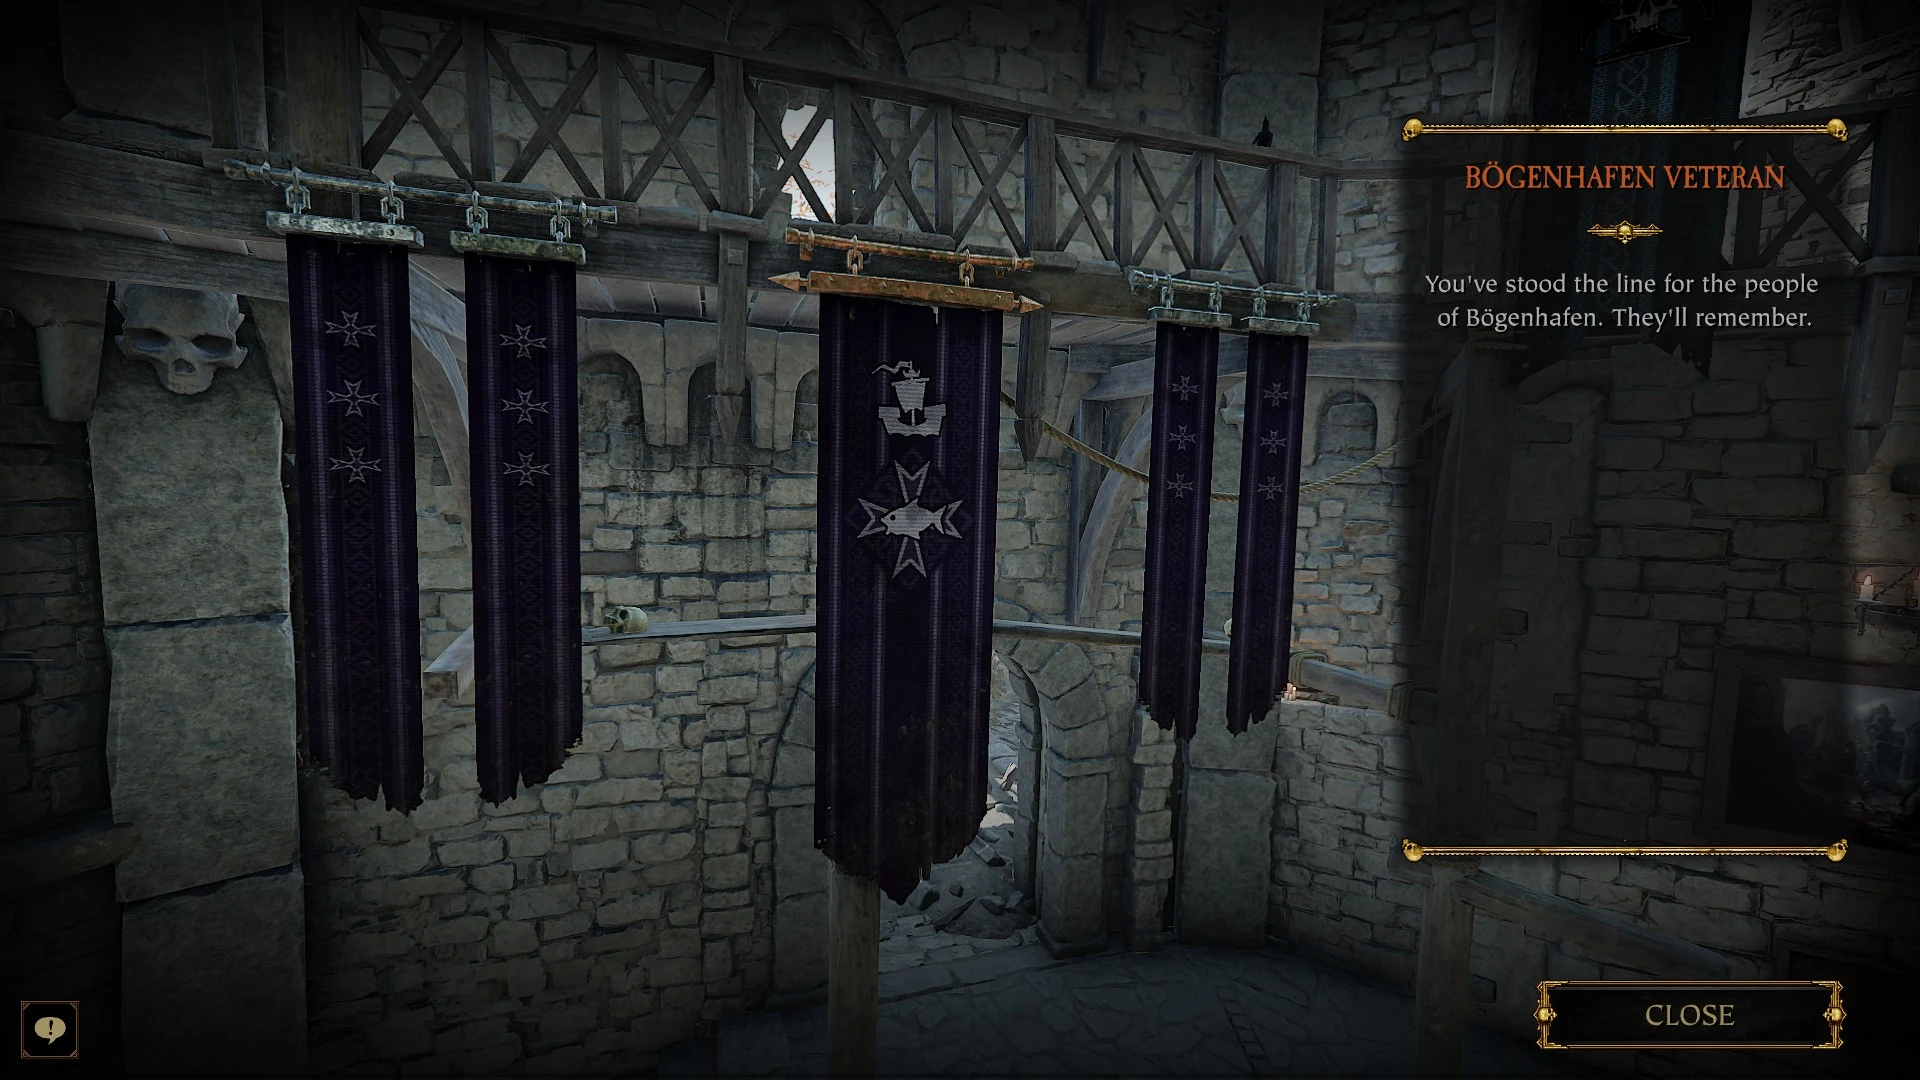
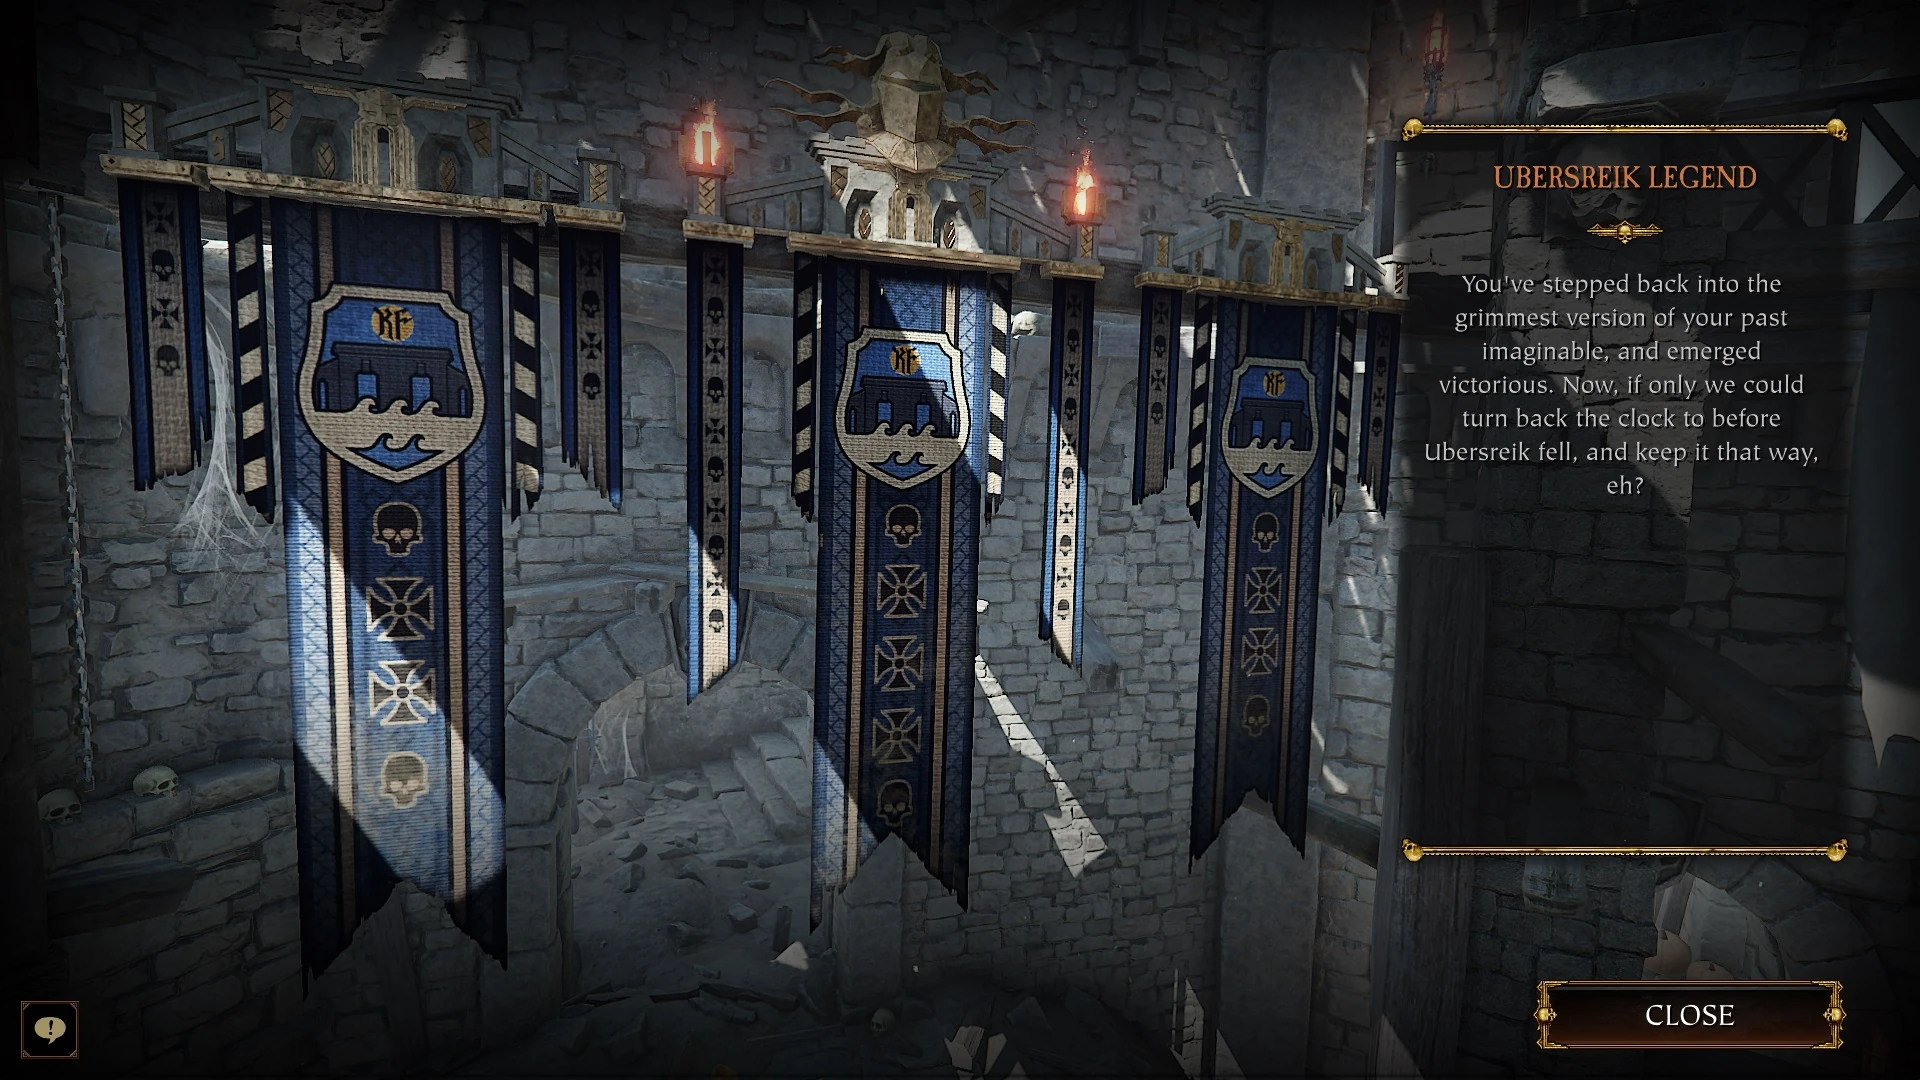
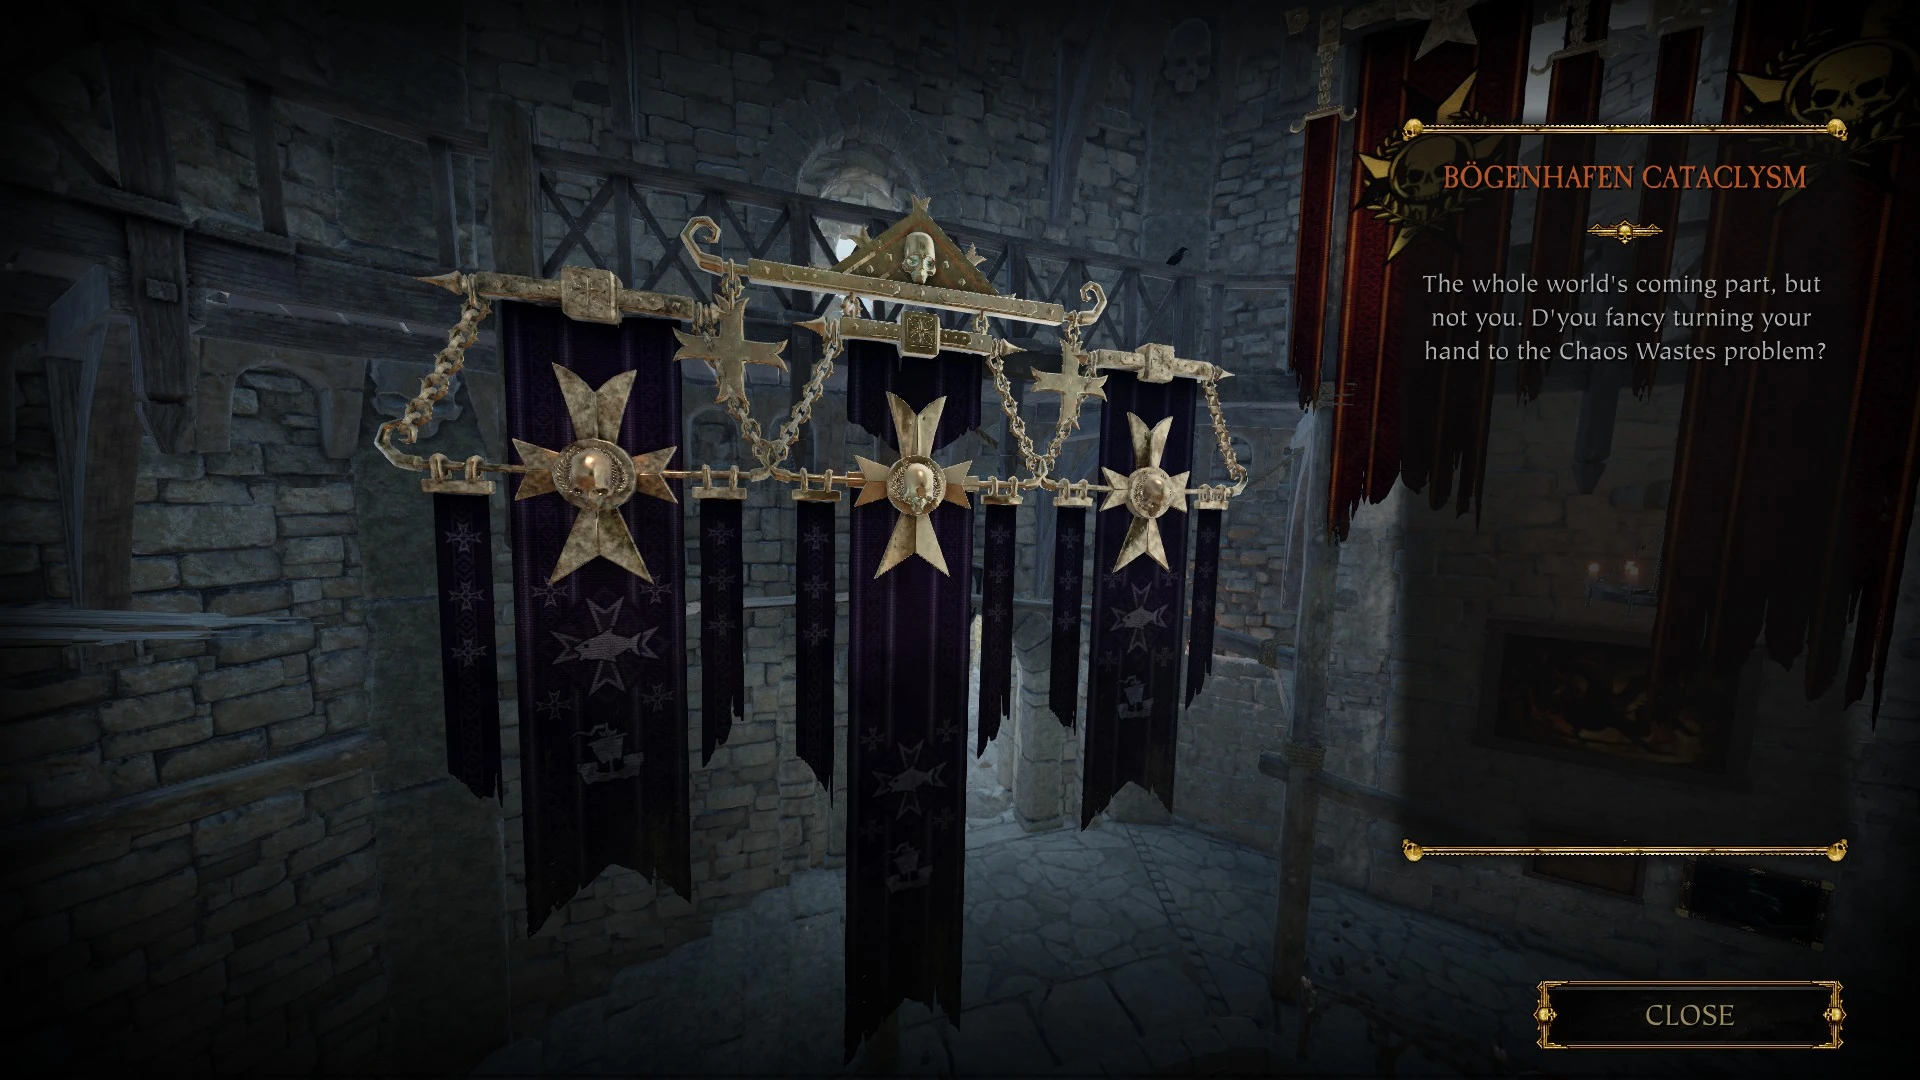
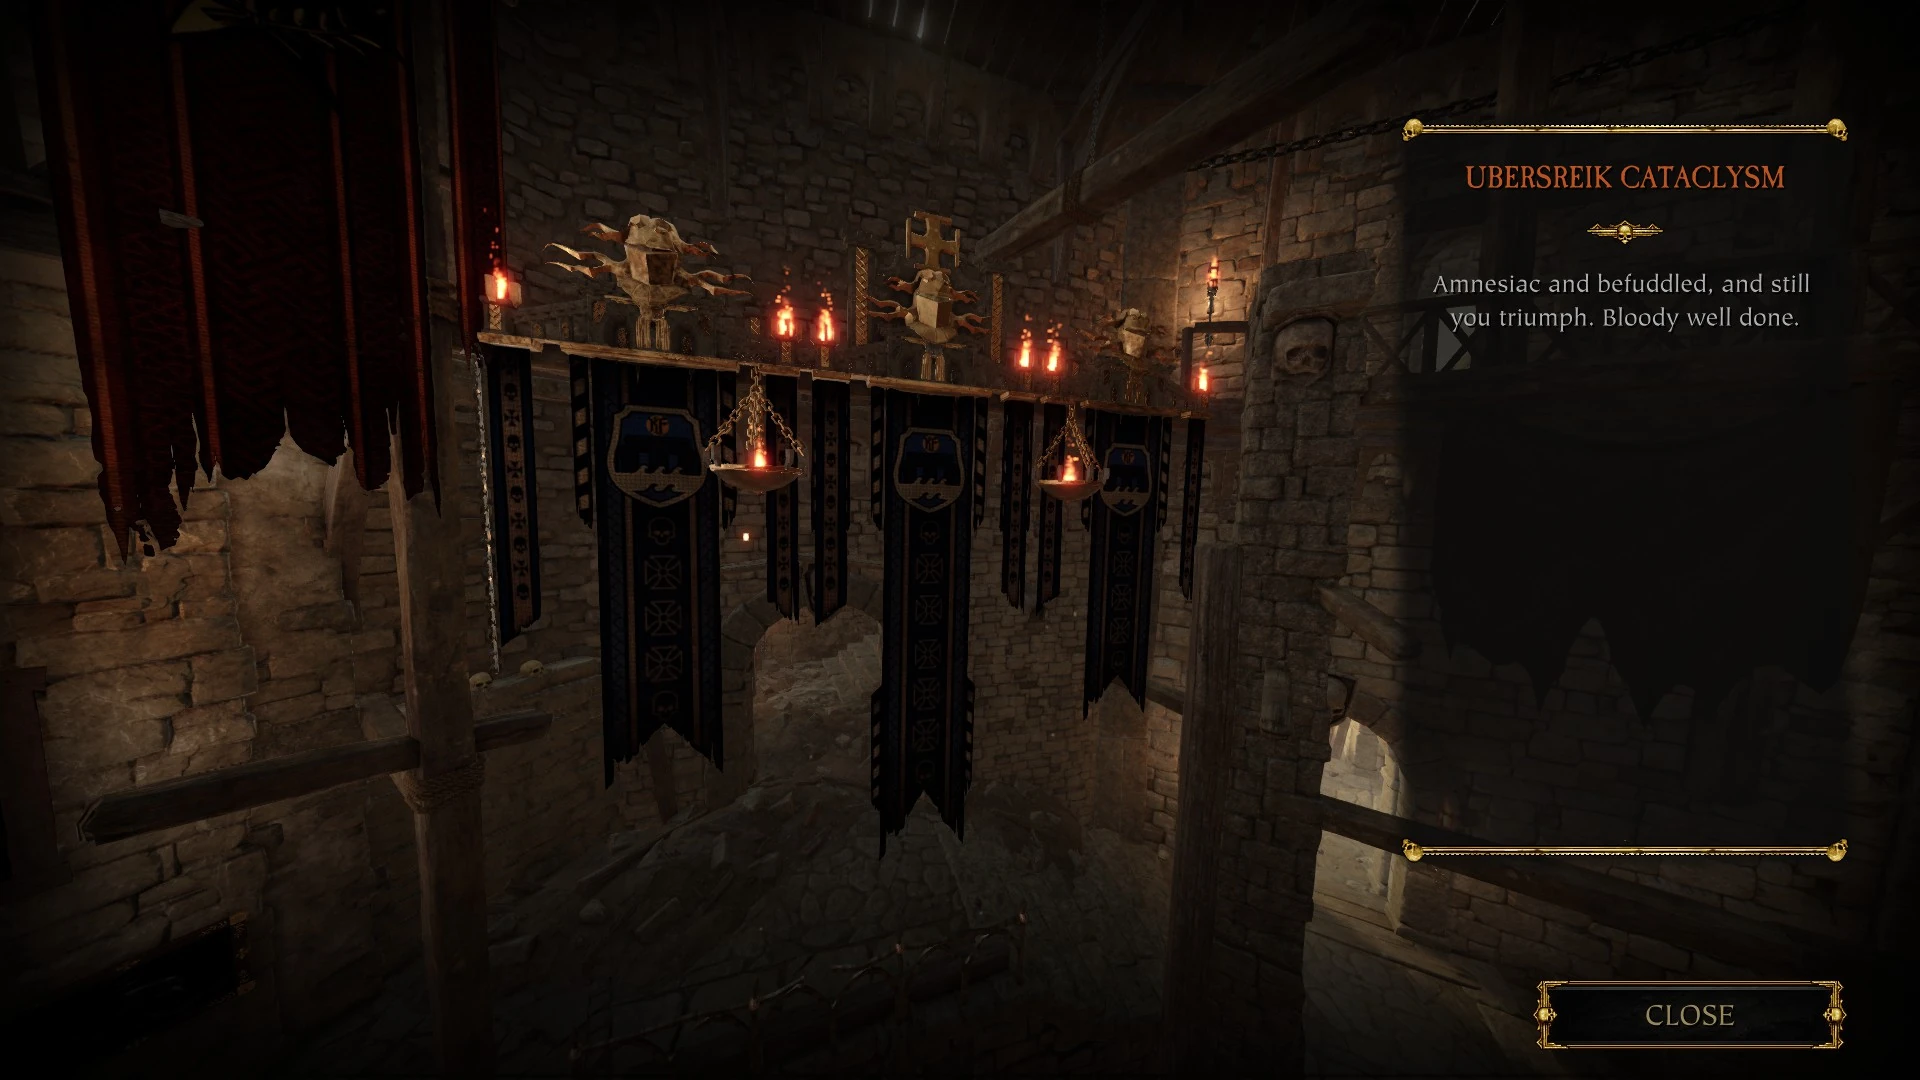
Banners[ | ]
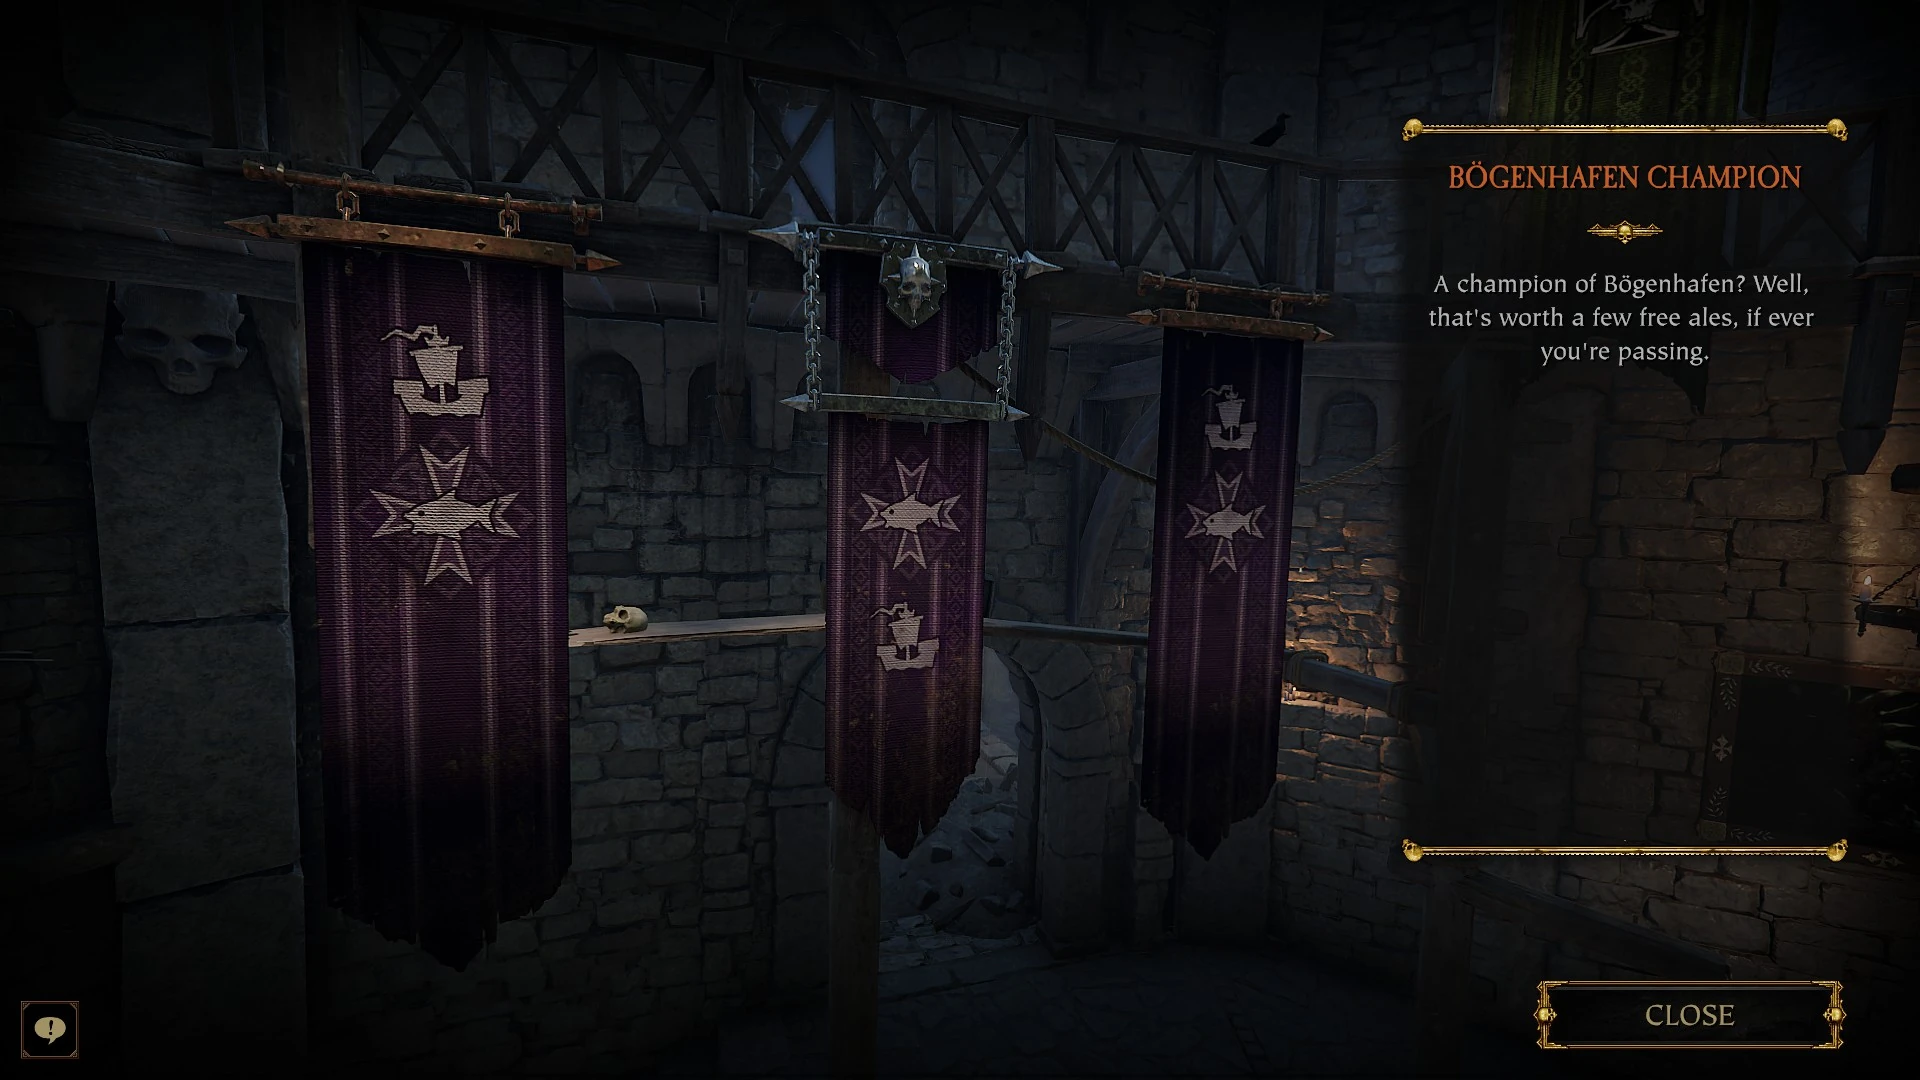
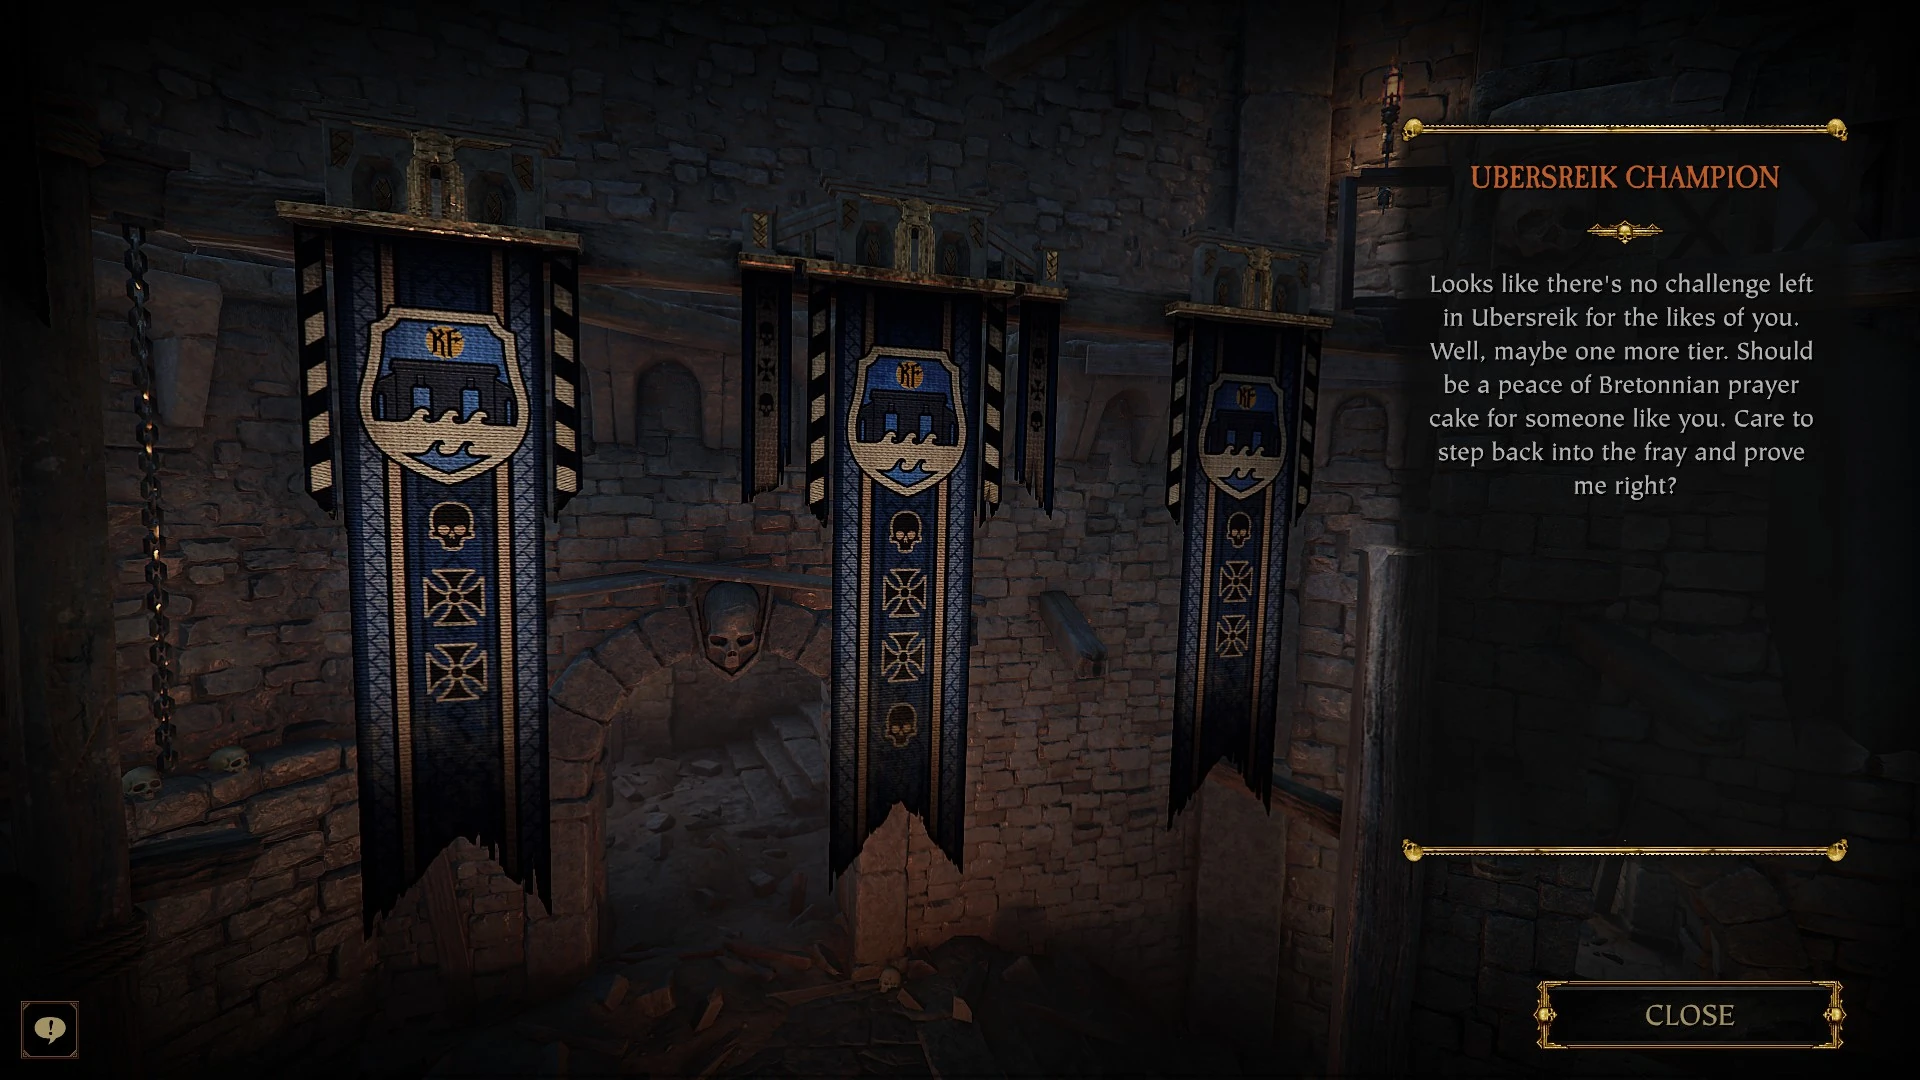
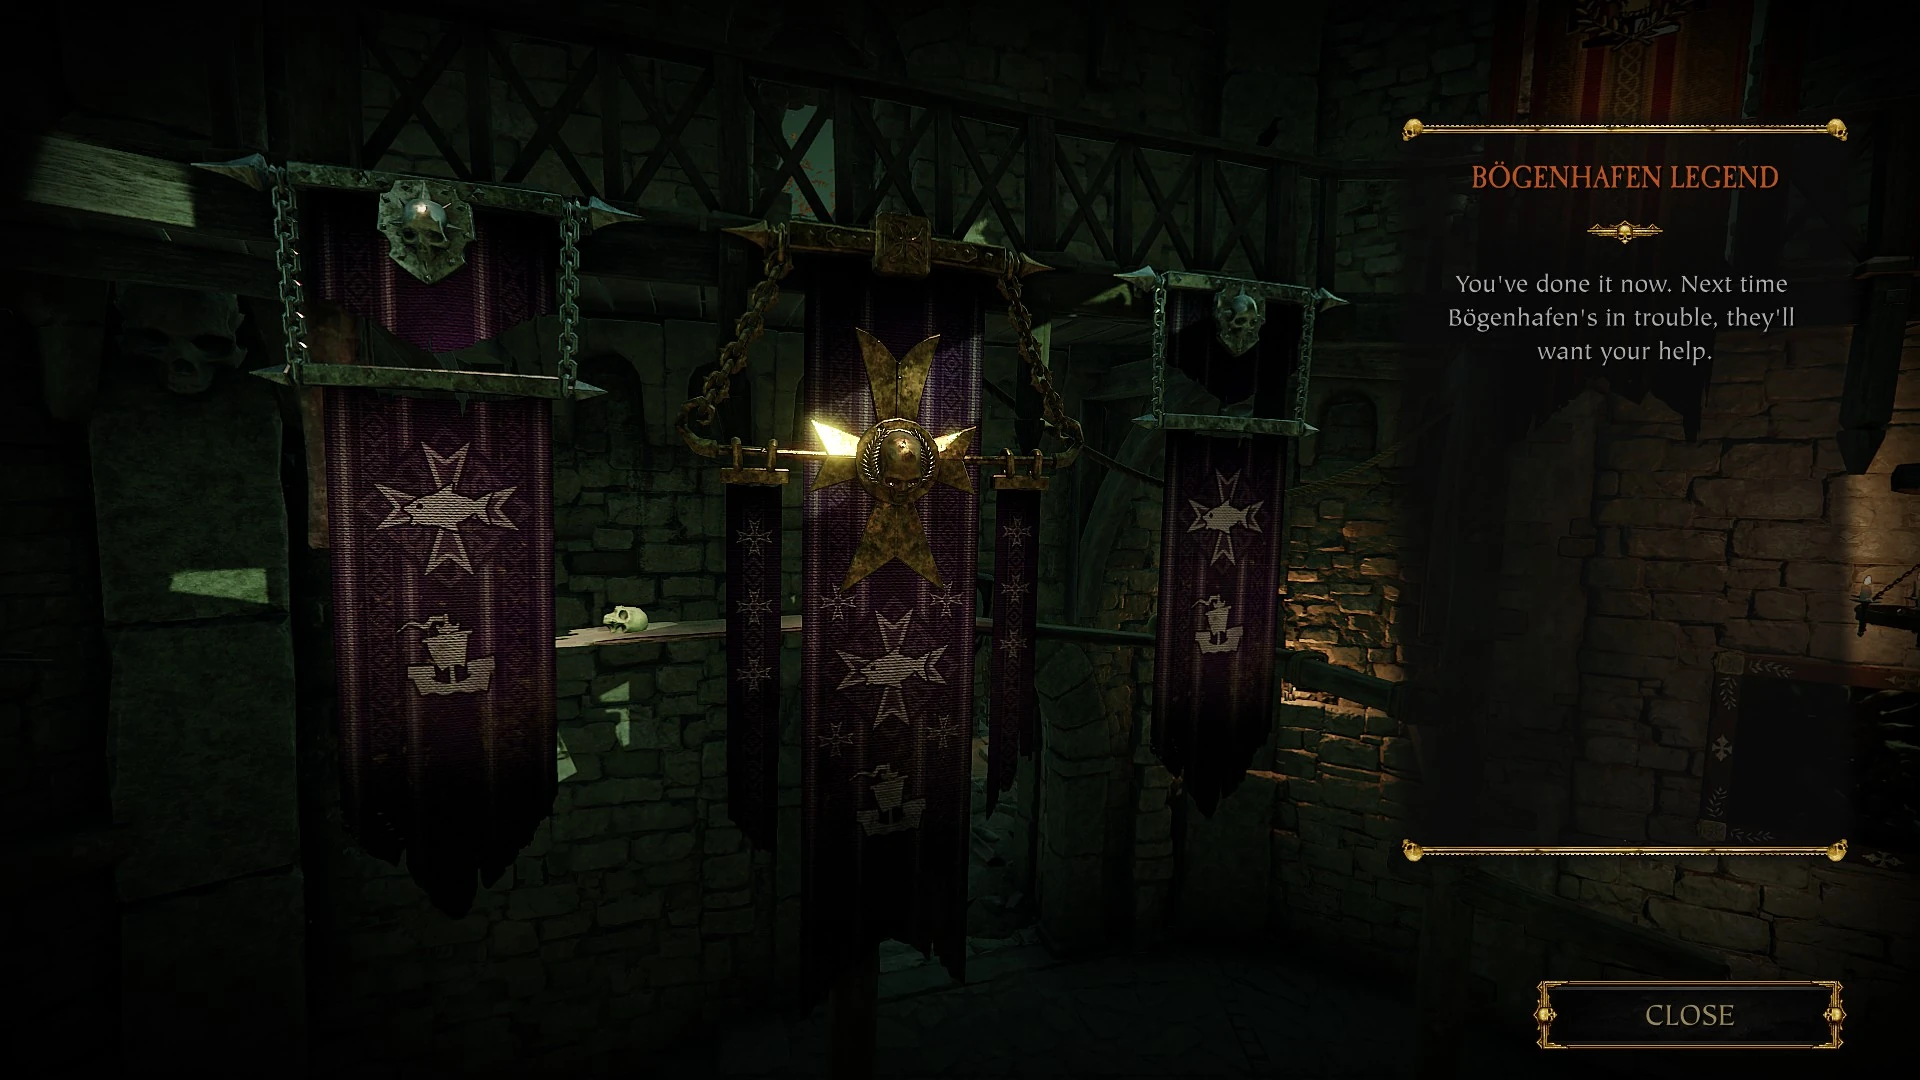
As you finish Helmgart, Bögenhafen and Ubersreik campaigns on each difficulty various banners get added and upgraded accordingly
| Banners | |||
|---|---|---|---|
| Difficulty | Helmgart | Bögenhafen | Ubersreik |
| Recruit | 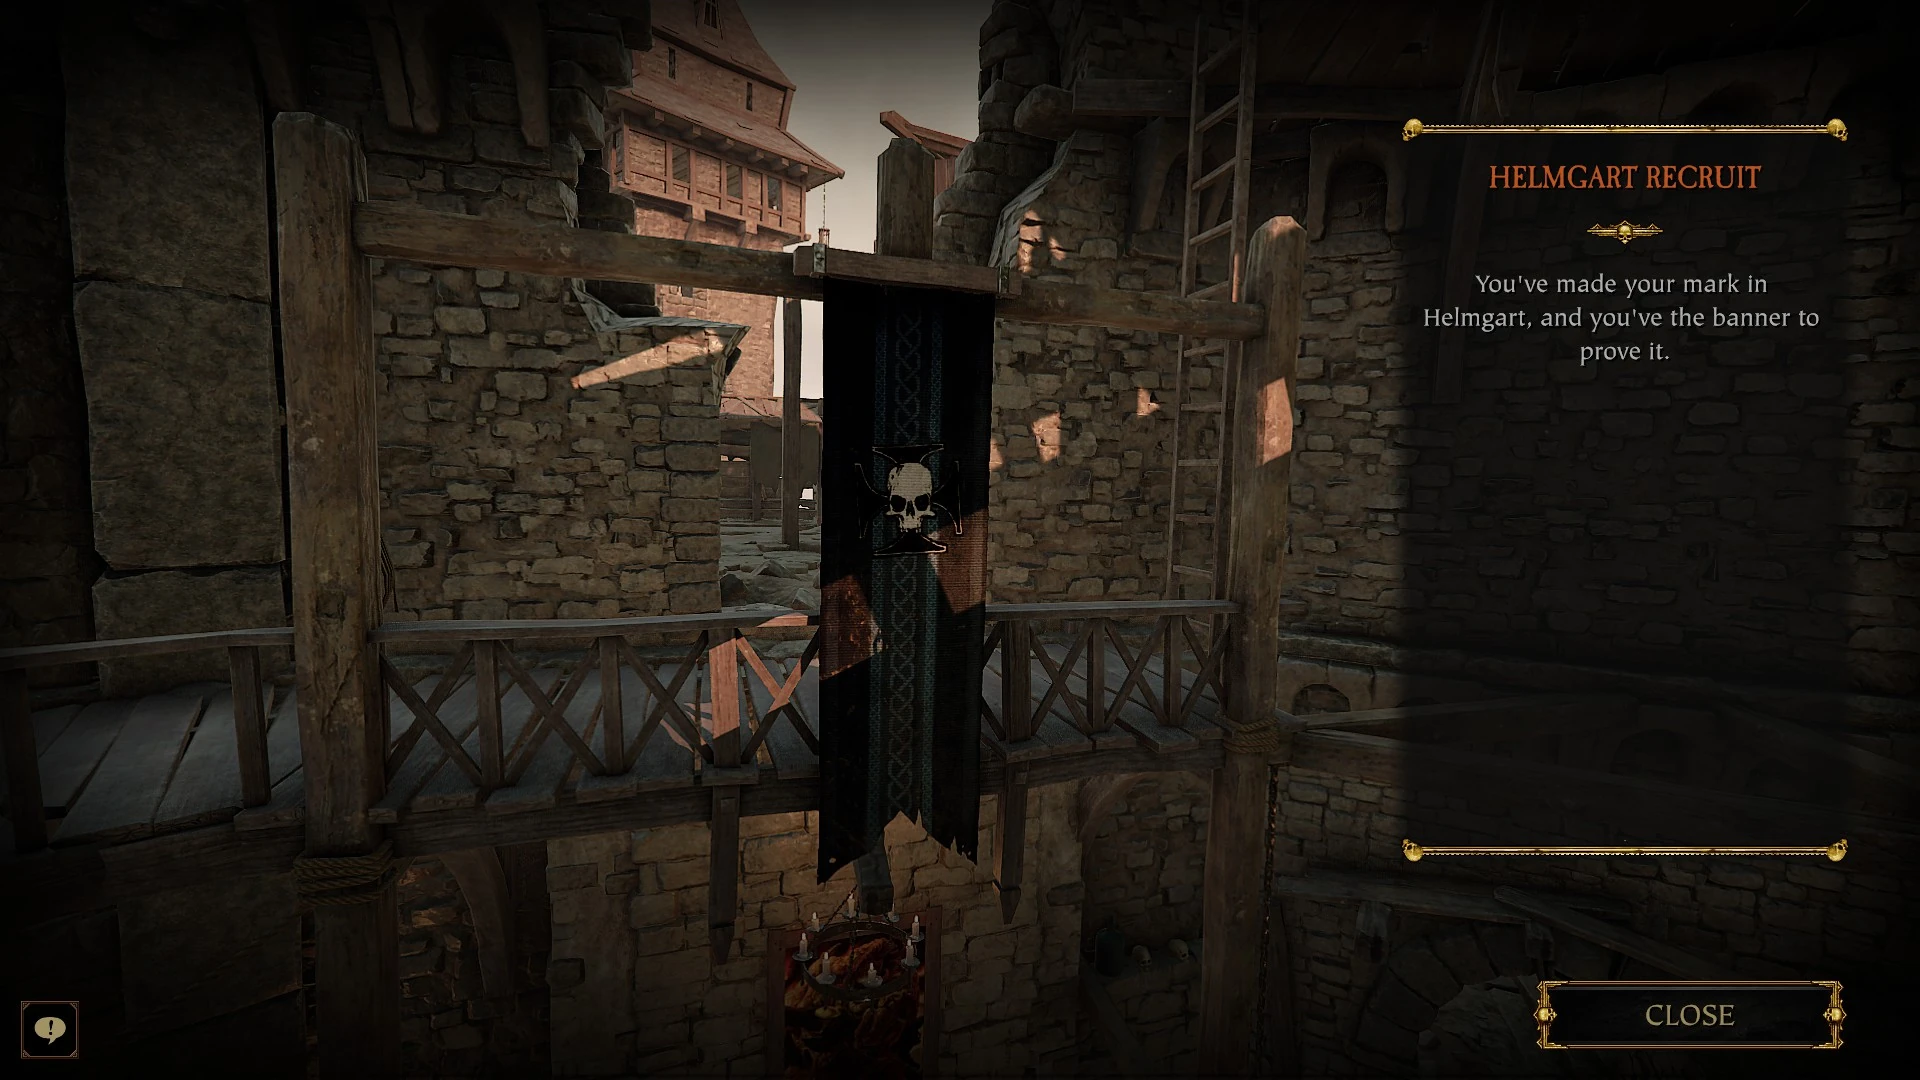 |
 |
 |
| Veteran | 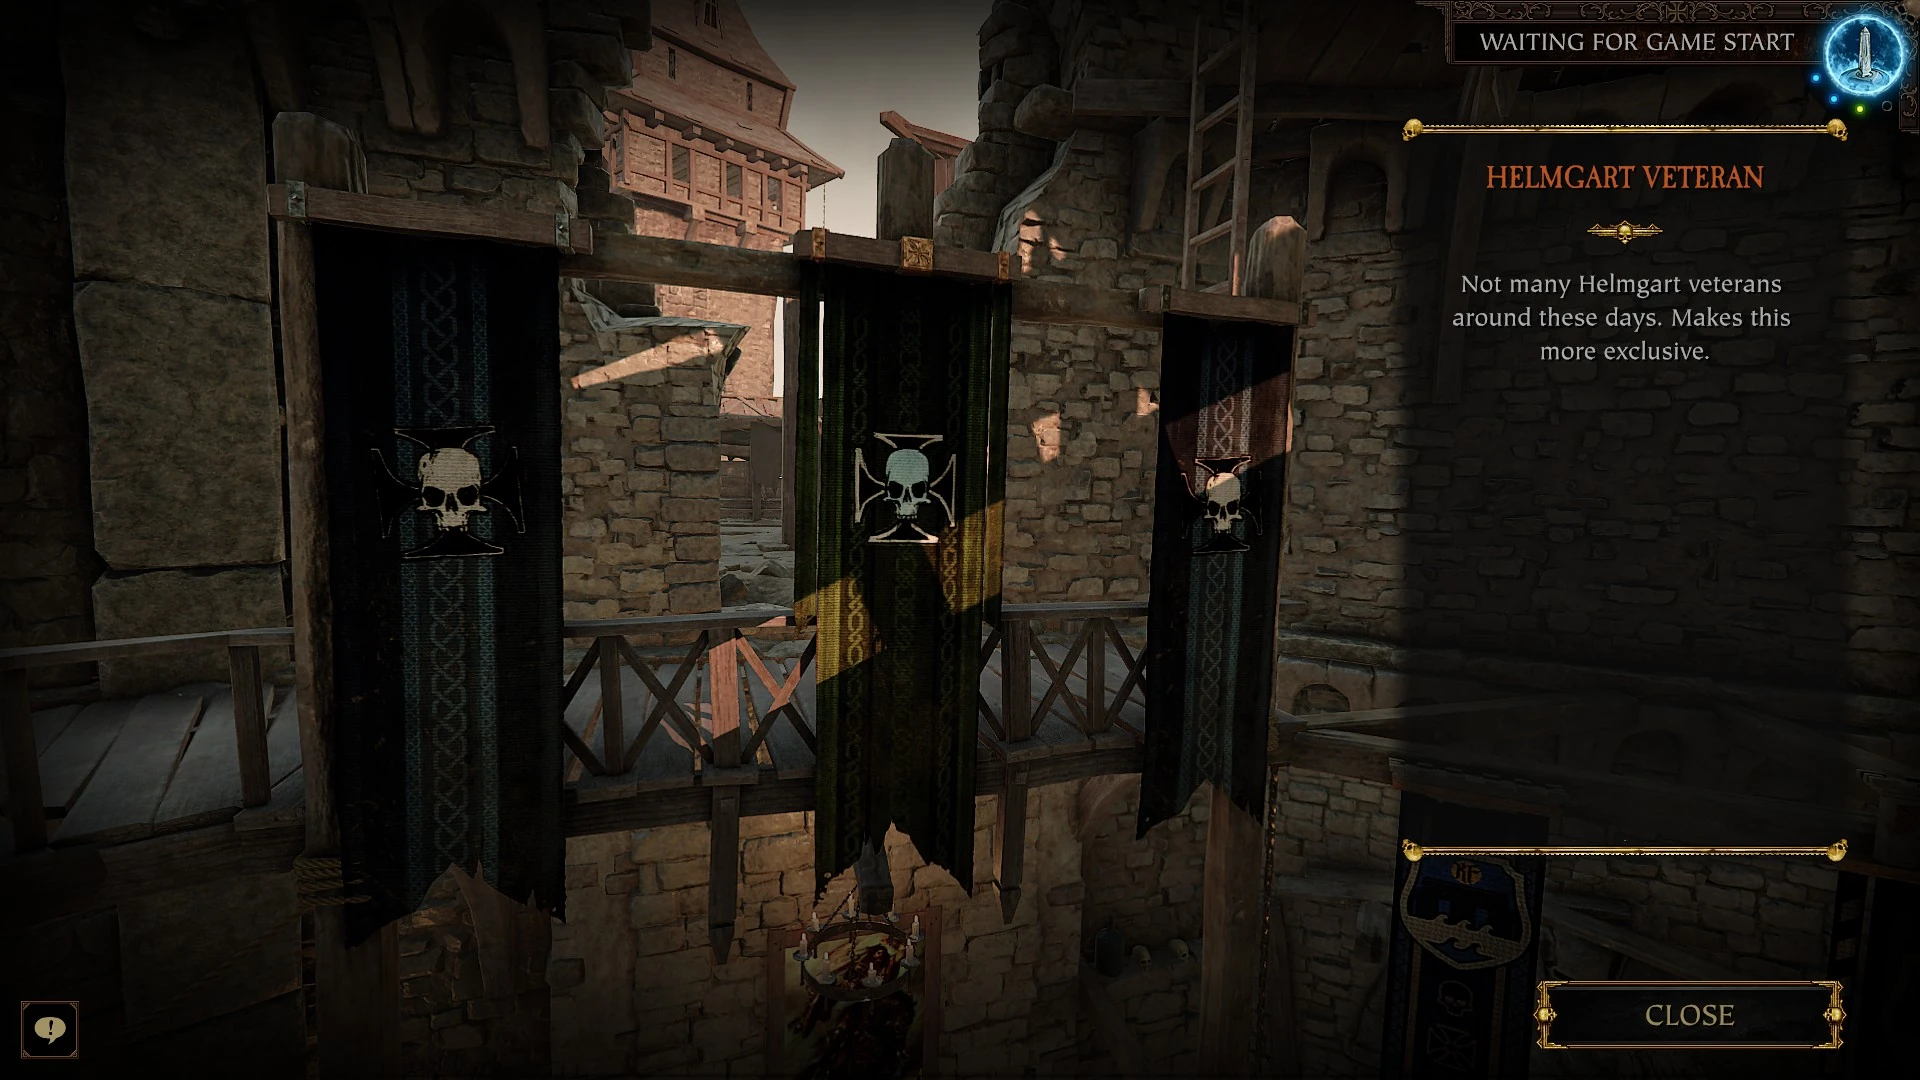 |
 |
 |
| Champion | 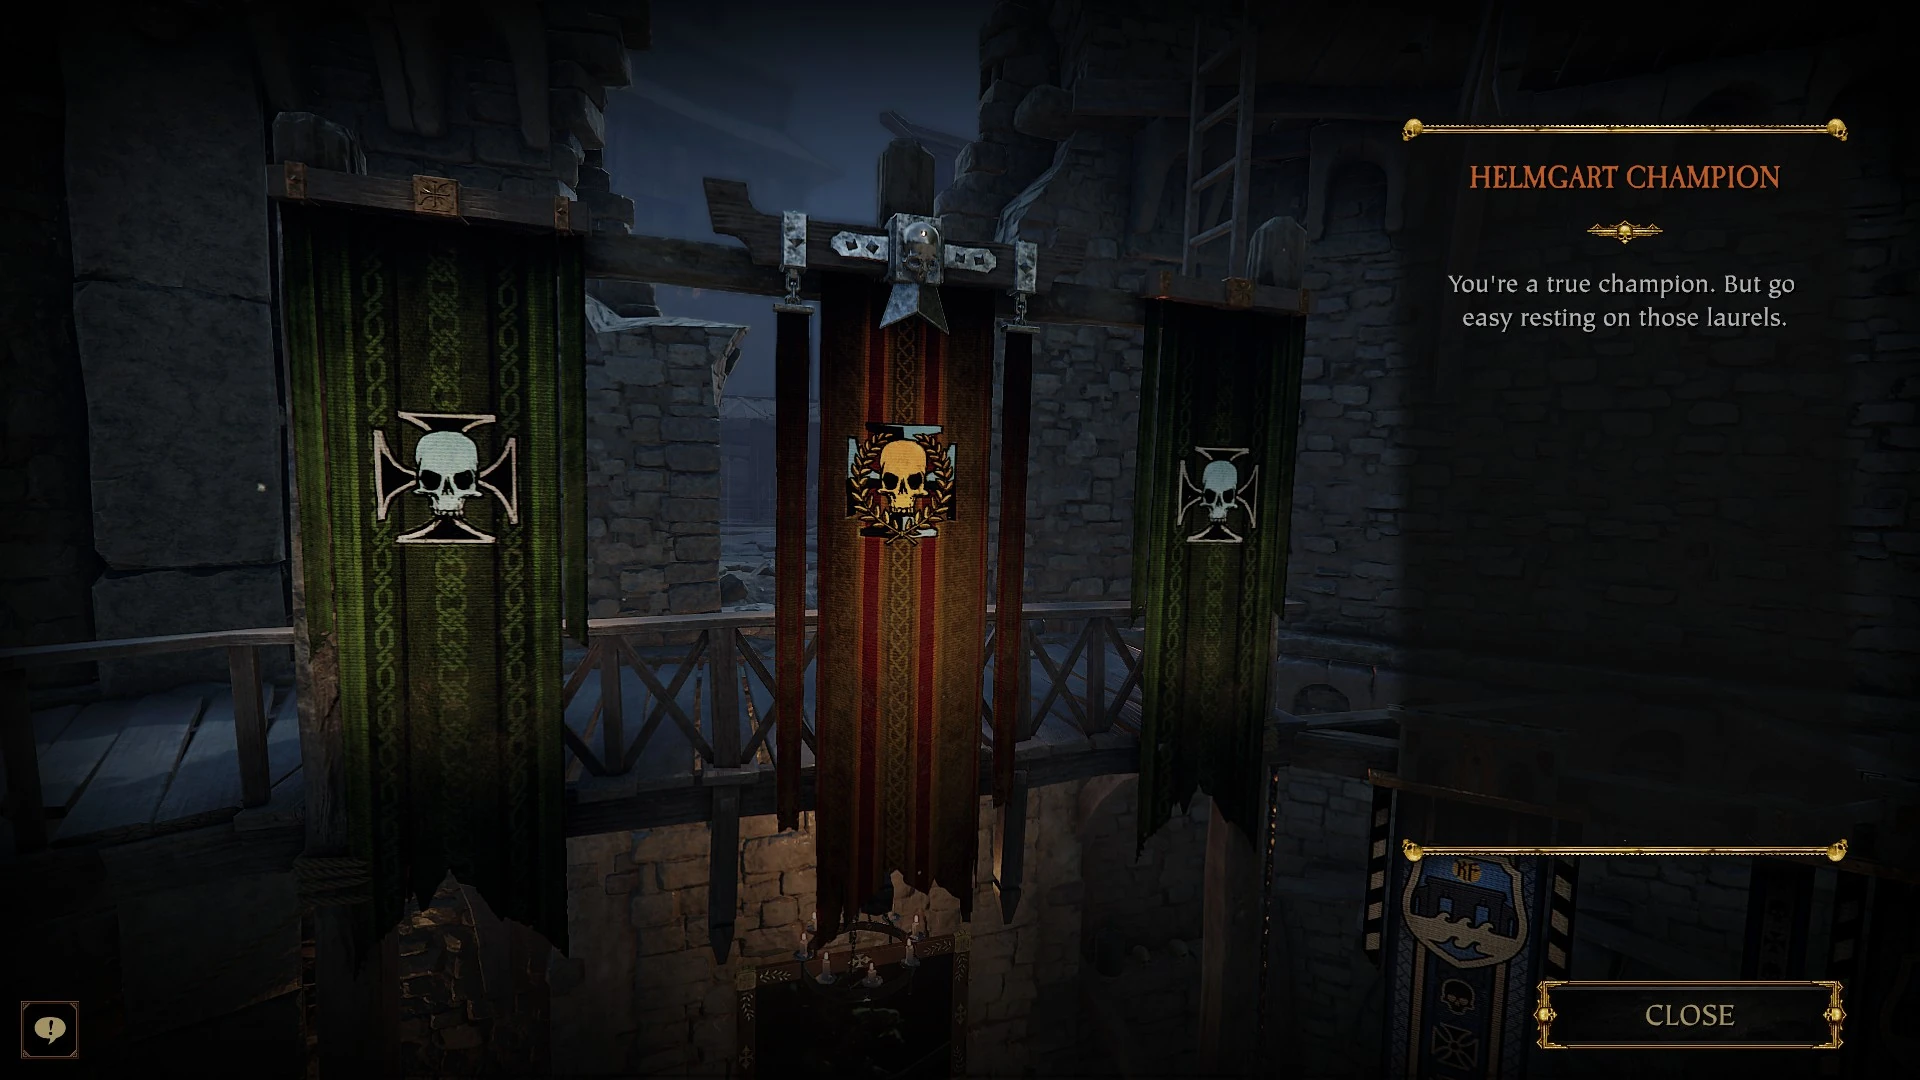
|
|
|
| Legend | 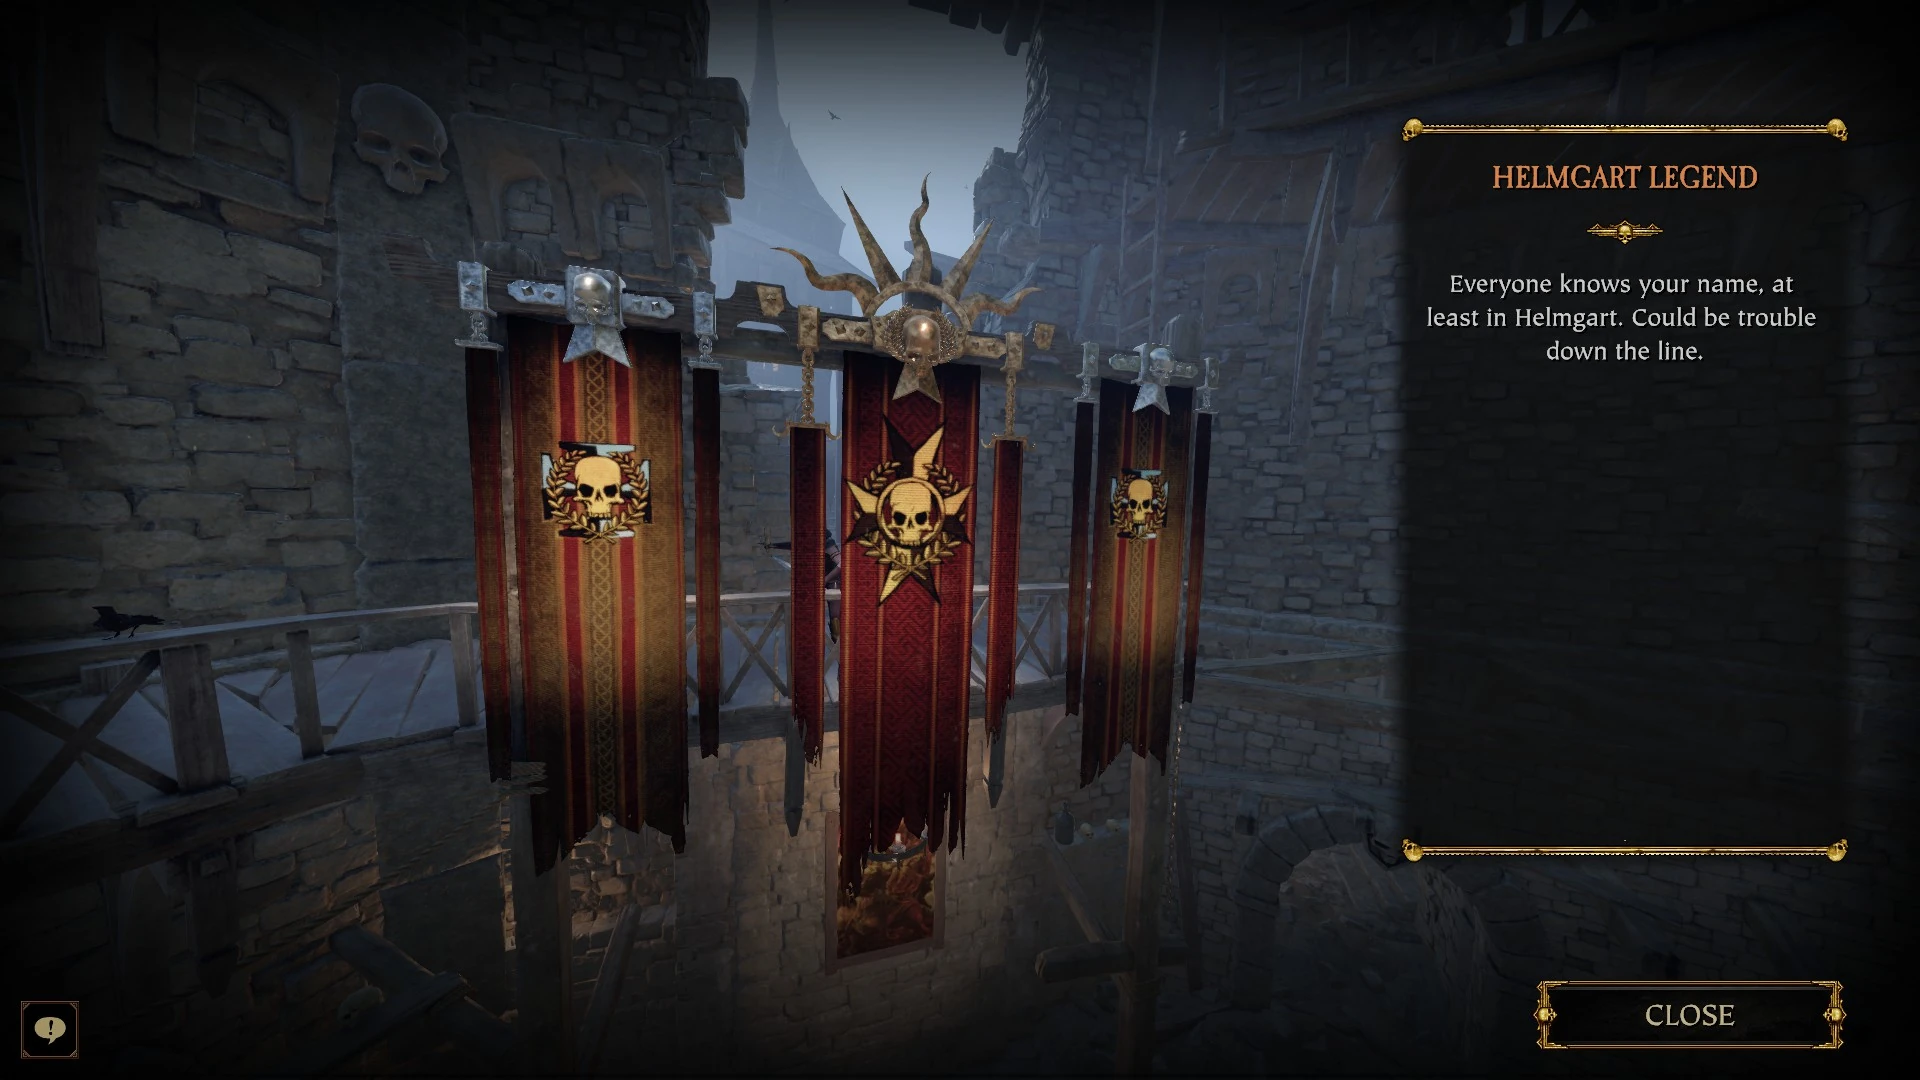 |
 |
 |
| Cataclysm | 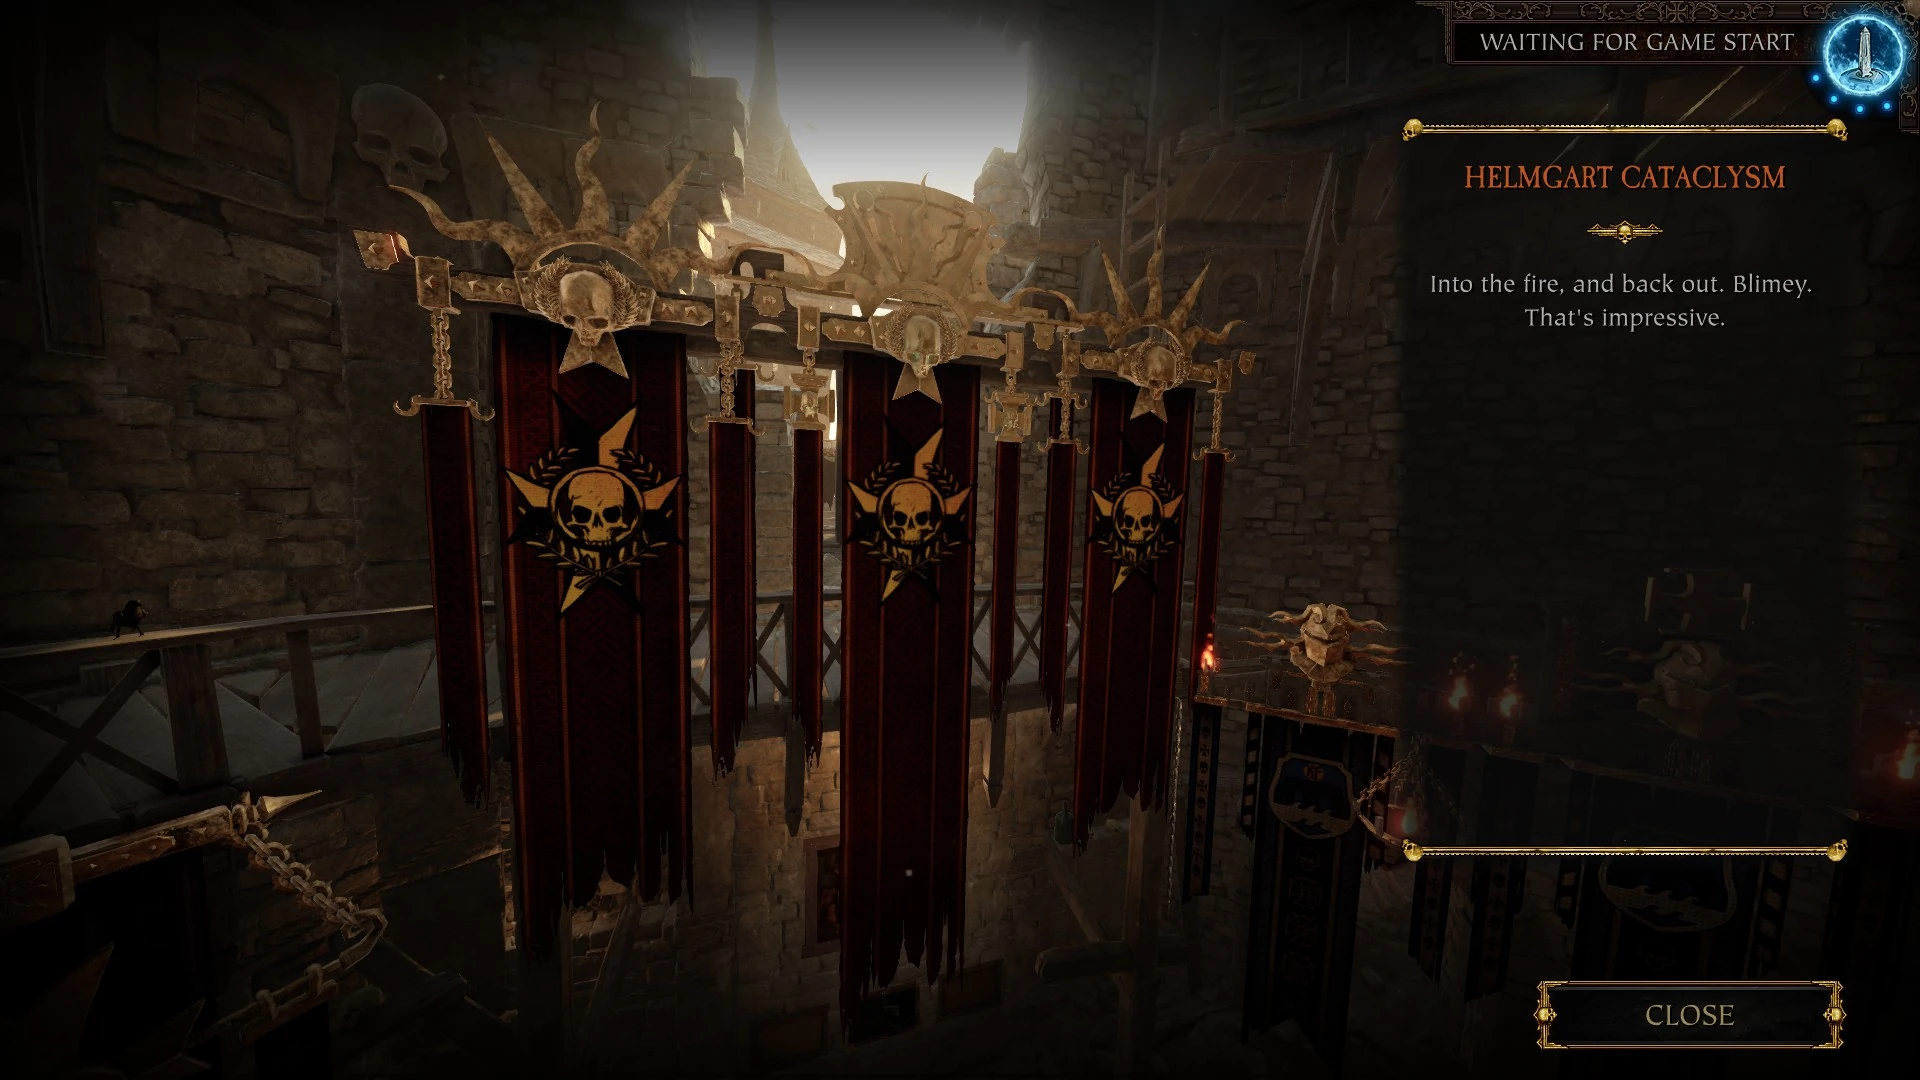 |
 |
 |
Portraits[ | ]
There are several picture frames on the walls which you can now place Paintings in. At one point in the beta could be set to display a variety of images.
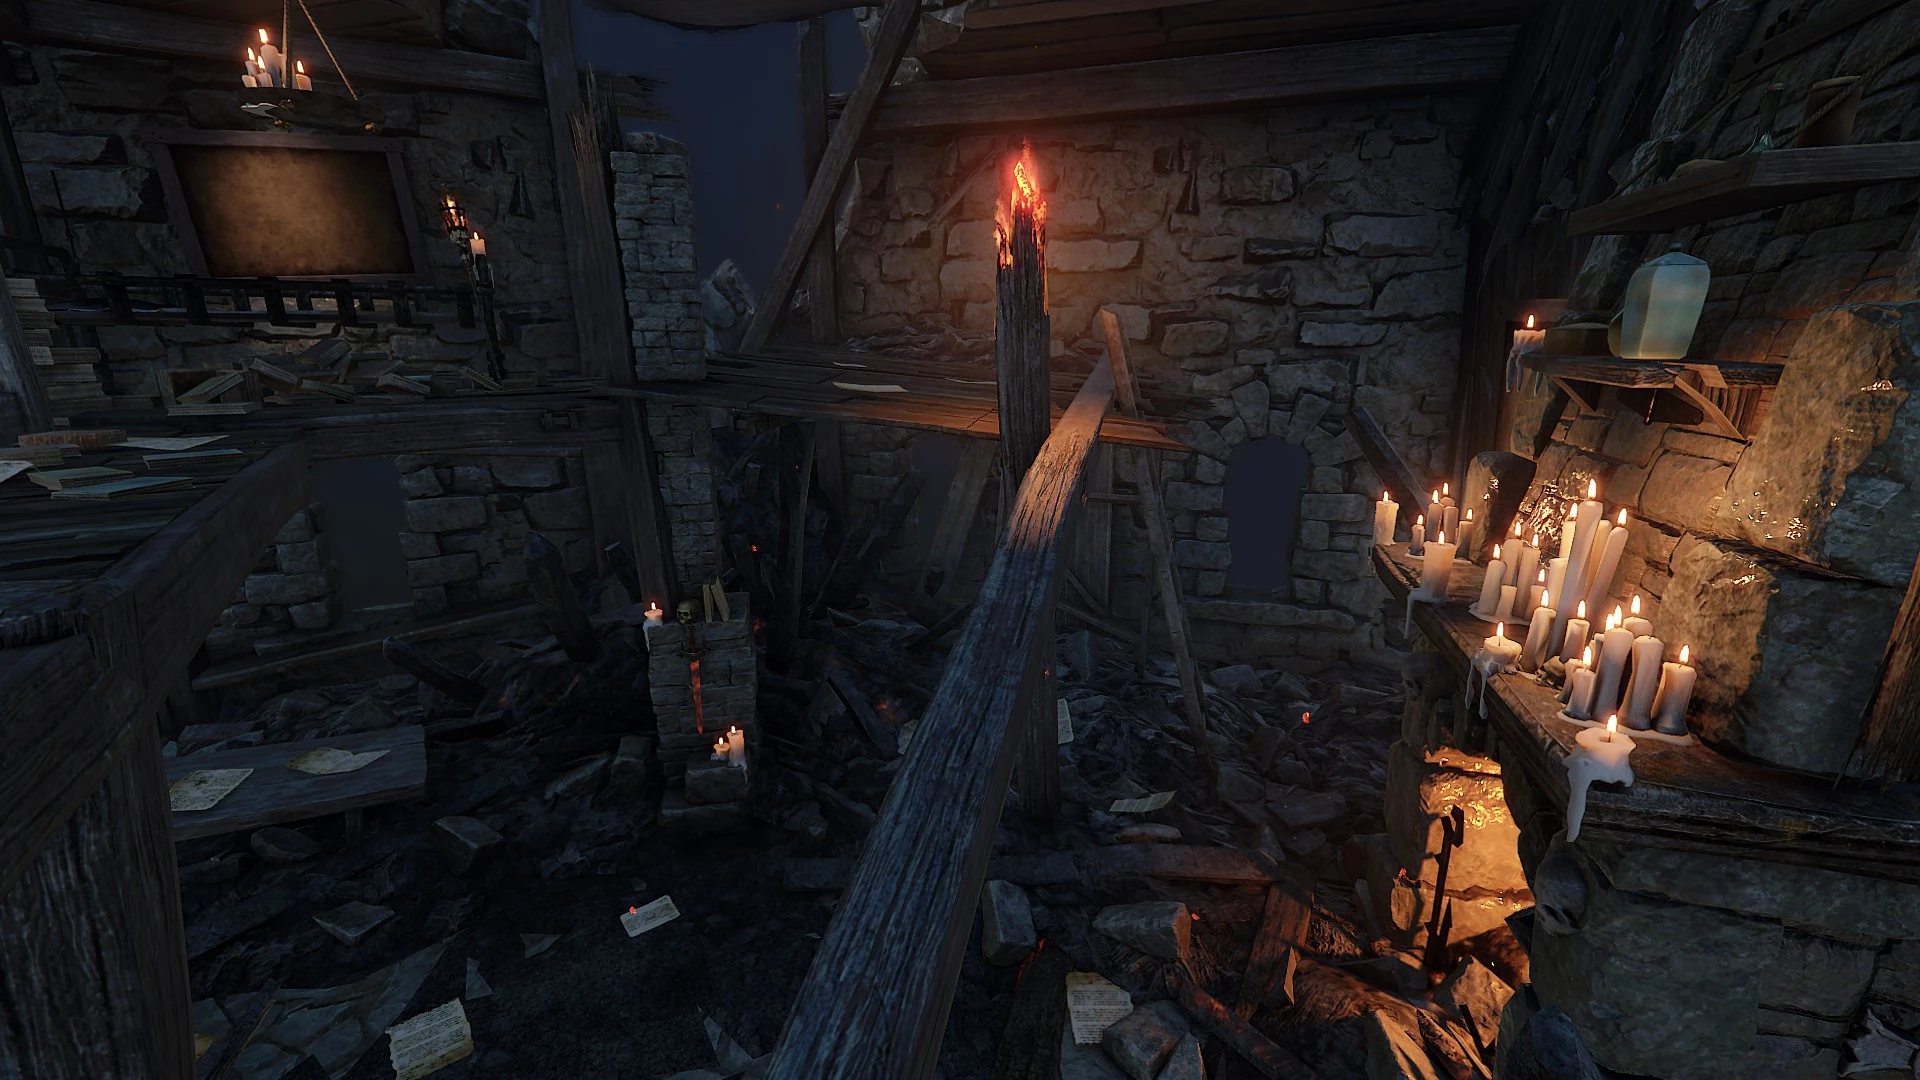
Trophy Room[ | ]
The trophy room will be populated with relics after completing certain missions, usually involving killing Bosses. The skull-like trims of the trophy stands will upgrade in quality when completing the missions on a higher difficulty, with the highest material being gold for Legend and Cataclysm completions. The relics obtainable are as follows:
Complete Act 1 by Killing Burblespue Halescourge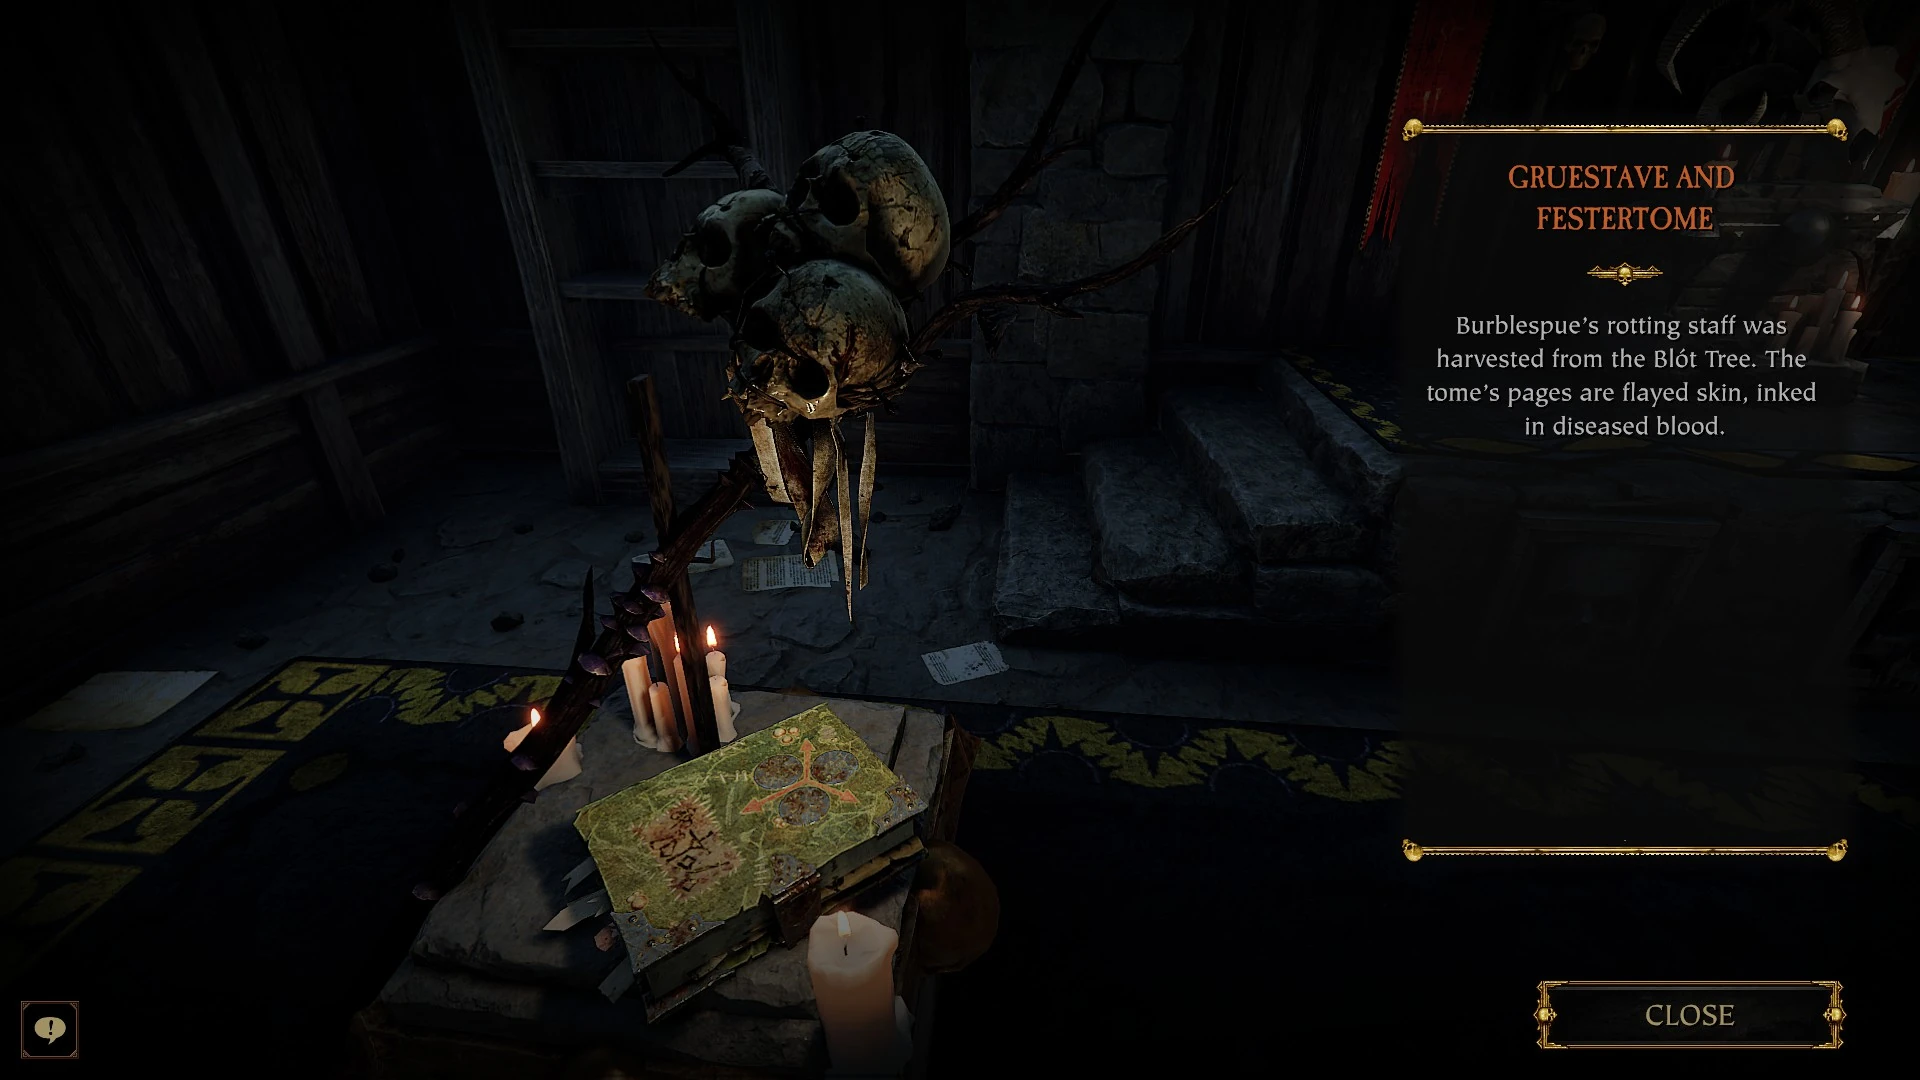 |
Complete Act 2 by killing Skarrik Spinemanglr |
Complete Act 3 by Killing Bödvarr Ribspreader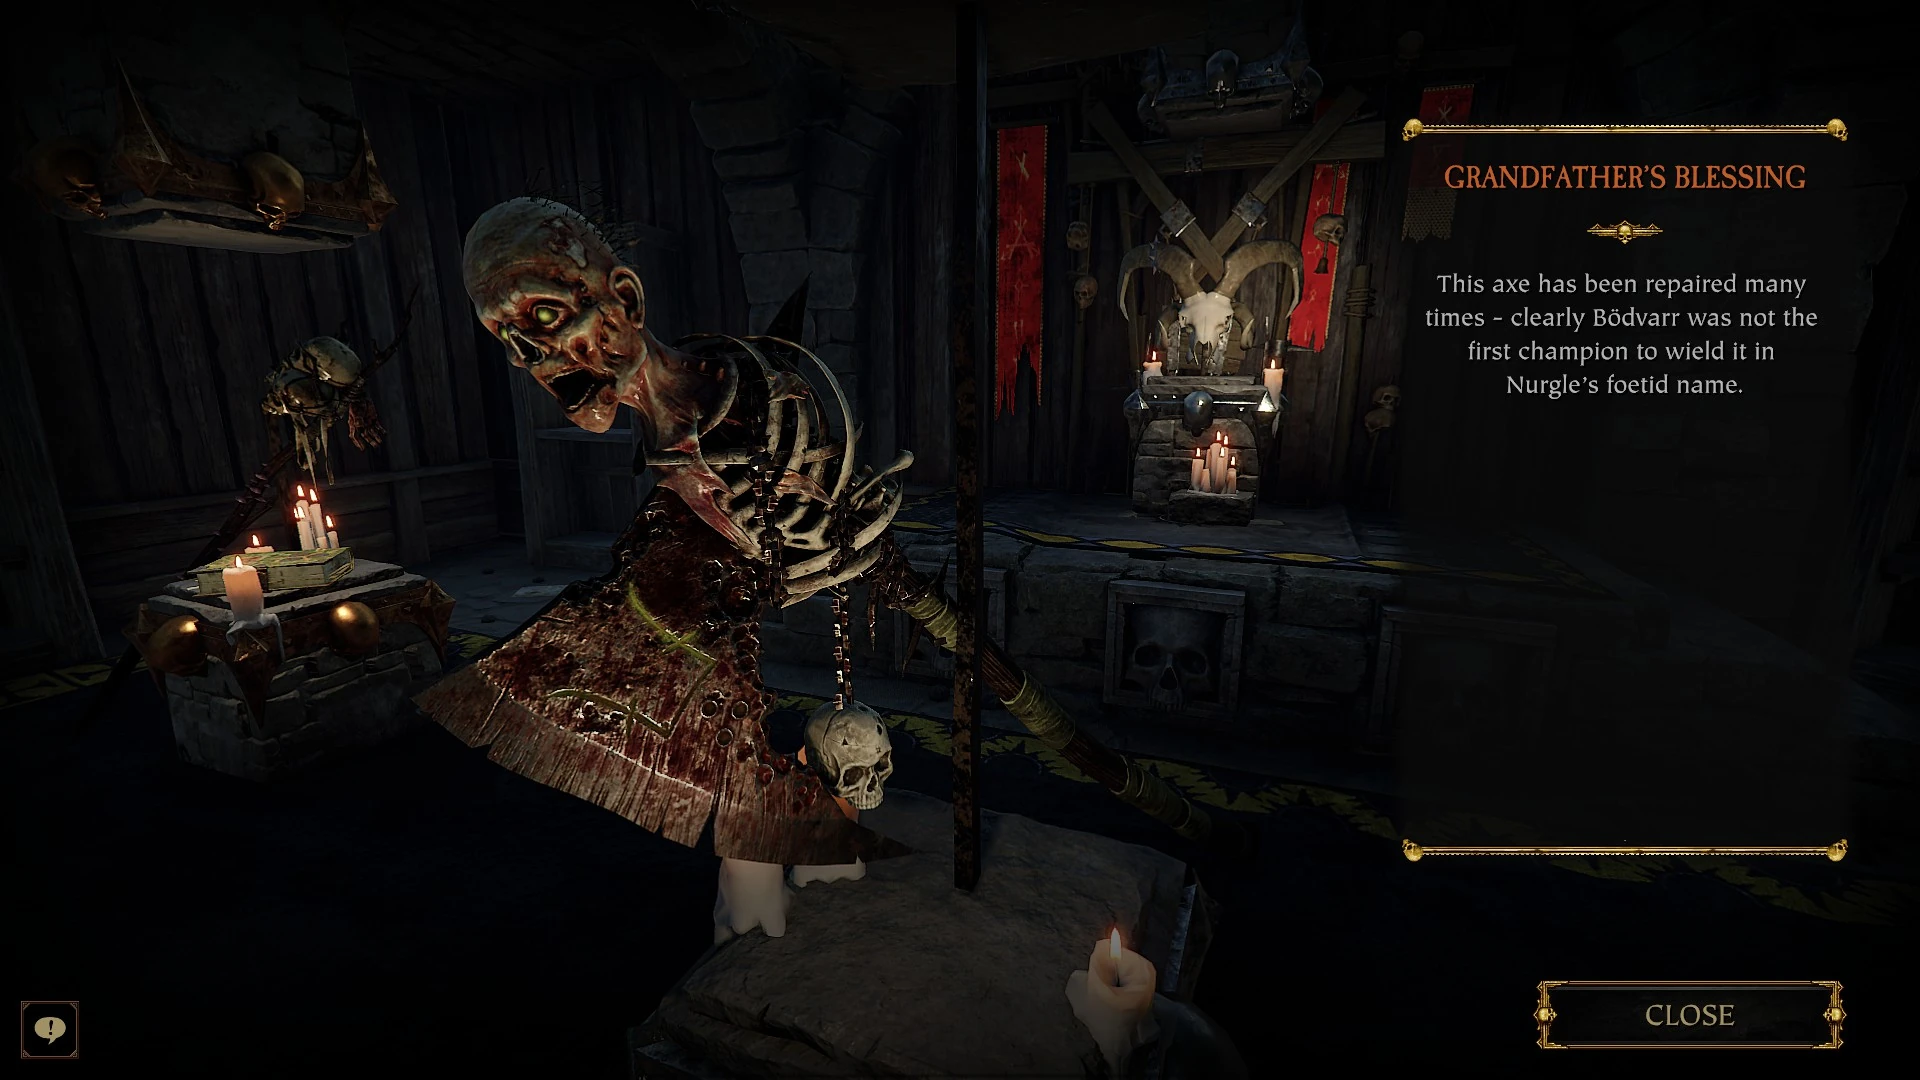 |
Complete the Finale by killing Rasknitt |
Complete Bögenhafen by finding The Blightreaper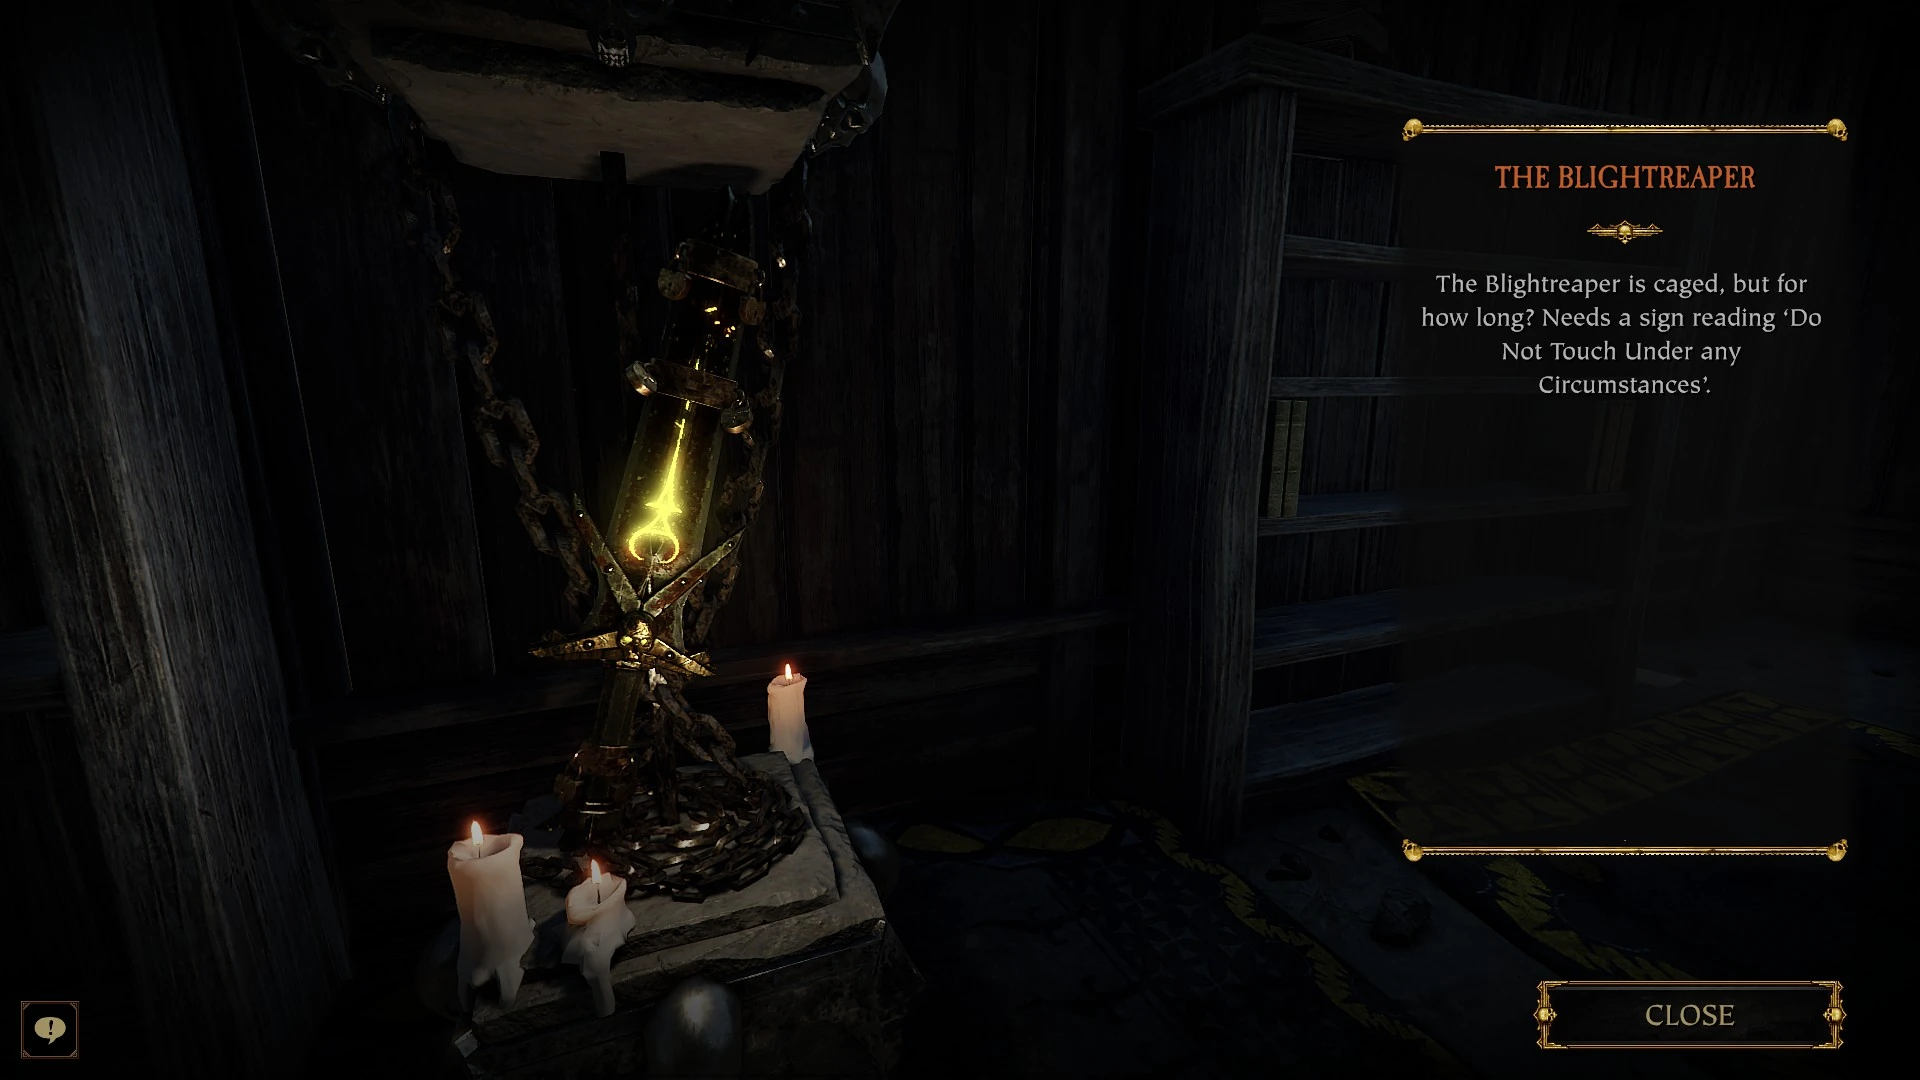 |
Complete Ubersreik by Surviving Fortunes of War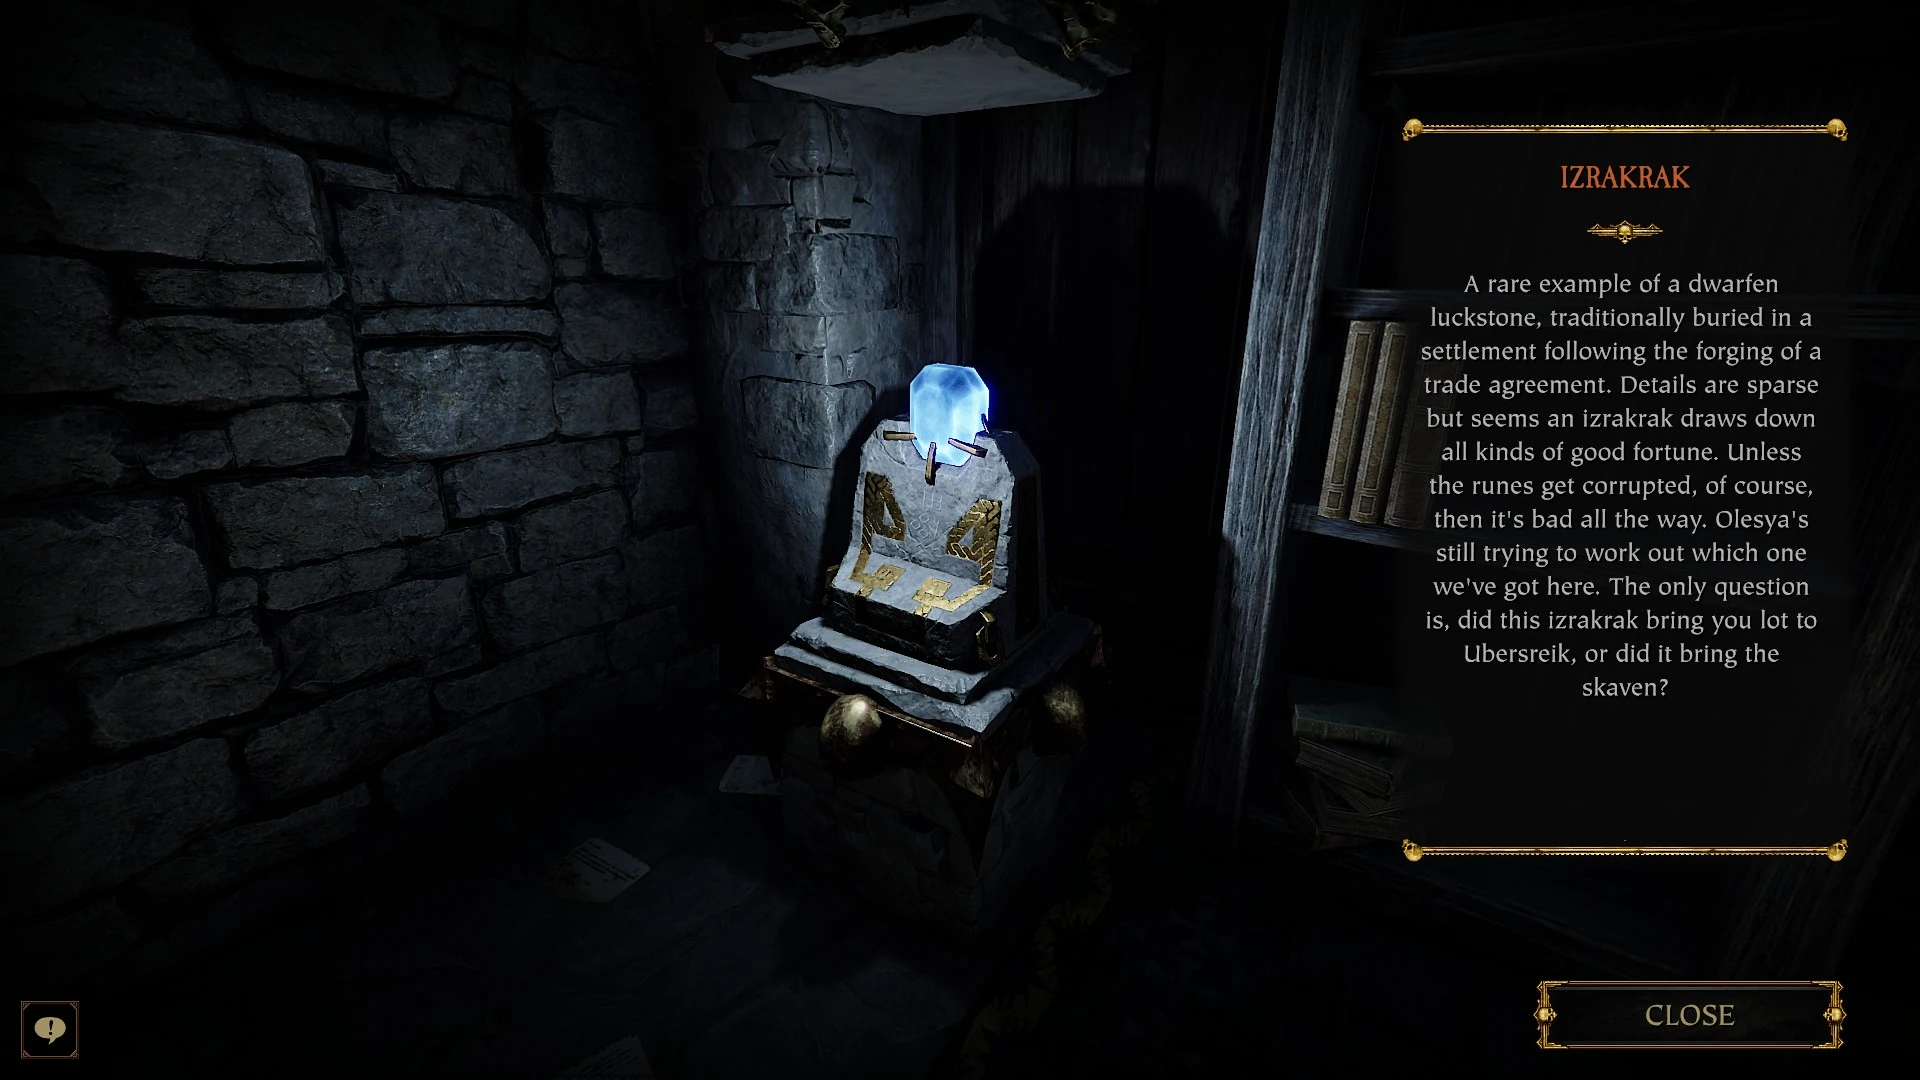 |
Complete Drachenfels by Killing Nurgloth the Eternal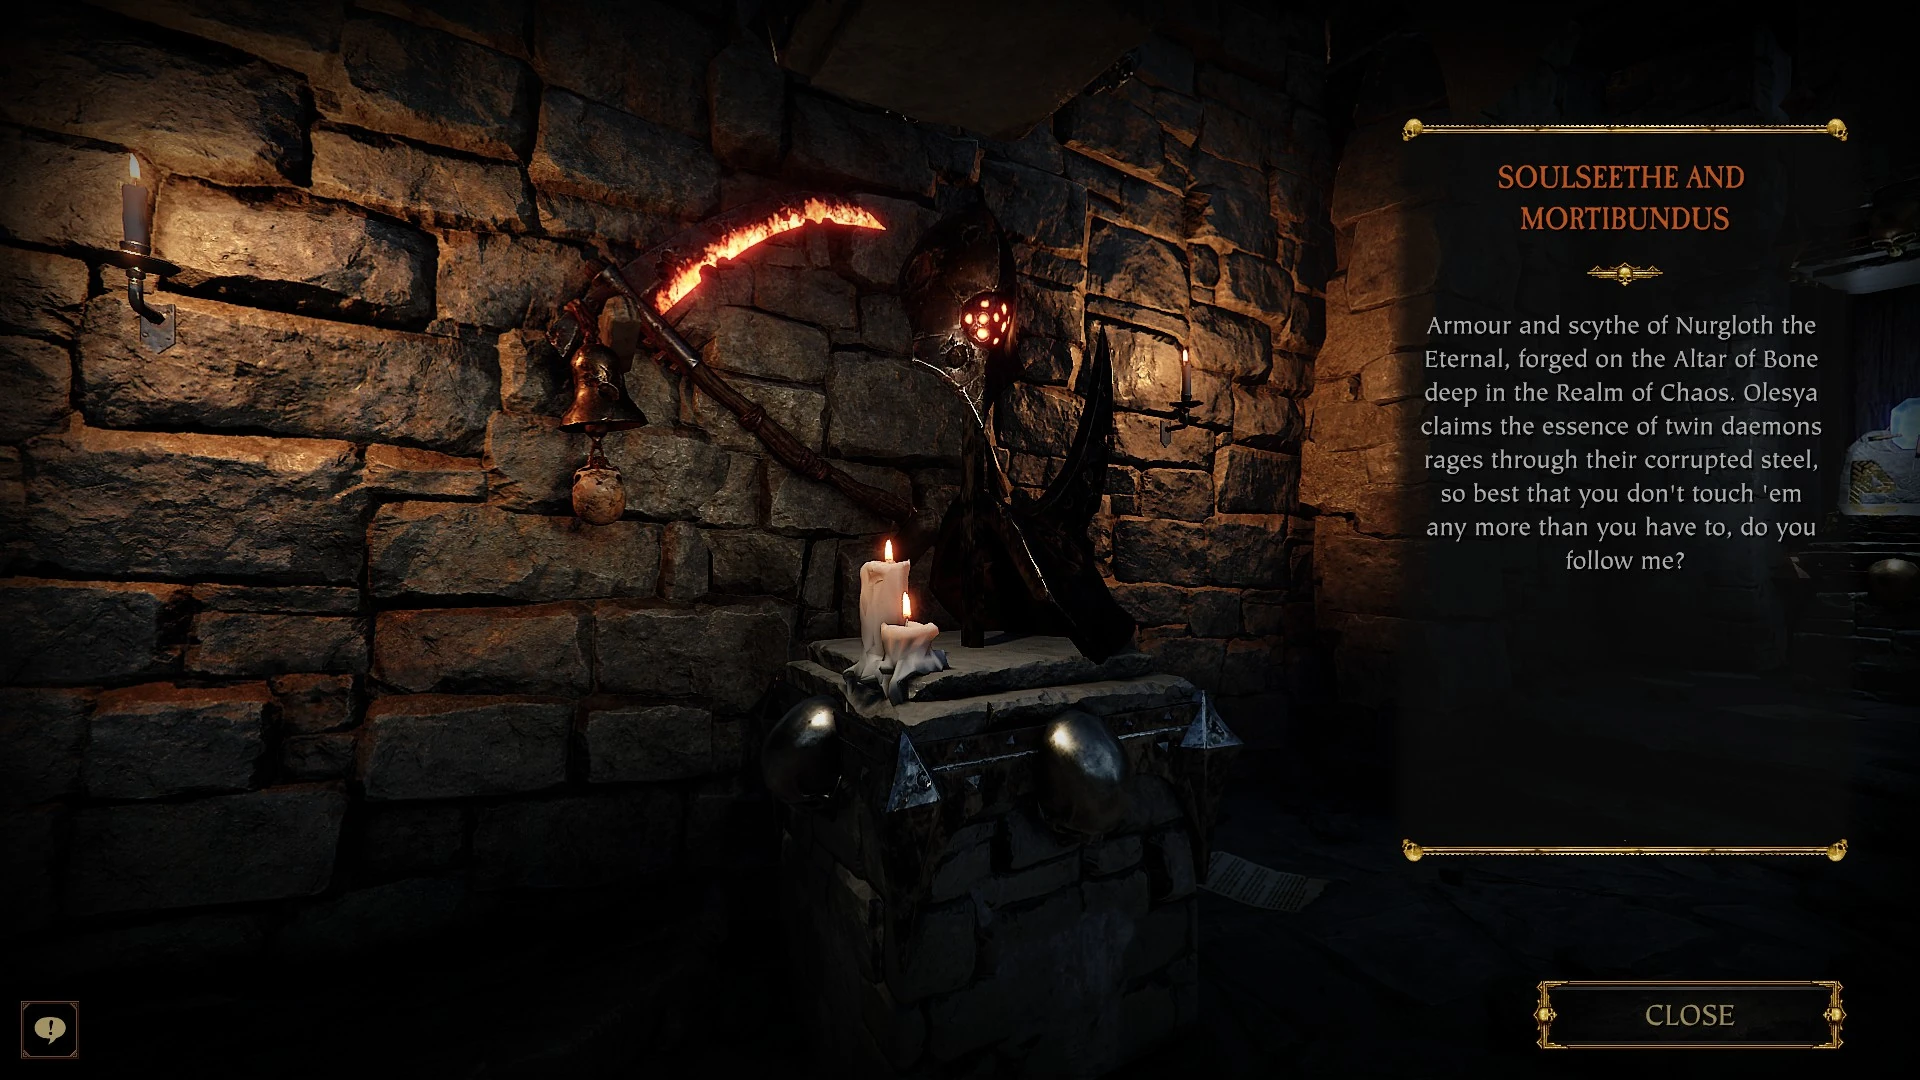 |
NPCs[ | ]
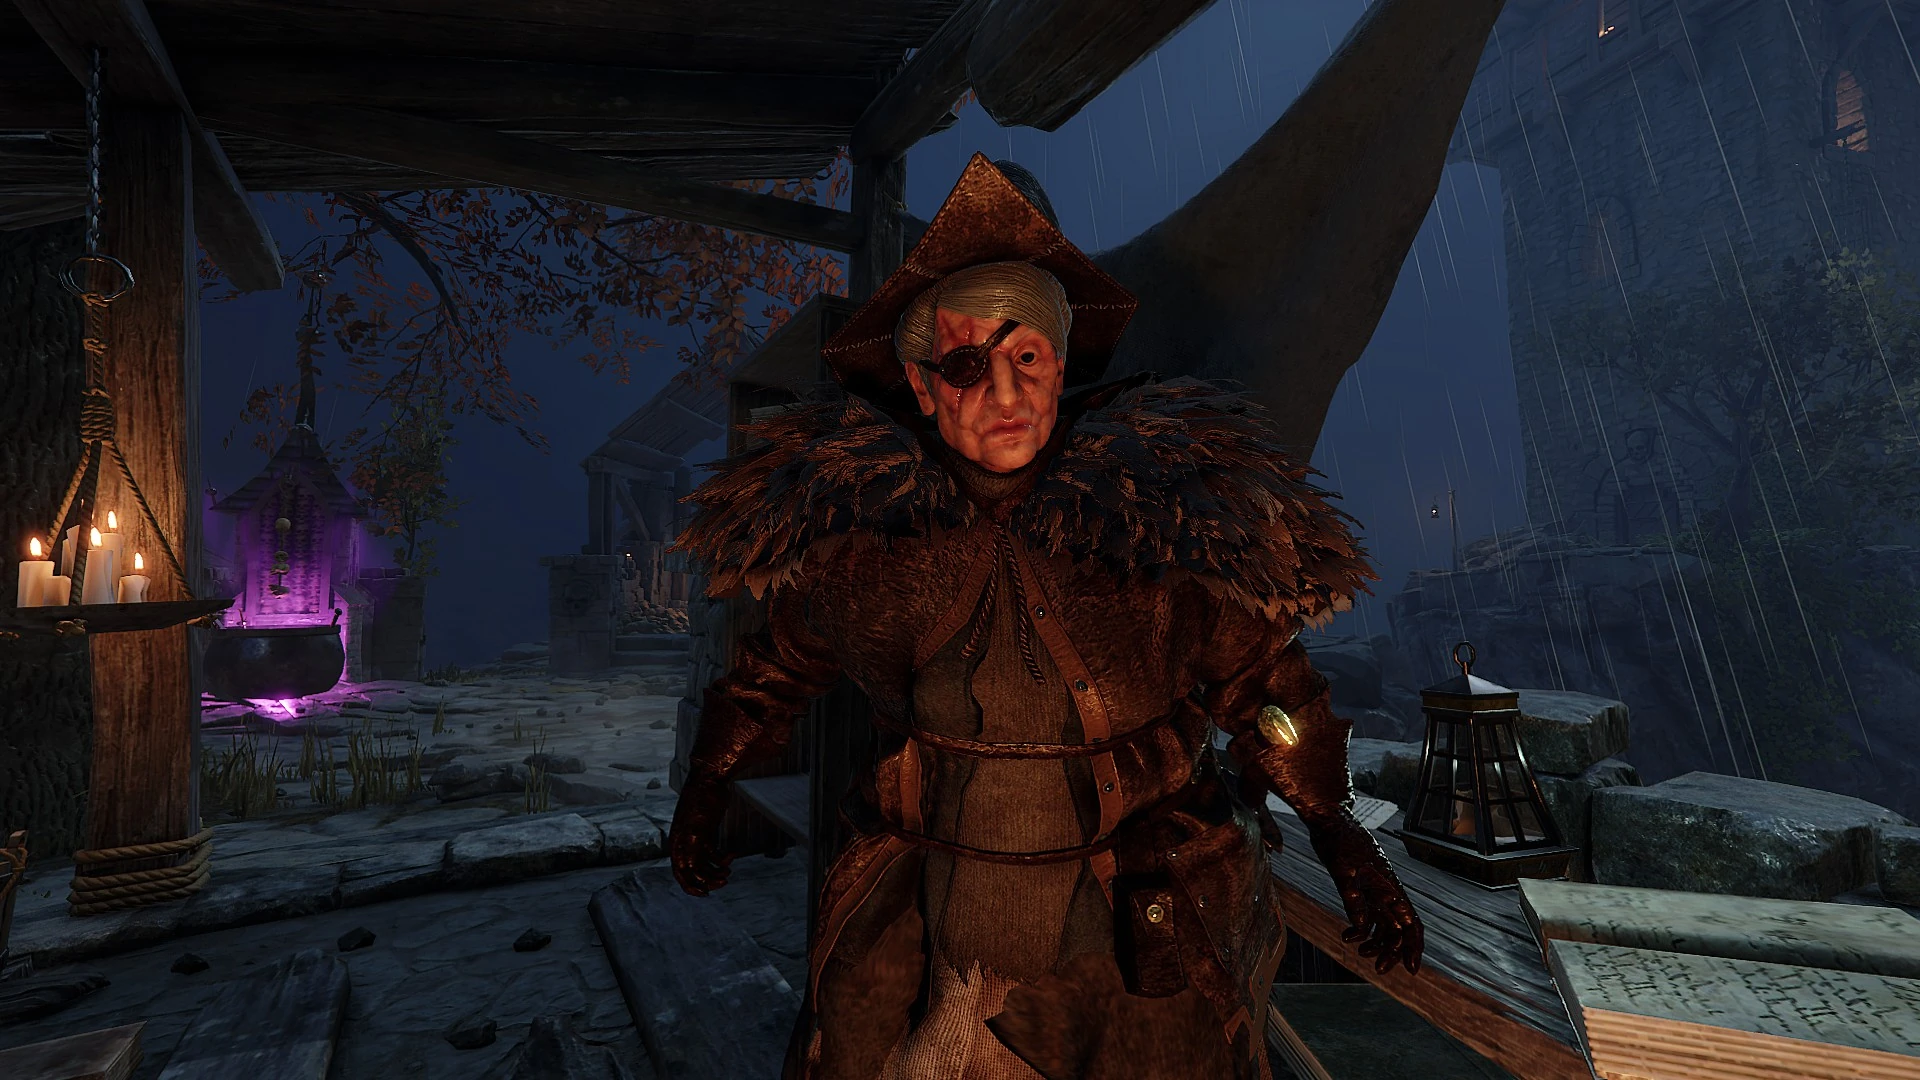
| Olesya Pimenova
Olesya has differing Quotes depending on how far into the campaign the host is.
|
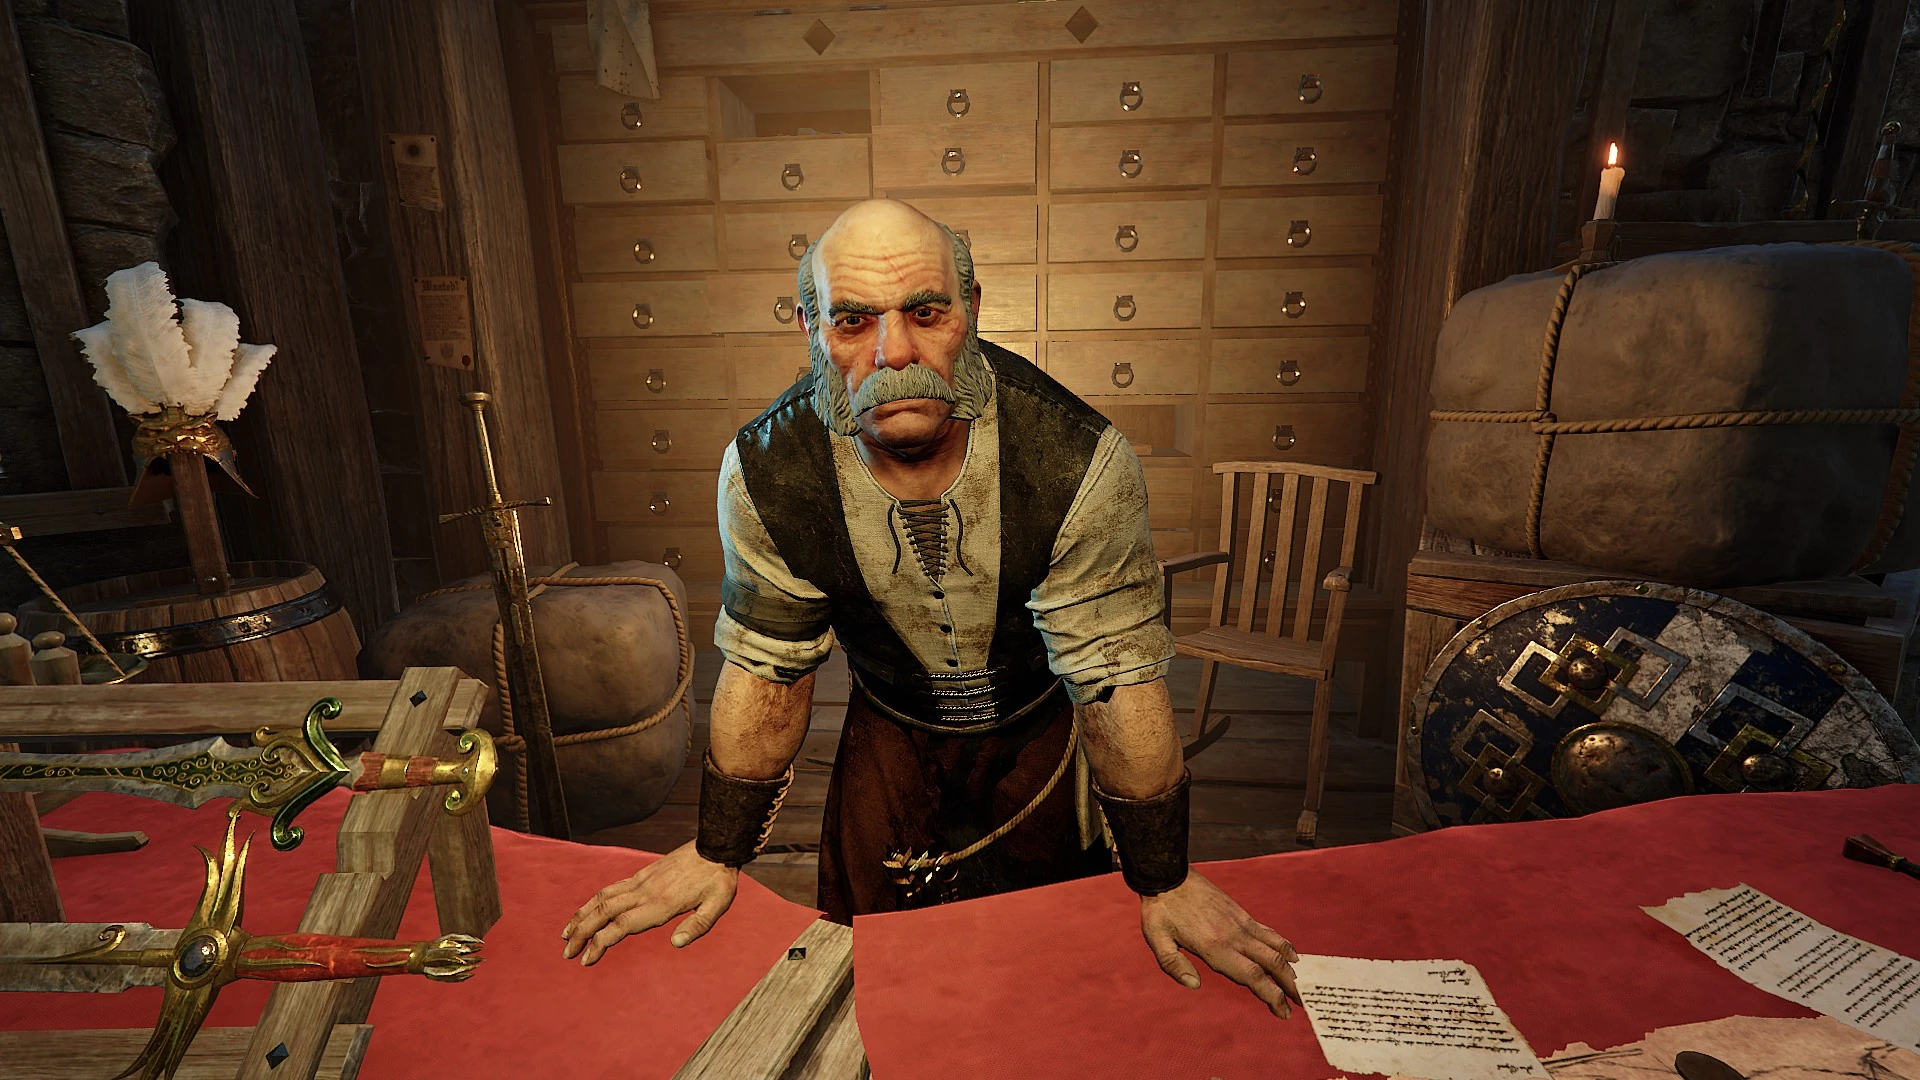
Franz Lohner
Franz runs the Emporium of Wonders and will occasionally make Comments after the player is in the keep for a prolonged period of time. |
Weather[ | ]
When a player arrives in the keep, Franz Lohner will give a report of the weather. The weather in the keep is randomly determined each instance so exiting to the main menu and returning to the keep will cause it to change. Varieties include Day, Evening, Night, Morrslieb, and Rain.
- At least the sun is shining, eh?
- A fine day, As long as you avert your eyes from Helmgart.
- Nice weather today.
- Just another glorious day in the Reikland.
- Good evening. All is well. Well, not really.
- Good evening. Made it through another day, eh?
- The shadow magic protecting us works better at night, apparently.
- If I'm not mistaken, Morrslieb's even larger than during the Ubersreik scuffle.
- Don't stay up too late. I've got work for you tomorrow.
- Rain won't stop them. We're not fighting Altdorf nobles.
- Raining cats and dogs, eh? To go along with the ratmen and northlanders, I suppose.
- Bit of rain today.
Collector's Edition[ | ]
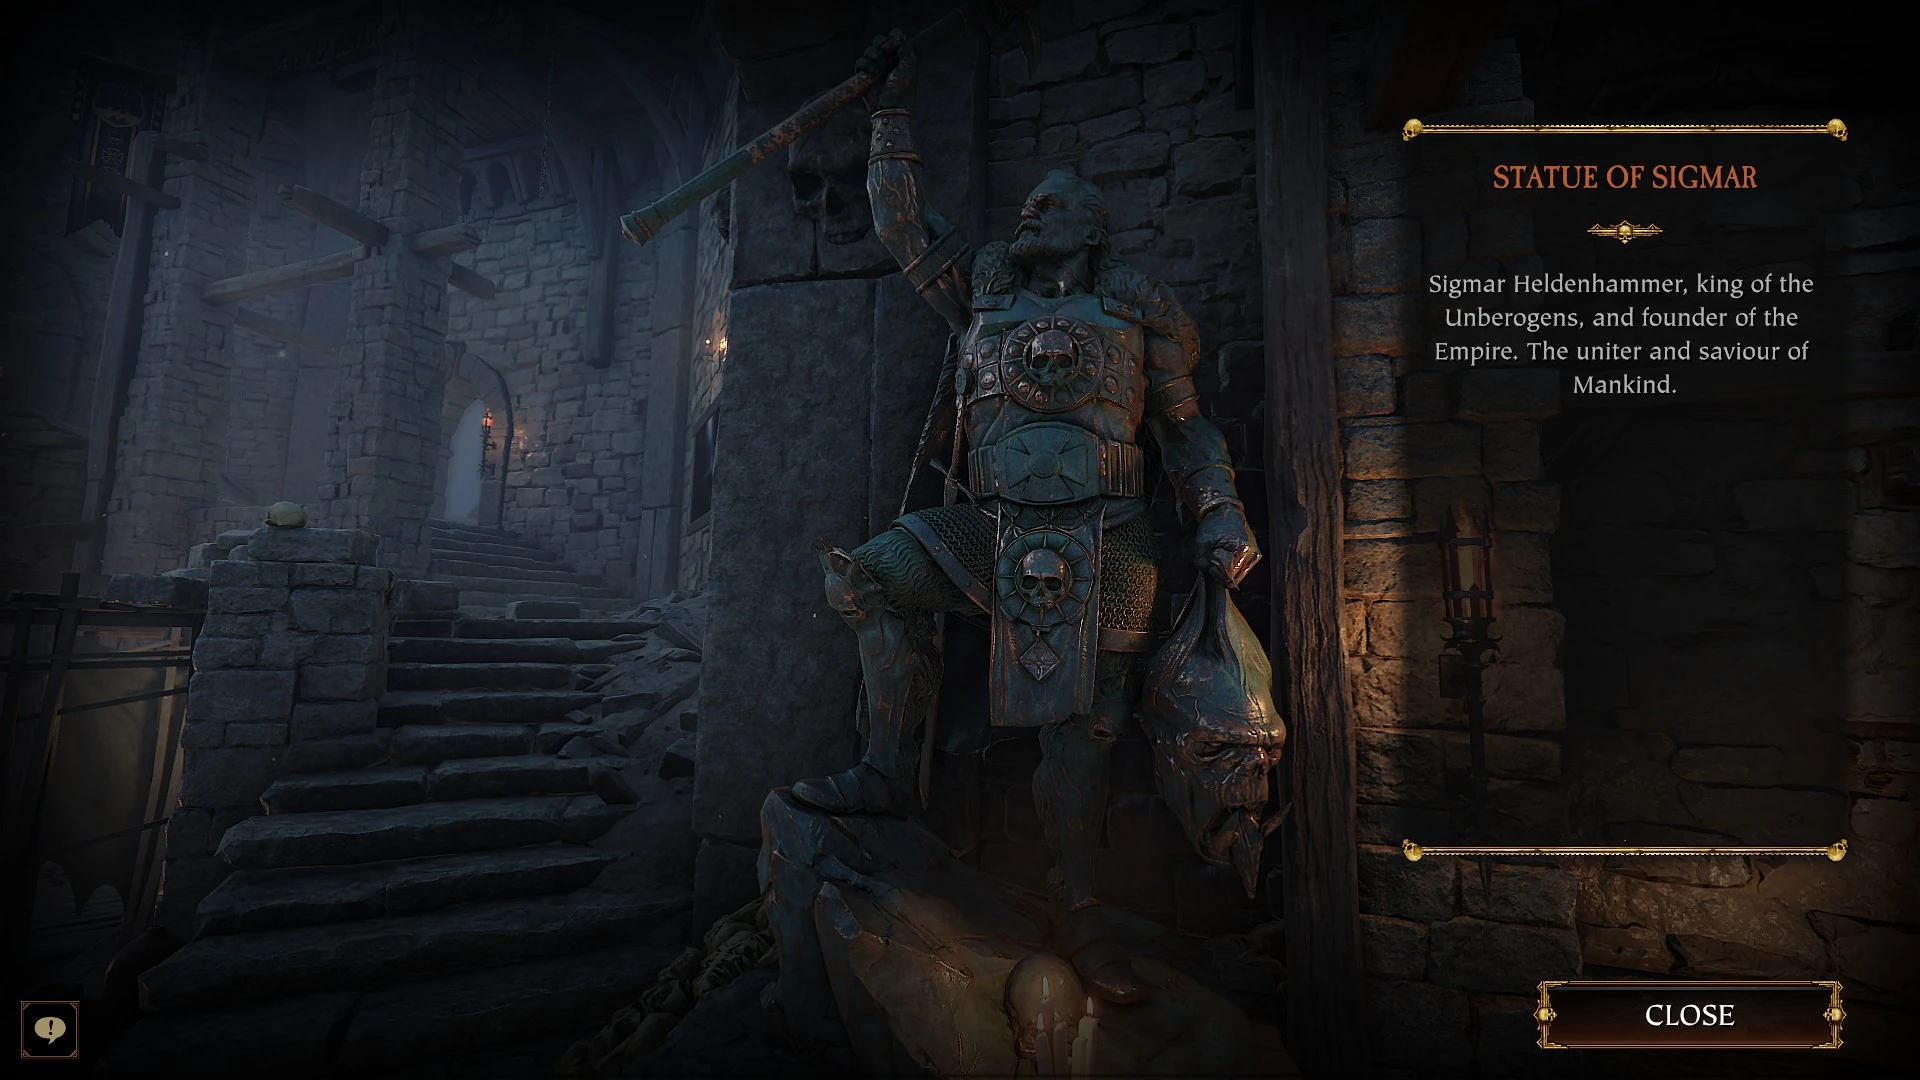
Owners of the Collector's Edition of Vermintide 2 will find a Statue of Sigmar just inside the entrance to their keep.
Special Events[ | ]
Various Special Events add decorations to the keep for a limited time.