Ogkspaz7754 (talk | contribs) No edit summary |
Ogkspaz7754 (talk | contribs) No edit summary Tag: Source edit |
||
| (12 intermediate revisions by the same user not shown) | |||
| Line 5: | Line 5: | ||
{{Map |
{{Map |
||
| name = {{PAGENAME}} |
| name = {{PAGENAME}} |
||
| − | | type = |
+ | | type = Extra Mission |
| section = [[The Curse of Drachenfels]] |
| section = [[The Curse of Drachenfels]] |
||
| + | | follows = [[The Skittergate]] |
||
| − | | chests = |
||
| + | | precedes = [[Blood in the Darkness]] |
||
| tomes = 3 |
| tomes = 3 |
||
| grimoires = 2 |
| grimoires = 2 |
||
| − | | events = |
+ | | events = 2 |
| − | | |
+ | | image = Oldhaunts SS.jpg |
| − | | |
+ | | icon = Oldhaunts_icon.png |
| − | | icon =Oldhaunts_icon.png |
||
}} |
}} |
||
{{Quote |
{{Quote |
||
| − | | quote = The fellows I work for - well that's what they think - are getting a bit concerned about Castle Drachenfels. Again. Seems the Pactsworn are making free |
+ | | quote = The fellows I work for - well that's what they think - are getting a bit concerned about Castle Drachenfels. Again. Seems the Pactsworn are making free with the place, and there are reports of folk missing in the nearby villages. Sort it out, would you? Trouble at Drachenfels is trouble we don't need. |
| speaker = [[Franz Lohner]] |
| speaker = [[Franz Lohner]] |
||
}} |
}} |
||
| Line 25: | Line 25: | ||
}} |
}} |
||
| − | == |
+ | == Synopsis == |
Back to Drachenfels we go. |
Back to Drachenfels we go. |
||
| − | == Event == |
+ | == Temple Event == |
| + | Upon picking up the [[Map]] in the Temple Nave you will be attacked by a [[Horde]]. [[Plague Monk|Plague Monks]] break open the front door after which a wall to the right will break away with a guaranteed [[Ratling Gunner]] inside allowing you to leave the village. |
||
| − | Event! |
||
== Finale == |
== Finale == |
||
| + | After dropping down to the final room a [[Lever]] will need to be flipped which opens up the [[Gate]] to the first of four [[Gargoyle Head|Gargoyle Heads]]. These need to be placed back on the necks of the Gargoyles that surround a grate in the middle of the room. Once placed, blood starts flowing into the grate. Another door will open containing (a) [[Chaos Warrior]](s) and the second head along with triggering a horde. Once that is placed the final doors open with stairs leading to a room below containing the last two heads. When all four are in place the grate will open allowing the [[Heroes]] to escape. |
||
| − | Gargoyle thing. |
||
| − | == |
+ | == Locations == |
| − | Things may or may not happen. |
||
| + | *'''Blutberg Approach:''' |
||
| − | {{Missions}} |
||
| + | *'''Krünerplatz:''' |
||
| + | *'''Madeleine's Blumenchirurgie:''' |
||
| + | *'''The Twice-Built Mill:''' |
||
| + | *'''Klara's Washery:''' |
||
| + | *'''Drunkard's Bridge:''' |
||
| + | *'''Potter's Nook:''' |
||
| + | *'''Aldebard's Tavern:''' |
||
| + | *'''The Jolly Swineherd:''' |
||
| + | *'''Azderheim Manor:''' |
||
| + | *'''Kellerman's Halt:''' |
||
| + | *'''Temple of the Twin-Tailed Comet:''' |
||
| + | *'''Temple Nave:''' |
||
| + | *'''Sinner's Trail:''' |
||
| + | *'''Crazy Engel's Cabin:''' |
||
| + | *'''Path of Woe:''' |
||
| + | *'''Crooked Cliffside:''' |
||
| + | *'''Portal of Decay:''' |
||
| + | *'''Snagglefang Camp:''' |
||
| + | *'''Gate of Epidemius:''' |
||
| + | *'''Drachenfels Approach:''' |
||
| + | *'''Fool's Gate:''' |
||
| + | |||
| + | == Objectives == |
||
| + | |||
| + | # Enter the Village |
||
| + | # Reach the Temple |
||
| + | # Enter the Temple |
||
| + | # Find the Map |
||
| + | # Escape the Temple |
||
| + | # Leave the Village |
||
| + | # Follow the Trail |
||
| + | # Find the Secret Entrance |
||
| + | # Explore the Crypt |
||
| + | # X/4 Restore the Gargoyle Heads |
||
| + | # Escape the Crypt |
||
| + | # Return to Taal's Horn Keep |
||
| + | |||
| + | == Notes == |
||
| + | The area from Path of Woe up to the Gate of Epidemius is a slightly altered version of the final mission in ''Vermintide 1''<nowiki/>'s Drachenfels DLC.{{Missions}} |
||
[[Category:Missions]] |
[[Category:Missions]] |
||
Latest revision as of 17:54, 1 January 2022
| General | Book Locations | Map | Strategy | Okri's Challenges |
| Old Haunts | |
|---|---|
| Details | |
Type |
Extra Mission |
Section |
The Curse of Drachenfels |
Follows |
The Skittergate |
Precedes |
Blood in the Darkness |
Tomes |
3 |
Grimoires |
2 |
Events |
2 |
| |
| “ | The fellows I work for - well that's what they think - are getting a bit concerned about Castle Drachenfels. Again. Seems the Pactsworn are making free with the place, and there are reports of folk missing in the nearby villages. Sort it out, would you? Trouble at Drachenfels is trouble we don't need. | „ |
| ~ Franz Lohner |
| “ | Turns out that the Pactsworn have been kidnapping folk from villages in the Grey Mountains. Right in the shadow of... That's right. Castle Drachenfels. A pumpkin for everyone who guessed right. The powers-that-be have noted our past interest in the place, and wondered if you'd take a look. and set things straight. | „ |
| ~ Franz Lohner |
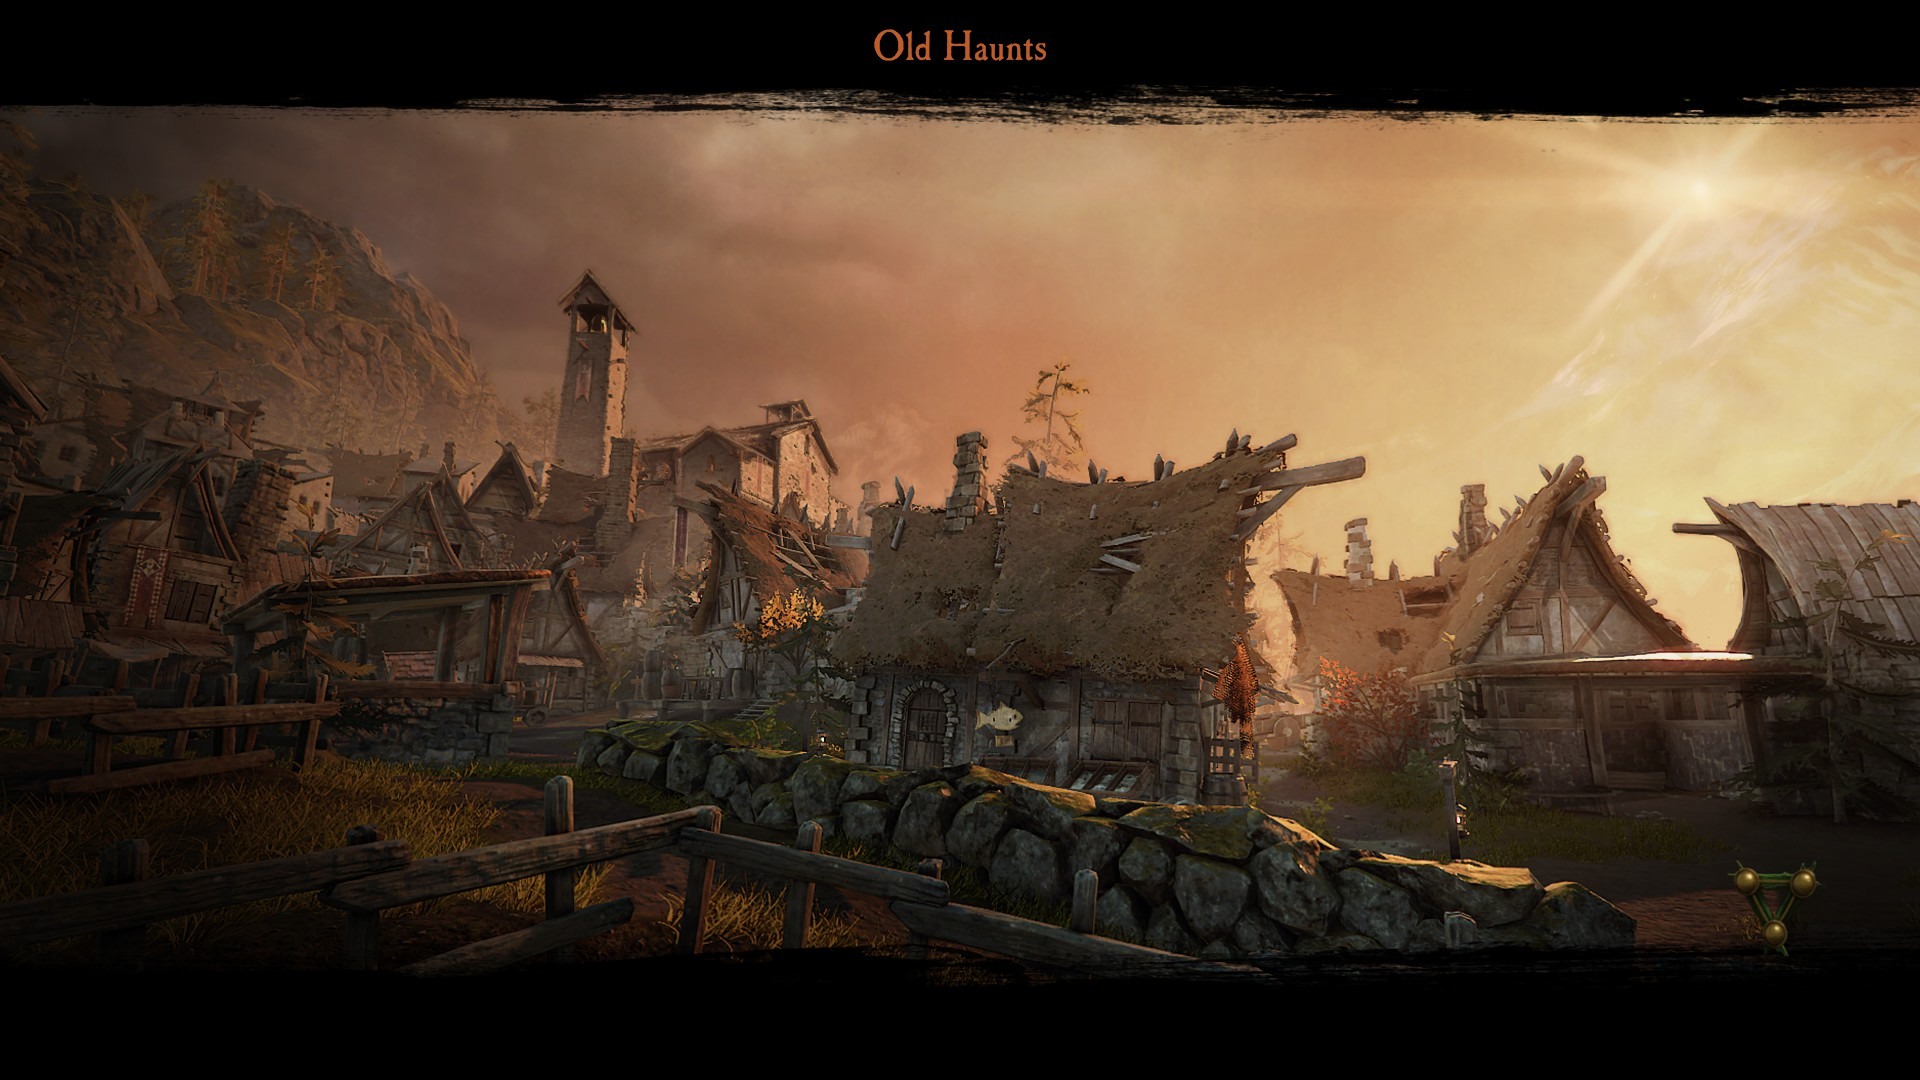
Synopsis[ | ]
Back to Drachenfels we go.
Temple Event[ | ]
Upon picking up the Map in the Temple Nave you will be attacked by a Horde. Plague Monks break open the front door after which a wall to the right will break away with a guaranteed Ratling Gunner inside allowing you to leave the village.
Finale[ | ]
After dropping down to the final room a Lever will need to be flipped which opens up the Gate to the first of four Gargoyle Heads. These need to be placed back on the necks of the Gargoyles that surround a grate in the middle of the room. Once placed, blood starts flowing into the grate. Another door will open containing (a) Chaos Warrior(s) and the second head along with triggering a horde. Once that is placed the final doors open with stairs leading to a room below containing the last two heads. When all four are in place the grate will open allowing the Heroes to escape.
Locations[ | ]
- Blutberg Approach:
- Krünerplatz:
- Madeleine's Blumenchirurgie:
- The Twice-Built Mill:
- Klara's Washery:
- Drunkard's Bridge:
- Potter's Nook:
- Aldebard's Tavern:
- The Jolly Swineherd:
- Azderheim Manor:
- Kellerman's Halt:
- Temple of the Twin-Tailed Comet:
- Temple Nave:
- Sinner's Trail:
- Crazy Engel's Cabin:
- Path of Woe:
- Crooked Cliffside:
- Portal of Decay:
- Snagglefang Camp:
- Gate of Epidemius:
- Drachenfels Approach:
- Fool's Gate:
Objectives[ | ]
- Enter the Village
- Reach the Temple
- Enter the Temple
- Find the Map
- Escape the Temple
- Leave the Village
- Follow the Trail
- Find the Secret Entrance
- Explore the Crypt
- X/4 Restore the Gargoyle Heads
- Escape the Crypt
- Return to Taal's Horn Keep
Notes[ | ]
The area from Path of Woe up to the Gate of Epidemius is a slightly altered version of the final mission in Vermintide 1's Drachenfels DLC.
| HELMGART MISCELLANEOUS | Prologue • A Quiet Drink | |
| HELMGART ACT 1 | Righteous Stand • Convocation of Decay • Hunger in the Dark • Halescourge | |
| HELMGART ACT 2 | Athel Yenlui • The Screaming Bell • Fort Brachsenbrücke • Into the Nest | |
| HELMGART ACT 3 | Against the Grain • Empire in Flames • Festering Ground • The War Camp | |
| HELMGART FINALE | The Skittergate | |
| THE CURSE OF DRACHENFELS | Old Haunts • Blood in the Darkness • The Enchanter's Lair | |
| A TREACHEROUS ADVENTURE | Trail of Treachery • Tower of Treachery | |
| KARAK AZGARAZ | Mission of Mercy • A Grudge Served Cold • Khazukan Kazakit-ha | |
| SHADOWS OVER BÖGENHAFEN | The Pit • The Blightreaper | |
| BACK TO UBERSREIK | The Horn of Magnus • Garden of Morr • Engines of War • (Fortunes of War) | |
| WINDS OF MAGIC | Dark Omens • (Weaves) | |